Download
1 / 24
240 likes | 407 Vues
NetComm NCT1020 Micro NCT1000 Mini IP DSLAM June 2007. NetComm IPDSLAM. System Management Software. Connection, Installation & Login AMCU GUI AAT24B GUI AESG GUI. System Management Software. Connection & Installation. MCID Management Craft Interface Device.

E N D
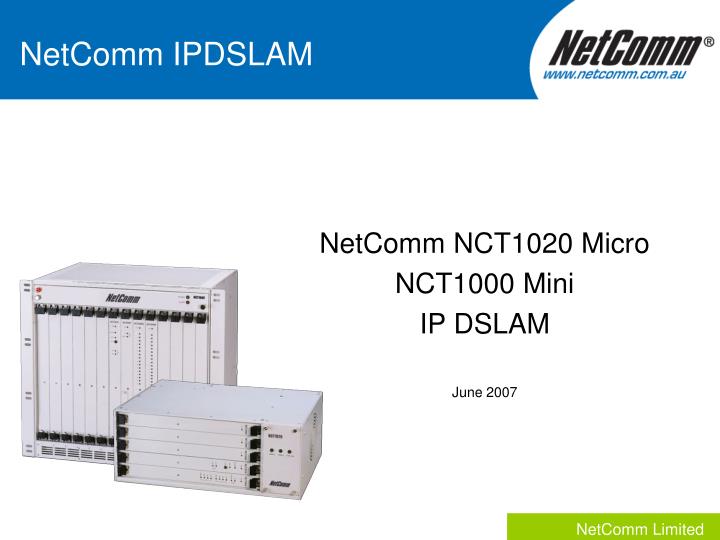
NetComm NCT1020 Micro NCT1000 Mini IP DSLAM June 2007 NetComm IPDSLAM
System Management Software • Connection, Installation & Login • AMCU GUI • AAT24B GUI • AESG GUI
System Management Software Connection & Installation MCID Management Craft Interface Device • The MCID software provides a Graphical User Interface (GUI), which can be used to configure, maintain, and operate a NCT-1000/1020 across a LAN. The MCID is able to control all the cards. • Install the MCID management software by following the prompts. • A shortcut icon of the NCT-1000/1020 MCID will be placed on your desktop. Click the icon to start the CID. connection Shortcut icon of the NCT-1000/1020 MCID
System Management Software DSL Concentrator Login • 1.Double click the MCID icon on the desktop to display the login menu. • Enter the following information: • IP Address (default = 172.16.7.100) • Get Community (default = public) • Set Community (default = private) 2. Click Start CID to enter the login screen of the device. Enter Username (default = root) Password (default = root)
System Management Software MCID Main Menu After login the screen will display as below. The figure below has labels for the location of the ACO button, shelf faceplate, and directory tree. The faceplatedisplays the installed units and their LED status. Shelf faceplate ACO Alarm Directory Tree
System Management Software AMCU GUI • To access the AMCU main control unit, select AMCU from the directory tree or click AMCU from the faceplate. • Contents • System • >Configuration • >Administration • >VLAN configuration • >VLAN PVID • >Maintenance • >System Software Upgrade • AMCU Configuration • Current Alarm • History Alarm • Alarm Event • Exiting the AMCU
System Management Software AAT24B GUI • Contents • Configuration • >Port Information • >Bath Configuration • >Version • >List Slot Configuration • >Port Configuration • Status • Maintenance • Performance • Statistics • Graphical Statics • History Status • Exit • - The AAT24A ADSL 1 card has similar GUI -
System Management Software AESG GUI • Contents • Configuration: • version, Card Configuration, Port Configuration • Spanning Tree: • Spanning tree function configuration on Up, Down, Giga Port 1 and Giga Port 2. • Exiting the AESG
Firmware Upgrade NCT1000/NCT1020 Firmware Upgrade Important rules: 1. Keep the TFTP sever and the MCID management softwarerunning for performing firmware upgrade. 2. The firmware upgrade sequence MUSTbe: AAT24A first, AES-G card 2nd and then AMCU the last. 3. For downgrade, you need to use "chkfile 0" to disable check file function by Telneting into the IP DSLAM.
Firmware Upgrade NCT1000 / NCT1020 Firmware List • AAT24A ADSL1 card firmware V2.03: Aat24A_V2.03.crz • AAT24B ADSL2+ card firmware V1.10: • Aat24b_V110.crz • 3. AES-G Ethernet uplink card firmware V3.3: AesgAP_v33.crz • 4. AMCU Management card firmware V9.17N: Amcu-9.17N.crz • MCID Management Software v1.39N1: • IP-DSLAM-MCID-V139N1
Firmware Upgrade Step 1: Network Setup for NCT1000 / NCT1020 Firmware Upgrade Management PC IP Address: 172.16.7.10 Management PC IP Address: 172.16.7.10 IP DSLAM IP Address: 172.16.7.100 IP DSLAM IP Address: 172.16.7.100
Firmware Upgrade Step 3: Set the IP address of the PC to be in the same subnet as that in the IP DSLAM. For example NCT1000/NCT1020 default IP address: 172.16.7.100/24 Management PC IP address: 172.16.7.10/24 Step 2: Set up a TFTP server on the MCID management PC. For example Solar Winds-TFTP-Server
Firmware Upgrade Step 4: Upgrade the AAT24B ADSL2+ Card Login to “DSL Concentrator” MCID management software. Go to AMCU GUI >System > SW Upgrade > Select “Card Type” = AAT24A “File Type” = AP “TFTP Server IP Address” = 172.17.1.199 (This is the IP Address that is set to the management PC.) “Download File name” = Aat24aAP_v203.crz (Browse for the firmware file for AAT24A ADSL Line Card.) Then Click Transmit
Firmware Upgrade Step 4: Upgrade the AAT24A ADSL Line Card continued… The firmware upgrade for AAT24A will take a few minutes. The different status during FW Upgrade are as follows:
Firmware Upgrade For downgrade, you need to use "chkfile 0" to disable check file function by Telneting into the IP DSLAM.
Firmware Upgrade Step 5: Upgrade/Downgrade the AES-G Ethernet uplink Card Go to AMCU GUI >System > SW Upgrade > Select “Card Type” = AESG “File Type” = AP “TFTP Server IP Address” = 172.17.1.199 (This is the IP Address that is set to the management PC.) “Download File name” = AesgAP_v33.crz (Browse for the firmware file for AESG Uplink Card.) Then Click Transmit
Firmware Upgrade Step 5: Upgrade the AESG Ethernet uplink Card continued… The firmware upgrade for AESG will take a few minutes. The different status during FW Upgrade are as follows:
Firmware Upgrade Step 6: Upgrade the AMCU Management Card Go to AMCU GUI >System > SW Upgrade > Select “Card Type” = AMCU “File Type” = AP “TFTP Server IP Address” = 172.17.1.199 (This is the IP Address that is set to the management PC.) “Download File name” = Amcu-9.17N.crz (Browse for the firmware file for AESG Uplink Card.) Then Click Transmit
Firmware Upgrade Step 6: Upgrade the AMCU management card continued… The different status during FW Upgrade are as follows: RESET AMCU Card
Firmware Upgrade Step 7: Reboot the system to take effect on the new firmware for all cards. Go to AMCU > Maintenance > Reset System through MCID The GUI pop-up message are as follows: IP DSLAM RESTART now takes place. LED Sequence: All off -> Flashed yellow/orange then all red and LEDs on AAT24B self checking one by one. Estimated time for System Reset is approximately 2 minutes.
Remove MCID V1.33 Step 8: In order to control all the features in the latest firmware AAT24A V2.03 or Aat24B V1.10, AESG V3.3, AMCU V9.17N, the MCID V1.39N1 must be used.
Installed MCID V1.39N1 Step 9: Installed MCID V1.39N1 IPDSLAM Management Utility to management the NCT1020 IP DSLAM.