Download
1 / 49
490 likes | 497 Vues
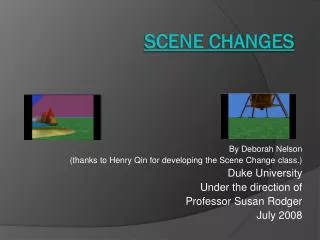
Scene Changes 2.0. This is a modification of the Scene Change tutorial written by Deborah Nelson in June 2009 By Chris Brown Duke University Under the direction of Professor Susan Rodger July 2012. Scene Changes.

E N D
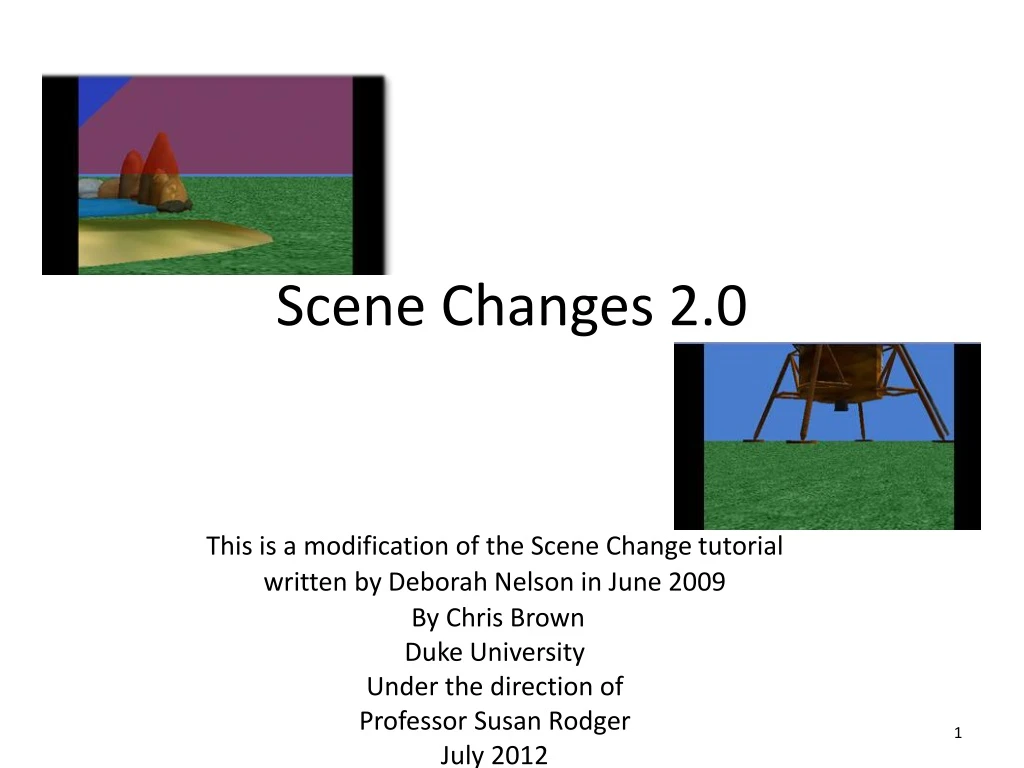
Scene Changes 2.0 This is a modification of the Scene Change tutorial written by Deborah Nelson in June 2009 By Chris Brown Duke University Under the direction of Professor Susan Rodger July 2012
Scene Changes • This tutorial will show you how to create different scenes in Alice. You will make the Alice world dark, then light again into a different scene with a different ground texture and new objects. You will also learn how to move a character between scenes and do different actions.
Scene Changes • In the picture below, you can see how we will set up the 3 scenes. We will put in the three different environments, then rotate the camera from a fixed spot to move to each one while fading out and fading in the light. You can have anywhere up to 8 scenes in a world using this technique.
Scene Change Note • This tutorial is for users who have a version of Alice 2.2 later than March 2012. If you have an earlier edition, use the previous scene change tutorial on the Duke Alice tutorials website. The old tutorial tells you how to drop in an Alice class that contains the six ground textures. As of March 2012, that is no longer needed as you can easily import other ground textures. This tutorial also shows you how to use the “move to” and “orient To” methods to have a character move between scenes.
Standards CSTA Standard 5.3.B- Computer Science Concepts and Practices (CPP): Students will be able to… “1. Use advanced tools to create digital artifacts (e.g., web design, animation, video, multimedia.”
Load world • Open a new world, with any template. • Save it in a directory that you can find again. • After you have opened the file go into the "Layout" mode by clicking on the green button Add Objects (toward the middle of screen). • Overview: creating scene changes • Add objects. • Drop dummy objects at camera positions. • Write two methods for transition.
Part One: Set up • Click more controls. Click drop a dummy at the camera. • In the object tree, expand the Dummy Objects folder. Rename the dummy ‘scene1’ (by right clicking on it and selecting rename). • Go to the Environments folder. • Scroll over to Oasis. Drag Oasis into the scene. • See the screenshot on the next slide for an illustration
Add a Character • While you are in scene 1, add a WhiteRabbit object from the Animals folder in the Local Gallery. Use the buttons in the top right corner to move the WhiteRabbit so that it is standing on the oasis and facing the camera as seen below.
Add a Character • Now, we want to set this object to be invisible. Click on whiteRabbit in the Object Tree and click on the properties tab. Find the isShowing property and set the value to false. This should make the WhiteRabbit disappear from the scene. The best way to move characters from scene to scene is to use invisible placeholder objects.
Set up Scene 2- move camera over • Once the oasis is in your scene, use the camera position arrow to move the camera view, until you can no longer see the oasis.
Drop dummy at camera • When you can no longer see the oasis or the dummy object, drop a new dummy at the camera. • In the object tree, rename this dummy ‘scene2’. • In the Environments folder, scroll over to Island Drag Island into the scene. • See the screenshot on the next slide for an illustration.
What to do if you can’t find your object • Sometimes, when you drag an object into your world, it appears at the origin of the world, which is not in your new scene. • Scroll down to that object - in this case island –in object tree. • Right click on island and select methods, move to, camera. • Now, drag your island into your scene. If that doesn’t work, right click on it in the object tree again and select methods, orient to, camera. • Right click on it in the object tree again and select methods, move, forward,5 meters. • Once you have one object in your scene, you can use that as the reference to move all of the other objects into your scene.
Add a Character • After the island is in view, import another WhiteRabbit object and position so that it is facing the palm tree. • Click on whiteRabbit2 in the Object Tree and set its isShowing property to false. The “orient to” method will turn the character to face the same direction as the invisible whiteRabbit2.
Set up scene 3 • Move the camera over (to the right) until you can no longer see the island. • Drop a dummy at the camera. • In the object tree, rename it “scene3”. • Go to the Space Folder.
Drag lunarLander into the scene. • Before you release the mouse to drop it into the scene, hold down the shift key on your keyboard. Continue to drag the object. • If you’re on a PC, you will see the yellow bound box move up because shift makes your object move up as you drag it in. • See the screenshot in the next slide for a illustration of where my lunarLander is positioned.
Add a Character • Import another WhiteRabbit into scene 3 in front of the Lunar Lander and set its isShowing property to false. You should have a total of 3 whiteRabbits, one in each scene. Now go back to scene 1 and add in another WhiteRabbit character, but let this one stay visible.
Part Two: Writing methods • Click on the Done button to go back to the method editor. • In the world detail pane, click the properties create new variables. • Name it ‘storeAtmosphereColor’. • Select type Other and select Color. • Make another color variable and name it ‘storeAmbientLightColor’. • See the screenshot on the next slide for an illustration
Write fadeOut method • Create a new method named ‘fadeOut’. • Drag in a Do together from the bottom of the window. • Click on the properties tab in the world details pane. • Drag atmosphereColor into the fadeOut method. Set value to black. Note, this is not the variable we created. • See the screenshot on the next slide for an illustration.
world.fadeOut • Resulting code:
world.fadeOut • Drag ambientLightColor into the do together. Set value to black. • Resulting Code:
world.fadeOut • Click on the light in the object tree. From the properties tab, drag brightness into the fadeOut method. Select Other and set value to 0. • Here is the complete method:
world.fadeOut • To test the fadeOut method, in the events panel, change the ‘myfirstmethod’ to fadeOut. • Play your world. • The screen should fade to be completely black.
Write fadeIn method • Click on the methods tab in the world details pane. Create new method. Name it ‘fadeIn’. • Click create new parameter in the method. Name it ‘atmosphere’. Select type color.
world.fadeIn • Drag in a Do together. • Then, click on the properties tab in the world details pane. • Drag “atmosphereColor” into the fadeIn method. Set value to expressions, select the parameter, atmosphere. • Resulting code:
world.fadeIn • Drag “ambientLightColor” into the fadeIn method. Set value to expressions, select “storeAmbientLightColor” • Click on light in the object tree • In the properties tab, drag “brightness” into the method. Set value to 1. • Resulting code:
Write scene one method • Click on world in the object tree and click on the methods tab. Create a new method: name it ‘scene1’. • In the beginning of this method, drag in a Do together. Then, go to whiteRabbit4’s methods and drag “whiteRabbit4 move to- whiteRabbit” and “whiteRabbit orient to- whiteRabbit” into the Do together. This puts the visible white rabbit into the same position as the invisible placeholder and then turns it to face the same direction.
Write scene one method • Outside of the Do together statement, drag in a “whiteRabbit4 say- ” and enter the string “Put everything you want to happen in scene 1 in this method.” Below is the entire code for scene1.
Write scene two method • Create a new world method: name it ‘scene2’. • We want to do the same thing in scene 2, except we want whiteRabbit4 to move to whiteRabbit2. You can copy the instructions from scene1 by dragging them to the clipboard in the top right corner, then drag them from the clipboard into scene2.
Write scene two method • After pasting the code into the scene2 method, you will need to change all of the occurrences of whiteRabbit to whiteRabbit2 and change whiteRabbit4’s quote.
Write scene three method • Create new world method: name it ‘scene3’. • Repeat the steps for creating scene2 except we want to refer to whiteRabbit3 this time.
In world.my first method: Store the initial properties • Click on the world.my first method tab. • Drag in a Do together. • Drag the color property variable we created, “storeAtmosphereColor” into the do together • Set value to no color. Drag atmosphereColor from the pane on to the blank.
Store the initial properties • Drag the color variable we created, “storeAmbientLightColor” into the Do together and set value to no color for now. • Drag “ambientLightColor” from the pane over the no color value. • Resulting code:
Scene change: Camera • Click on the camera in the object tree. • Drag the camera “set point of view to” method into the Do together. Select Dummy Objects, select scene1.
Changing the Ground • Click on ground in the object tree. • Go to ground’s properties. • Under properties, go to the last property and select Texture Maps. Click on the “import texture map” button.
Changing the Ground • After clicking on the button to import texture maps, a window should pop up with all of the different ground textures in Alice. • For this world, you will need to import SandTexture, WaterTexture, and MoonTexture.
Changing the Ground • Drag the ground item from the Object Tree and drop it into the Do together after changing the point of view of the camera. Select “ground set skin texture to” “ground” “sandTexture”. This is a method that will change the ground texture from grass to sand at this point in the code. See the next slide for a screenshot of these instructions.
Click on the methods tab in the world details pane • Drag the scene1 method into world.my first method, underneath the do together • Then drag in the fadeOut method • To play you world, remember to change the event back to world.my first method. You should see your scene 1 method and then camera will fade out.
Animation for Scene 2 • Drag in a new do together from the bottom of the window. • In the do together: • Set the camera point of view to (dummy object) scene2. • Set the ground skin texture to waterTexture.
Animation for Scene 2 • Underneath the do together, drag in the fadeIn method. For the parameter, select expressions, select the variable “storeAtmosphereColor”. • Then drag in the scene2 method. • Play your world and you should see your scene 1 code, the camera fade to black, and then the camera fade back in to your scene 2 method.
Animation for Scene 3 • Drag in the fadeOut method underneath the Do together. • Drag in a new Do together from the bottom of the window. • In the do together: • Set the camera point of view to (dummy object) scene3. • Set the ground skin texture to MoonTexture.
Animation for Scene 3 • Underneath the Do together, drag in the fadeIn method. • For the parameter, select black (because the atmosphere is black in space). • Drag in the scene3 method. • Play your world and you will see all three scenes with the camera fading out and in for each one. The entire code for world.my first method can be seen on the next slide.
Recap • A fadeOut and fadeIn method are used for transitions. • The camera position and ground texture are set for each scene. • To simplify world.myFirstMethod, a separate method is written for each scene.
Challenges Try adding the following modifications to your world: • Have the White Rabbit perform different actions in each scene (e.g.- spin 3 times on the oasis, turn around the palm tree on the island, and do a back-flip on the moon. • Visit scene 1 again in between visiting scenes 2 and 3. • Add a 4th scene with a different skin texture and have the white rabbit move there after scene 3 and do something.