Download
1 / 10
100 likes | 445 Vues
1.2 Measuring Segments and angles. Do Now. 1. Draw three non-collinear points A, B and C. 2. Draw a line through A and C and name it. 3. Draw a line segment through B and C and name it. 4. Draw a 4 th point that is collinear to A and C. Homework. Review answers Questions?.

E N D
Do Now 1. Draw three non-collinear points A, B and C. 2. Draw a line through A and C and name it. 3. Draw a line segment through B and C and name it. 4. Draw a 4th point that is collinear to A and C.
Homework • Review answers • Questions?
Measuring Line Segments • Use a ruler. • Measure in centimeters to get a more precise measurement. • On your worksheet (# 1 – 3) • 1. Name each line segment. • 2. Use your ruler to measure each line segment in centimeters.
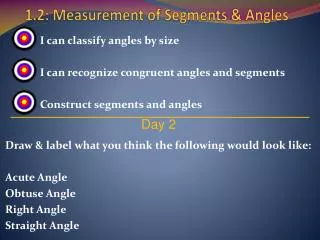
What is an angle? • An angle is made up of two rays that are joined at a vertex. • Angles are named • Using a lowercase or Greek letter (example: a, b, θ) • Using the three letters on the shape that define the angle, with the middle letter as the vertex. (example: <ABC) Vertex
Classifications of Angles • Straight angle • A straight line • Measures 180 degrees • Right angle • Measures 90 degrees • Acute angle • Measures less than 90 degrees • Obtuse angle • Measures less than 180 degrees but more than 90 degrees
Measuring Angles • Use a protractor. • Line the flat edge of the protractor up against one of the rays. • Make sure the center of the protractor is on the vertex. • (Extend the length of the rays with a ruler if necessary.)
Measuring Angles • On your worksheet (# 4 – 7) • Measure each of the angles to the nearest degree • Extend the rays with your ruler if you need to in order to read the protractor.
Practice 1.3 • Do # 1 – 5 independently • Skip #6 • If you’re done, try # 7 – 14
Create your own angles • On a separate sheet of paper, draw 4 angles. • 2 acute • 2 obtuse • Switch with a partner. • Measure your partner’s angles to make sure they are correct.