Download
1 / 15
170 likes | 230 Vues
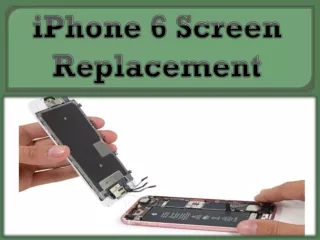
How to replace your Apple iPhone 6 screen

E N D
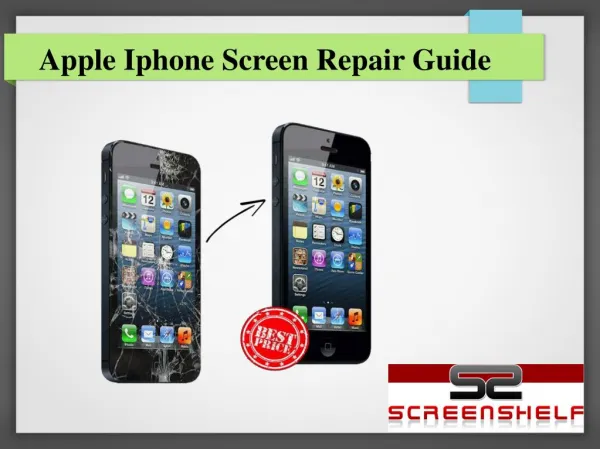
If you've wound up with a shattered iPhone 7 Plus screen, here's what you need to know about repairing it.
The iPhone 7 Plus's screen is beautiful, to be sure — but that glass beauty can break if dropped, smashed, or otherwise chipped against similarly-hard surfaces. Some breaks are worse than others, but if you completely smash your screen, you're probably in need of a screen repair.
After all, modern iPhone screens aren't just LCD and glass: They pack several different components in one. The digitizer reads your finger contact and movement; the LCD displays all the images, video, and other visual information, and the glass screen helps shield the inner components of the phone. As such, whether you crack the glass, run into a black screen, or can't interact with your phone via touch, you'll need to replace the entire screen to get your phone working properly again. When you crack your screen, it also destroys your iPhone's water resistance; if you're used to keeping it near water, you'll definitely want to fix your device.
There are several ways to repair or replace a broken iPhone screen, depending on your monetary situation and free time. Here are a couple, in order of easiest (and cheapest) to most complicated.
If your screen is shattered but relatively intact, you can put off a potentially-costly repair by sealing the broken pieces behind a screen protector. I'll note that this is a temporary measure, and one I generally recommend for screens that are cracked, but not completely destroyed — it can keep the cracks from worsening or pieces of the screen from falling apart, but eventually, you'll need to replace the screen. It also won't maintain your iPhone's water resistance.
The iPhone 7 and 7 Plus screens have more complicated technology embedded within them than any iPhone before them: Between the Touch ID sensor, Taptic Engine-based Home Button, 3D Touch display, and FaceTime front-facing camera, a cracked iPhone screen can be a real hassle to replace.
Luckily, if you purchased AppleCare+ with your iPhone screen repair is simple and inexpensive — assuming you have the time to send it to Apple. It's just $29 to fix a broken iPhone 7 or 7 Plus screen, and an Apple Store or Apple Authorized Service Representative store you visit has the equipment necessary to properly remove, replace, and re-calibrate your iPhone for Touch ID and water resistance.
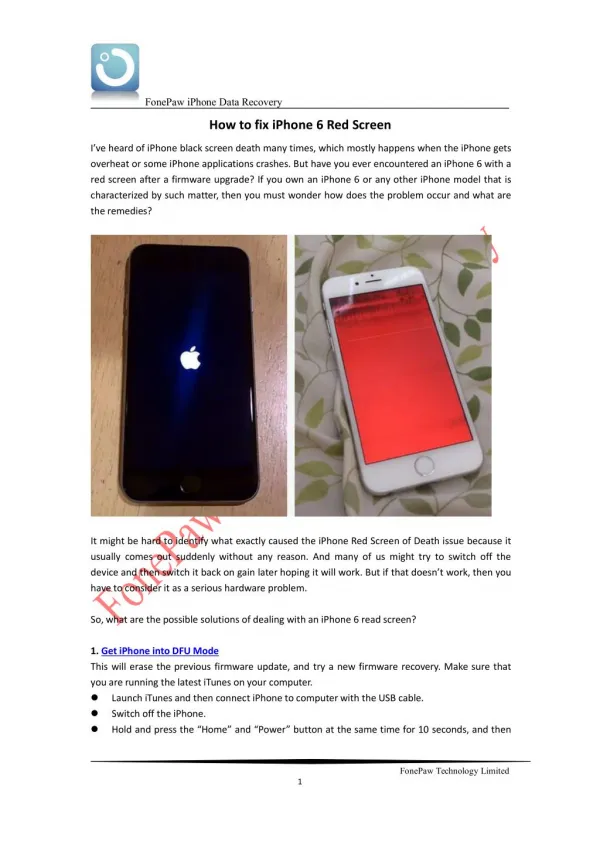
Before you consider a repair... • If your glass is intact, but your screen is black or you have lost touch control, you should always try a soft reset of your iPhone before this repair. • 1. Press and hold the Power button on the right side of your phone. • 2. While holding the Power button down, press and hold the Volume Down button on the left side of your phone. • 3. Hold both buttons down until you see the Apple logo on the screen. • If the Apple logo doesn't appear after holding down the buttons and waiting for at least 90 seconds, your phone likely needs a screen repair.
General repair guidelines • Always use good lighting - smart device components are small and you'll need plenty of light to see what you are doing. • Maintain a clean, organized workspace so you don't lose or confuse any components. • Group your screws so you can keep track of where they came from. Most screws cannot be interchanged. • Apply enough heat to loosen adhesive but not enough to damage the device. • At any point during a repair, if the adhesive becomes hard to separate, apply more heat. • After separating adhesive, keep the housing and screen in close proximity until flex cable is disconnected.
How to replace a broken iPhone 7 Plus screen The iPhone 7 Plus LCD screen assembly is difficult to remove and replace: Several flex cables can be torn easily, so proceed carefully. In addition, loosening the screen's adhesive requires controlled heating with a dehydrator or heat gun. Required tools and parts Not only will need a new screen — an "LCD Assembly", if you want to be technical about the part — you're going to need some tools if you're going to do this right. Or at all.
iPhone7 Plus LCD assembly • Metal spudger • Phillips head srewdriver • Pentalobescrewdriver • Tri-point screwdriver • Spudger
Dehydrator, heat Gun, or heat mat While not required to repair your iPhone, we also recommend you use a magnetic mat and screw capsules to keep everything organized. You're going to be working with some tiny screw here; these will help you keep them on your table and not lost on the floor. Turn your iPhone off and heat it up. Start by heating up the device's interior adhesive strips with a dehydrator, heat gun, or heat mat. Heat guns are the quickest, but be careful because it is easy to overdo it and damage the device. Twenty minutes in the dehydrator should be enough. Ten to twenty seconds of a heat gun on a low setting should be all you need to loosen the adhesive.