Download

1 / 22
441 likes | 994 Vues
Operational Training on the Portable Radiation Scanners (Backpack System AT6101C RECON). Outline. ATOMTEX AT 6101C Get system ready for use Easy mode use for non experts in the field of gamma spectroscopy Scanning, detecting and localizing Real Time (online) identification

E N D
Operational Training on the Portable Radiation Scanners (Backpack System AT6101C RECON)
Outline • ATOMTEX AT 6101C • Get system ready for use • Easy mode use for non experts in the field of gamma spectroscopy • Scanning, detecting and localizing • Real Time (online) identification • Data evaluation by experts • Dose rate mapping (Google Earth) • Waterfall diagrams • Manual spectra evaluation
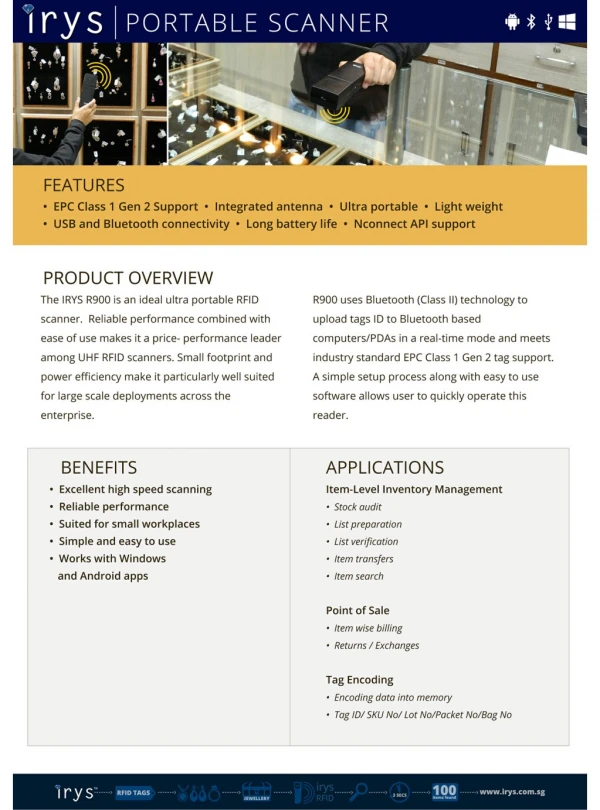
ATOMTEX AT-6101C • Backpack system with large gamma and neutron detectors inside • PDA version • Gamma radiation search tool with real time identification plus categorisation (NORM, medical, industrial, nuclear) • Gamma dose rate indication ( 30%) • Neutron radiation search tool • GPS receiver • Battery power for minimum 8 hours • Primary use for Nuclear Security applications • Major Public Event Protection: • Screening of the venues prior to the event • Perimeter check during the event • Orphan source search • Discrete operations
Atomtex Backpack - AT6101C recon status since 2007 Booster Battery (optional) (plus 8 hours) GPS receiver built in PDA PDA “RECON”, communication with detectors by BT only BT detection unit (BTDU) Gamma detector:63x63 mm NaI detector Neutron detector:Moderated He3 tube status 2010
Starting the System – less than 5 min Green light – BTDU activated Red light – fully charged • Activate PDA: press • Switch on BTDU: Press and hold button on BTDU until green light is blinking in 1s frequency • Activate ATASScannerMobile software by pressing left • Within the next seconds connection to BT DU will be automatically established • Request for stabilisation of the gamma detector: YES Orange light - charging
Starting the System – less than 5 min Displays of starting sequence • System ready after message:“Radiation background measured – scanning mode”
PDA display when ready - important information for FLOs Gamma dose rate Battery status PDA Fields for alarmindication Battery status gamma channel Scanning bar graph Battery status neutron channel Neutron count rate Message field: alarm logbook, ID results,..
PDA display when ready - additional information for experts Mode of operation Status line Gamma dose rate Statistical error Analogue scale of Gamma dose rate Gamma threshold[microSv/h] Background mode Energy scaleof spectrum Neutron count rate Statistical error Analogue scale of neutron count rate Neutron threshold [nps] Message field: alarm logbook, ID results,.. Menu
Scanning mode • Scanning bar graph shows status of radiation field • Gamma radiation indicated with green (normal conditions) or red bars (alarming conditions) • Neutron radiation indicated with blue • Increasing signal on bar graph helps to localize source • Additional acoustic signals • different sounds for neutron and gamma radiation; • proportional to radiation field – eye free search • Voice message and display informs about • Radiation detected • Starting identification, identification results • Dose rate
Identification mode • Automatic activation of the identification mode if count rate or dose rate reaches pre-set levels • Measurement intervals • spectra collection time 5 sec. recommended, including file saving • Identification time: recommended 60 sec. • Each measurement delivers: • Gamma Spectrum (20 - 1650keV) • Count rate (integral spectrum) • Dose- and neutron rate • GPS coordinates • ID result • Possibility for experts: • See the spectrum by pressing the ‘left’ button, or • Make a long term measurement by switching from ‘scanning’ to ‘spectrometry’ (RID) mode
Important menu functions • Switching off the ATASScanner program: • Menu/Settings/ Exit • X in top right corner will not terminate program!! • Stop identification: • Menu/Scanning/ Reset bkg/Stop Ident. • Restart scanning: creating new folder und taking new background • Menu/Scanning/ Restart Scanning • Switching mode: • Menu/Mode/ Scanning • Menu/Mode/ Spectrometry • Menu/Mode/ Dosimetry • Working in Spectrometric mode: • Menu/Spectrometry/ start, stop, save measurement • Shut down the PDA correctly – press and hold power button for more than 5 s (correct shut-down indicated by sound)
Data evaluation - Experts • Spectra evaluation on the spot by ATASScanner software : • Real Time Identification (during scanning) • Spectral (RID) mode • Spectra evaluation – post processing • ATASScanner software (Spectra evaluation and waterfall diagram) • Identification software Identify: spectra are stored under *.spe • Software Spesian (Waterfall diagram) • Dose rate mapping: • GPSSpec: Kml-converter for Google Earth • Optional: dose rate mapping with OZI Explorer
Data evaluation (recommendation) • Step 1: data transfer PDA to PC • Connect PDA and PC by USB cable • Open the PC communication software and copy data (Windows Explorer) • Step 2: quick evaluation if source was present during scan: Waterfall diagram • Step 3: mapping of collected information by GPSSpecin combination with Google Earth • Step 4: spectra evaluation by Identify
Data Evaluation – Waterfall diagram • Use software Spesianand select in the menu “file/open” • Select target folder, click on 1st file and press open • After a few seconds main frame changes to a mixture of colours on a dark background – the Waterfall diagram • Main frame: 3D info displayed in 2D graph + color • X axis = time (one spectrum per interval) • Y axis = Spectra energy • Z axis = colour coded count rate • Other frames: • Single or, summation spectra • Map: displays path based GPS coordinates
Spectra evaluation with Identify • Spectra are stored on PDA: • One spectrum each 5 seconds (user presettable) • Spectrum created during identification (good statistic) • Manual saving from RID mode • Evaluation with Identify • Load *.spe file • Select detector size (3x3” NaI) • Select library for NaI(IdentiFINDER) Folders and filescreated during scan
Dose rate mapping – KML converter • Open software GPSSpec • Select target folder • Press command Evaluate to get information: • Dose rate • Count rate • Neutron Rate • Nuclides found • Temperature • Command: Convert to KML file creates file view.kml for Google Earth • Google Earth opens automatically Obs.: The range of the colour code can be chosen manually.
Google Earth information Information in map is selectable: • Count rate (pure integral) • Dose rate • Temperature • Neutron count rate • Isotopes found: • Identified nuclides • Unidentified nuclides