Download
1 / 13
170 likes | 423 Vues
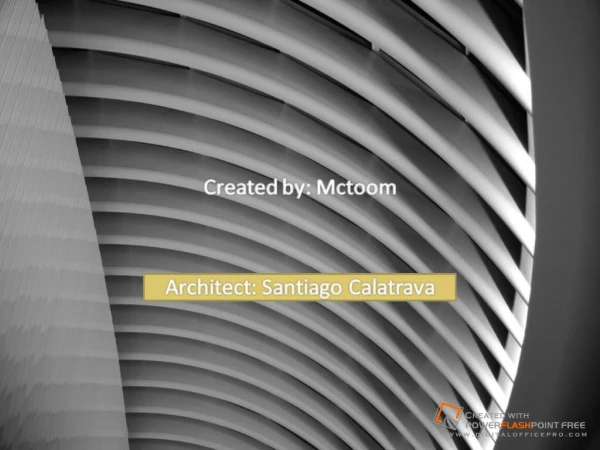
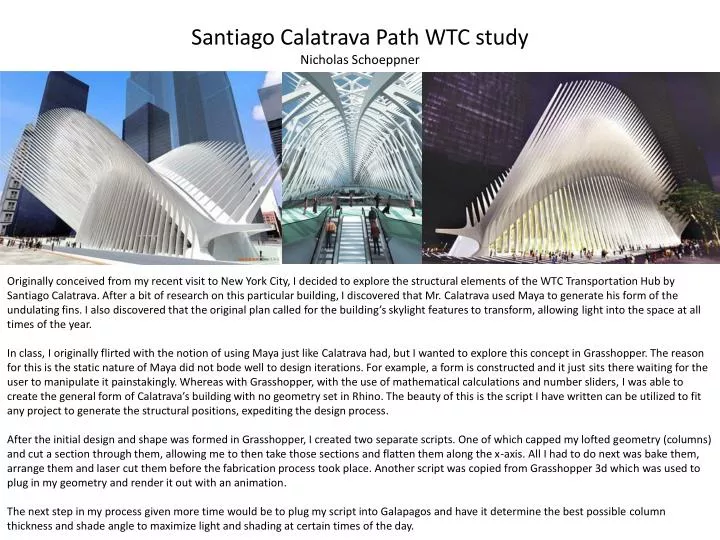
Santiago Calatrava Path WTC study Nicholas Schoeppner.

E N D
Santiago Calatrava Path WTC studyNicholas Schoeppner Originally conceived from my recent visit to New York City, I decided to explore the structural elements of the WTC Transportation Hub by Santiago Calatrava. After a bit of research on this particular building, I discovered that Mr. Calatrava used Maya to generate his form of the undulating fins. I also discovered that the original plan called for the building’s skylight features to transform, allowing light into the space at all times of the year. In class, I originally flirted with the notion of using Maya just like Calatrava had, but I wanted to explore this concept in Grasshopper. The reason for this is the static nature of Maya did not bode well to design iterations. For example, a form is constructed and it just sits there waiting for the user to manipulate it painstakingly. Whereas with Grasshopper, with the use of mathematical calculations and number sliders, I was able to create the general form of Calatrava’s building with no geometry set in Rhino. The beauty of this is the script I have written can be utilized to fit any project to generate the structural positions, expediting the design process. After the initial design and shape was formed in Grasshopper, I created two separate scripts. One of which capped my lofted geometry (columns) and cut a section through them, allowing me to then take those sections and flatten them along the x-axis. All I had to do next was bake them, arrange them and laser cut them before the fabrication process took place. Another script was copied from Grasshopper 3d which was used to plug in my geometry and render it out with an animation. The next step in my process given more time would be to plug my script into Galapagos and have it determine the best possible column thickness and shade angle to maximize light and shading at certain times of the day.
Fabrication Process Raw Pieces 3D Effect Mirror Fully Constructed Hinge Connection