Download
1 / 10
130 likes | 261 Vues
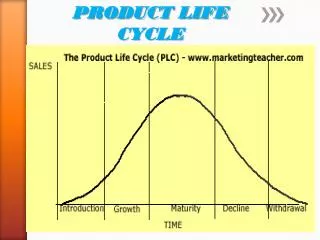
The Product Life Cycle of Pasteurized Milk. By: Marina Bayma and Sierra Williams. Stage one: Design .

E N D
The Product Life Cycle of Pasteurized Milk By: Marina Bayma and Sierra Williams
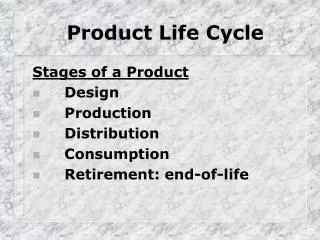
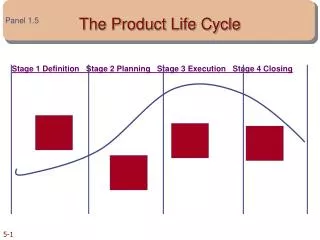
Stage one: Design First someone needs to design the machines, and the system of how the product need to get to one place to another, and how the products they need, needs to get to them. Once this is done (which it is...), then they can start pasteurizing milk.
Stage two: Farmers Yes, as we all know, farmers wake up at the crack of dawn to milk their cows…by hand. Well, no, now a days, farmers use machines to milk their cows. Once the milk is pumped out 2 or 3 times, all of the milk goes to this large storage cool storage containers, that keeps the milk cool and fresh for a while, until a big truck (with a container like barrel) comes and pumps out all of the milk in the storage container and sends the milk to a big milk factory, for it to be pasteurized.
Stage three: Filtering OK, now that the milk is at the milk factory, the milk now needs to go through barrels and ‘filters.’ In this process, the milk becomes chunkiness free. Now it is ready to be pasteurized.
Stage four: Pasteurizing Now, they pasteurizing the milk by putting it in pipes that are heated by water at around 161F (71C). This process only takes about 15-20 seconds, so the process it pretty quick.
Stage five: Bottling Great, now all we have to do is to bottle the milk. Plastic milk bottles will in aconstantly moving conveyor belts, while machines right above of the conveyor belts, pours in the pasteurized milk, and puts on the cap. Once this is done, a different type of machine(s) stamps a “Best By…” and the date it will expire. Milk is only good for a few weeks, until it is rotten.
Stage six: Shipping The milk is pretty much completed, except for the shipping part. Before shipping, we need to box it (to prevent damaging), it is shipped in cardboard boxes. Once that is done, it can be shipped by plane and/or truck.
Stage seven: Stores/End The product is in the store(s), and is waiting for a customer to buy. After when the costumer uses the milk, the bottle is the only thing left of the product. The plastic bottle can be used for making crafts, such as a bird feeder. Either way, it will end up in the trash or the recycling bin.
How much Energy? Let’s see how much energy it takes to pumped, filter, etc. Computer Designing, Pumping Machine, & Cool Storage Container Machines churning the milk & filters running Heating water at 161F ( for pasteurizing) Making plastic bottles, moving conveyor belts, milk pouring machines, and stamping machines Making boxes, making the car/plane, & getting the gas Using human energy (craft) & getting the leftover plastic to the landfill
The End… Thank you for watching our presentation! Tell us if we missed something in this presentation, or tell us how we can make this presentation even better.