Download
1 / 9
100 likes | 223 Vues
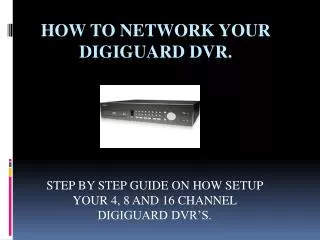
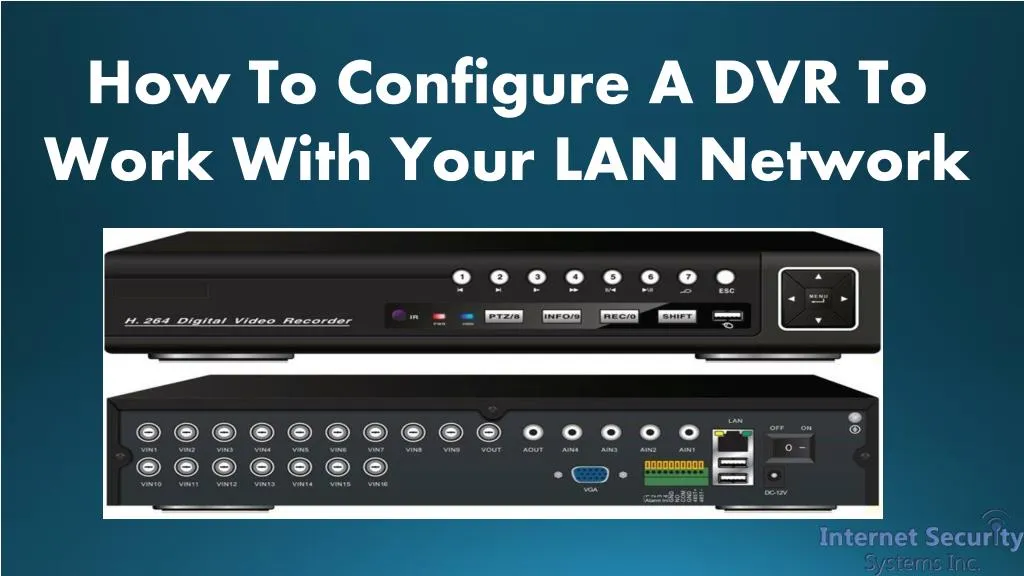
Adding recording and storage functionality to a surveillance system is a great choice and in this presentation the author provides a guide to set up a DVR to work on LAN network. Get more information regarding the installation at http://securitystoreusa.com

E N D
Introduction • Digital Video Recorders (DVRs) are used to record images and video from CCTV cameras. • You can shop for digital video recorders online or buy it from your local electronic store. • This guide shows how to configure a DVR to work with your local area network (LAN).
Requirements • A local area network to connect the DVR and the computer • A LAN cable connected to an internet modem. • DVR remote viewer software in a CD-ROM that comes with the DVR package. • If you shopped for the digital video recorder online, you can download the software from the manufacturer’s site.
Finding the LAN’s TCP/IP Settings • On the computer desktop, press “windows button + R” and then type “cmd”. • On the command prompt screen, type “ipconfig” and press Enter. • Note down the top most results (DNS Suffix, IP, subnet mask & Default Gateway) along with the numbers on their sides. • The numbers are the addresses of the respective values.
Assigning A Static IP Address To The DVR • Change the number after the 3rd dot in the IP address obtained above. Choose a 3-digit number greater than the existing one. • Type “ping<space><new IP address>” in the command prompt and press Enter. • The output should show 4 lines of “Request timed out” • If not, repeat the above 3 steps, choosing a different number each time.
Setting Up TCP/IP in DVR • Open the TCP/IP setup menu in the DVR. • Enter the static IP address assigned to the DVR in the previous step. • Enter “255.255.255.0” as the subnet mask number. • Enter the default gateway obtained in the “Finding LAN’s TCP/IP” section. • Enter port number as “8000” if asked.
Installing the DVR Remote Viewer Software • In the command prompt, type ping <DVR’s IP address>. • If all 4 results show data was sent and received, the connection is working properly. • Put the CD in the CD Drive, or double click on the software downloaded off the internet. • Move on to the next step after installation is complete.
Configuring the Software • In the IP address field, enter the DVR’s IP address as obtained in the previous steps. • In the port field, enter 8000. • Leave the ‘user ID’ and ‘password’ fields blank. • Connect the DVR through the internet.