Download
1 / 33
350 likes | 373 Vues
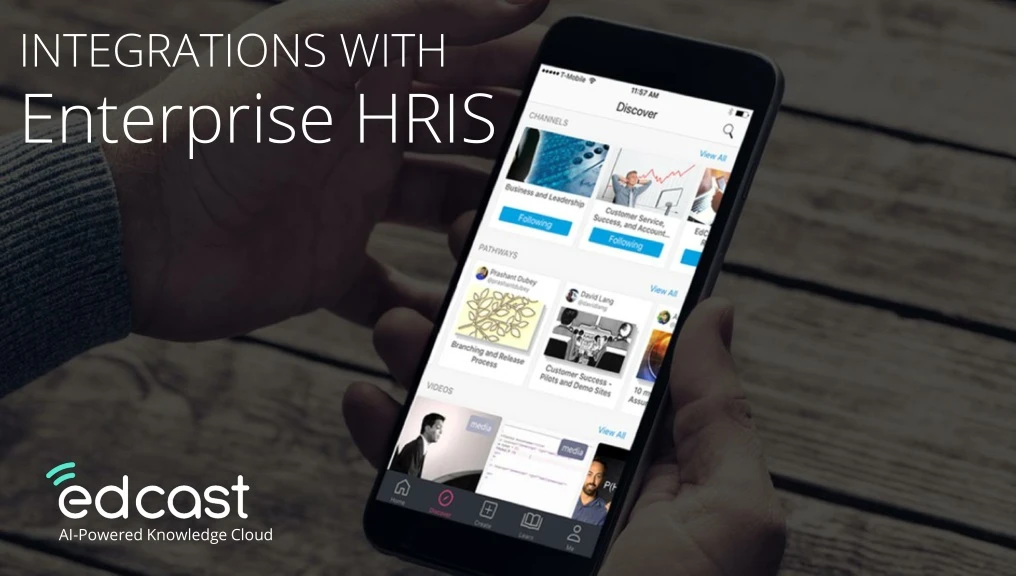
INTEGRATIONS WITH Enterprise HRIS. AI-Powered Knowledge Cloud. Enterprise HRIS Integration. Typically, HRIS Integrations with EdCast comprise of these three aspects: Employee Profile Modelling Setting up a Typical User Profile on LXP Employee Data Synchronization

E N D
INTEGRATIONS WITHEnterprise HRIS AI-Powered Knowledge Cloud
Enterprise HRIS Integration • Typically, HRIS Integrations with EdCast comprise of these three aspects: • Employee Profile Modelling • Setting up a Typical User Profile on LXP • Employee Data Synchronization • Groups, Users, Managers, Custom Attributes etc • SSO Integration • SAML, OAuth, OpenID Connect
Employee Profile Modeling - Mandatory Attributes • The LXP can work with the most minimal amount of employee information - only the following attributes are mandatory • Email • First Name • Last Name • A consistent user account can be created using these mandatory attributes
Employee Profile Modeling - Custom Attributes • LXP User Account can be enriched to pass some additional information from the customer’s HR record such as: • Employee ID • Business Unit • Functional Manager • Custom attributes can be populated using any of our integration modes from the HR record of the Employee
HRIS – Modes of Employee Data Synchronization • For all HRIS Integrations EdCast synchronizes the user’s data from the customer’s HR system into the LXP • It is a unidirectional Integration • There are four modes of Integration • Mode #1 - Pre-Built connectors – Workday, SuccessFactors etc • Mode #2 - SFTP based integration • Mode #3 - Push Integration - Customer pushes data through EdCast APIs • Mode #4 - Pull Integration - EdCast pulls data from the HRIS APIs
Data Integration – Mode #1 – Pre-Built Connectors • Workday • SuccessFactors
WorkDay Connector • Supports adding/updating users • Supports adding/updating custom attributes • Supports synchronizing user states • Fetches all the user data on day one and then fetches the delta from second day onwards • WorkDay connector runs once in every 24 hours
WorkDay Connector - Things to note • Doesn’t support fetching profile images • Doesn’t support fetching and mapping the manager details
WorkDay Integration Process (Internal) • Customer IT administrator share the WorkDay configuration parameters(From slide#7) with EdCast customer support team • EdCast support team will configure WorkDay job in https://hrms-prod.edcast.io • Create HRMS Source with customer provided values
SuccessFactors Connector • Supports adding/updating users • Supports adding/updating custom attributes • Supports synchronizing user states • Fetches all the user data on day one and then fetches the delta from second day onwards • SuccessFactors connector runs once in every 24 hours
SuccessFactors Connector - Things to note • Doesn’t support fetching profile images • Doesn’t support fetching and mapping the manager details
SuccessFactors Integration Process (Internal) • Customer IT administrator share the SuccessFactors configuration parameters(From slide#7) with EdCast customer support team • EdCast support team will configure SuccessFactors job in https://hrms-prod.edcast.io • Create HRMS Source with customer provided values
Employee Data Sync – Mode #2 – SFTP Based • Customer uploads CSV file to EdCast SFTP folder • CSV files need to be encrypted using EdCast Public Key (using PGP encryption) • Sample CSV file : https://s3.amazonaws.com/ed-general/bulk_import_sample.csv • File with all records on initial launch followed by new or changed (delta) records daily • Customer is in control of the users that will be added on to the LXP • EdCast platform processes these files on a daily basis
Employee Data Sync – Mode #3 – Push Integration • https://documenter.getpostman.com/view/1465156/RW8FERBE?version=latest • Customer uses Developer API to create/update users/groups • Customer is in control of the users that will be added on to the LXP • Real time create/update
Employee Data Sync – Mode #4 – Pull Integrations • Customer to provide 2 API’s • API which provides list of all users along with their attributes • First Name, Last Name, Email are mandatory • API which provides the delta of users (added/deleted) for a given time range
SSO Integration • EdCast supports two types of SSO integrations • Integration with Customers Identity Provider • Integration with Content providers
SSO integration with Customer’s Identity Provider (SP Initiated SSO Flow)
SSO Integration Process • EdCast Support team creates basic Identity Provider profile for the customer and share below artifacts with customer • Service Provider Metadata file • ACS URL • Entity ID • Customer’s IT administrator creates the Service Provider profile in their Identity Provider software and share below artifacts with EdCast Support team • Identity Provider Metadata file • Single Sign On URL • Customer’s IT administrator also updates their Identity Provider software and send SAML assertion with firstName, lastName, email and globally unique identifier (like employee ID) as subjectNameID • EdCast Support team updates the customer’s Identity Provider profile with right customer supplied information from step #3
SSO Integration Process (Internal) • Note down the IDP Id from the customer’s Identity Provider profile • EdCast Support team creates OKTA API token for the customer from OKTA Admin Console->Security->API ->Tokens (Make sure to copy the token offline) • Enable OKTA for this customer using below steps • Go to organization specific settings page in LXP Super Admin Console • Go to OKTA tab and Enable OKTA • Update OKTA domain (Production - https://edcast.okta.com and SandBox- https://edcast.oktapreview.com) • Update the API Token with value from Step#2 • Enable SAML checkbox and update the IDP value with the value from Step#1 • Go to Customer’s LXP Admin Settings page and enable SAML (Admin->Settings->Login Page Settings-> Okta saml) For more detailed information, visit https://confluence.edcastcloud.com/display/EP/EP+-+SSO+with+Okta
SSO integration with Content Provider (IDP Initiated SSO Flow)
SSO Integration Process • EdCast Support team creates basic SAML 2.0 application for the content provider application (OKTA Admin Console-> Applications->Add Application->Create New App) and share below artifacts with the provider • Identity Provider Single Sign-On URL • Identity Provider Issuer • EdCast public key certificate • Content providers IT administrator use the above information and configure their SAML integration and share below artifacts with EdCast Support team • Single Sign On URL • Service Provider Entity ID (Audience URI) • Required Attributes in SAML assertion • EdCast Support team updates the content providers application with right customer supplied information from step #3 • EdCast Support team to assign the customers group to SAML application created in Step#1