Download
1 / 13
130 likes | 244 Vues
Recorder Day 3. By Mr. Williams. Rest the mouthpiece on your lower lip, just like a drinking straw. Only a small portion of the mouthpiece goes inside your small-shaped mouth. Left Hand. Left hand is always on top and the right hand is on bottom. Left pinky

E N D
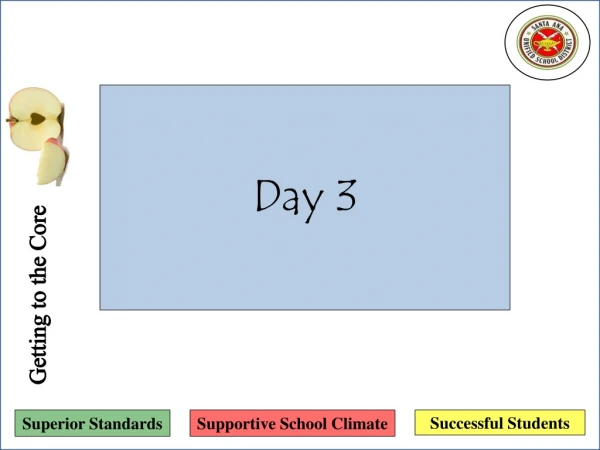
Recorder Day 3 By Mr. Williams
Rest the mouthpiece on your lower lip, just like a drinking straw. Only a small portion of the mouthpiece goes inside your small-shaped mouth. Left Hand Left hand is always on top and the right hand is on bottom. Left pinky and right thumb are not used Right Hand Rest your fingers next to the holes that you have yet to learn. Be careful not to cover them by accident.
Some Sound Advice • Always breathe gently into the mouthpiece. • Breathe in through your nose and then • breathe out as if you were sighing or blowing • out a candle through a straw. Be Gentle! 2) Leaks cause squeaks. Press against the holes firmly with your fingers and thumb. Don’t let any air leak out. Use the pads near the tips of your fingers. You’re pressing just right if you see circle marks on the pads of your fingers. 3) Use your tongue to start each tone. Place your tongue against the roof of your mouth just behind your front teeth. Start each tone that you play by tonguing the syllable ‘too’ as you breathe into the recorder.
Our next note is third space C. The fingering for C is “switched” from “Pinched Position B”. The left hand thumb and MIDDLE finger cover the two holes shown in red. DO NOT USE THE LEFT POINTER! C
Our next note is fourth line D. The fingering for D is the same as C except the left thumb is dropped (uncovered). D = Drop MAKE SURE THE LEFT MIDDLE FINGER IS THE ONLY FINGER THAT IS COVERING! D
D C C B B FROM B P U T B A C K S W I T C H S W I T C H D R O P
Now try it without any help from the recorder pictures. READ the notes like you would READ a sentence! D C C B B
D C C B B A A G G
Again, try it without any help from the recorder pictures. READ the notes as you play! D C C B B A A G G
Jingle Bells 4 4
4 4
Jingle Bells 4 4 Jin- gle bells Jin- gle bells Jin - gle all the way! Oh what fun it is to ride a one horse o -pen sleigh, HEY! Jin- gle bells Jin- gle bells Jin - gle all the way! Oh what fun it is to ride a one horse o -pen sleigh!
D C C B B FROM B P U T B A C K S W I T C H S W I T C H D R O P