Download
1 / 15
170 likes | 438 Vues
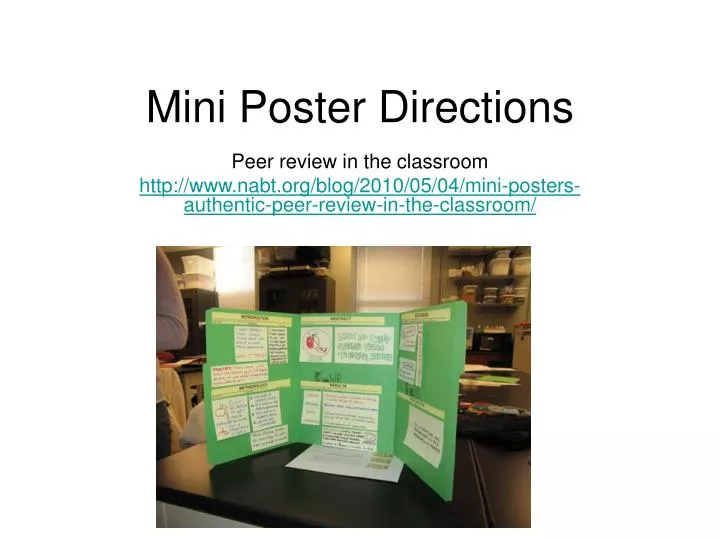
Mini Poster Directions. Peer review in the classroom http://www.nabt.org/blog/2010/05/04/mini-posters-authentic-peer-review-in-the-classroom/. How to make one:.

E N D
Mini Poster Directions Peer review in the classroom http://www.nabt.org/blog/2010/05/04/mini-posters-authentic-peer-review-in-the-classroom/
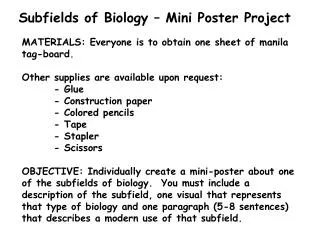
How to make one: • take two colored file folders, trim off the tabs and glue/tape them so that one panel from each overlap—leaving a trifold, mini-poster framework. Each student gets one of these. Tape or glue on headings.
It is reusable! • You will be using post-it notes so that the posters can easily be revised and we also will reuse the poster template several times over the year.
Implementing Mini-posters: • Sometimes the posters are done in groups, sometimes as individuals.
How it works: • The class is divided up in half or in groups. Half the class (or a fraction) then stays with their posters to defend and explain them while the other half play the part of the critical audience. To guide the critic, I provide each “evaluator” with a one page rubric and require them to score the poster after a short presentation. I restrict the “presentation” to about 5 minutes and make sure that there is an audience for every poster. We then rotate around the room through a couple of rounds before switching places. The poster presenters become the critical audience and the evaluators become presenters.
What happens next? • At this point I step in and point out that I will be evaluating their posters for a grade (summative assessment) but they have until…. tomorrow (or next week) to revise their posters based on peer review—oh, and I’ll use the same rubric.
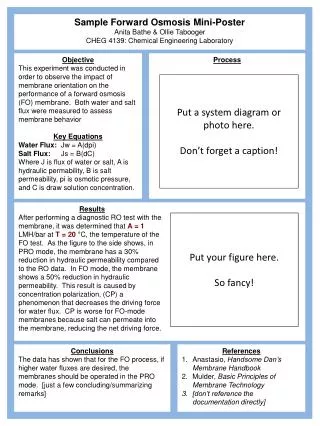
INTRODUCTION • The introduction has three parts: 1) The question asked, • 2) Background context—where does this question fit with what is known, and • 3) Your hypothesis presented in an “If…then” prediction that structures your research.
METHODOLOGY • This section should include three sections in sufficient detail so that others can repeat your research. • PROCEDURE: • MATERIALS: • STATISTICAL TESTS
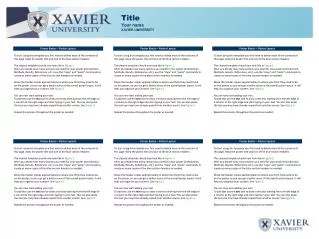
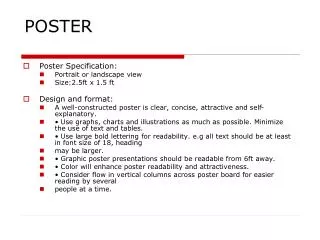
Title • The title should describe the work to the reader. Include the variables that are manipulated and the author
ABSTRACT • The abstract is a one or two paragraph condensation of the entire article giving the main features and results of the work described more completely in the poster.
RESULTS • Describe the results clearly. Use graphs, tables and charts to help clarify the results. Include a discussion on the statistics you use to describe or test your data. Save any conclusions for the discussion section.
DISCUSSION • What do your results mean when you consider the original question or hypothesis? • Point out the significance of your results. • If the results are unexpected or contradictory, you should attempt to explain why and point out possible avenues for further research.
LITERATURE CITED • Include all published works mentioned in your presentation. List in bibliographic form.
Headings link • http://www.nabt.org/blog/wp-content/uploads/2010/04/miniposter-headers.pdf