Download
1 / 5
0 likes | 5 Vues
If you're tired of looking at stained and cracked concrete floors in your garage, it might be time for an upgrade. Giving your garage floor epoxy the DIY coating is among the most preferred methods for doing so. <br>

E N D
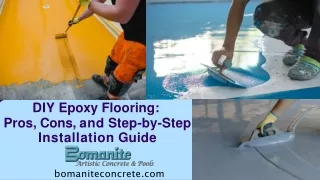
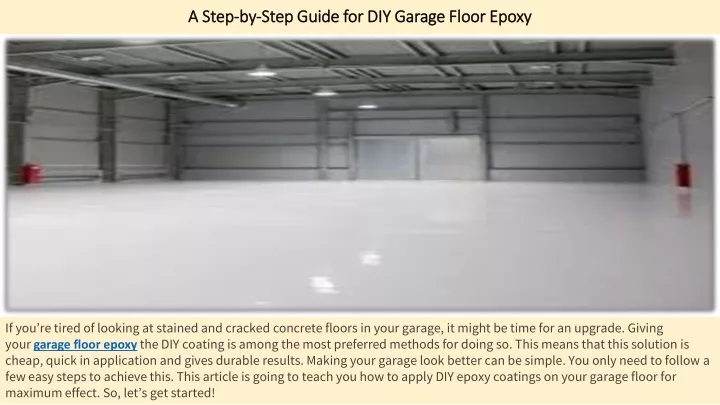
A Step-by-Step Guide for DIY Garage Floor Epoxy If you’re tired of looking at stained and cracked concrete floors in your garage, it might be time for an upgrade. Giving your garage floor epoxy the DIY coating is among the most preferred methods for doing so. This means that this solution is cheap, quick in application and gives durable results. Making your garage look better can be simple. You only need to follow a few easy steps to achieve this. This article is going to teach you how to apply DIY epoxy coatings on your garage floor for maximum effect. So, let’s get started!
A Step-by-Step Guide for DIY Garage Floor Epoxy Cleaning Your Garage Floor Start by removing everything from your garage. Make sure you also sweep after taking away other things, getting rid of dust and garbage. Stubborn oil or grease stains? They can be easily removed using a degreaser. Clean up the spill with soap solution, then wash down the entire floor with water, allowing the floor to dry completely before going further. Therefore, the surface where the Epoxy will be applied must be cleaned out thoroughly. Preparing for Epoxy Application Ensure the preparedness of the concrete surface for epoxy application. Rough the floor’s surface using a diamond grinder or shot blaster. In another step, this process is used to improve adhesion and hence make a strong epoxy coating. Ensure to undertake roughening and later vacuum the floor to ensure that there are no traces of dust or other particles. The first step towards successful epoxy bonding is a cleaned but rough surface.
A Step-by-Step Guide for DIY Garage Floor Epoxy Mixing Epoxy Resin and Hardener After that, one has to mix the proper amount of garage floor epoxy resin along with the hardener in a container. Ensure that you follow the directions stated on the epoxy kit carefully. It is crucial to mix properly because desirable outcomes depend on it. Mix the resin and hardener well together for at least two minutes. This process ensures that it is applied evenly and consistently. Applying the First Layer of Epoxy Therefore, you need to begin by placing the first coat of Epoxy on your garage floor. Spread the Epoxy over the prepared surface using a roller so that it is uniform. Ensure that you move around systematically and cover all areas. Allow the first coat of Epoxy to cure after full application. This process normally lasts for about twelve to twenty-four hours, depending on the ambient conditions.
A Step-by-Step Guide for DIY Garage Floor Epoxy Adding Decorative Chips Add some style to your floor by painting the appropriate decoupage on it once the first epoxy layer is dry. As long as it’s tacky, sprinkle some decorative chips on the ground. Make sure that you distribute pleasingly by using a paintbrush. That’s an additional step that gives your garage floor a nice look. Applying the Top Coat After letting it dry for whole night, the following morning is for applying the final layer of Epoxy top coat. Apply a second coat of Epoxy using a nap roller to ensure uniformity. Make sure that you cover every part fully as in the previous layer, but apply it evenly. After a further 12 to 24 hours, let dry the second epoxy layer. Conclusion These simple procedures will guarantee you have an aesthetic and lasting garage floor epoxy. These are some easy methods that need to be followed for renovation. However, you have to be patience during drying periods for better outcomes. Turn your garage into an improved functional and visual environment. Have a wonderful feel of your new, good-looking, and durable floor in the garage after covering your boring old tiled floor.
Contact Information 7 S Quarantina St, Santa Barbara, CA 93103 Phone: (805) 770-5098 Visit Us: https://www.greensideepoxy.com/ https://www.greensideepoxy.com/service.html https://www.greensideepoxy.com/about.html https://www.greensideepoxy.com/contact.html https://www.greensideepoxy.com/Garage-Epoxy-flooring.html https://www.greensideepoxy.com/Polished-Concrete-flooring.html


![[PDF] DOWNLOAD FREE DIY NEEDLE TATTING FOR BEGINNERS: A step-by-step guide](https://cdn7.slideserve.com/12465377/diy-needle-tatting-for-beginners-a-step-by-step-dt.jpg)