Download
1 / 7
70 likes | 527 Vues
Fill a second picture (transparency) onto another picture

E N D
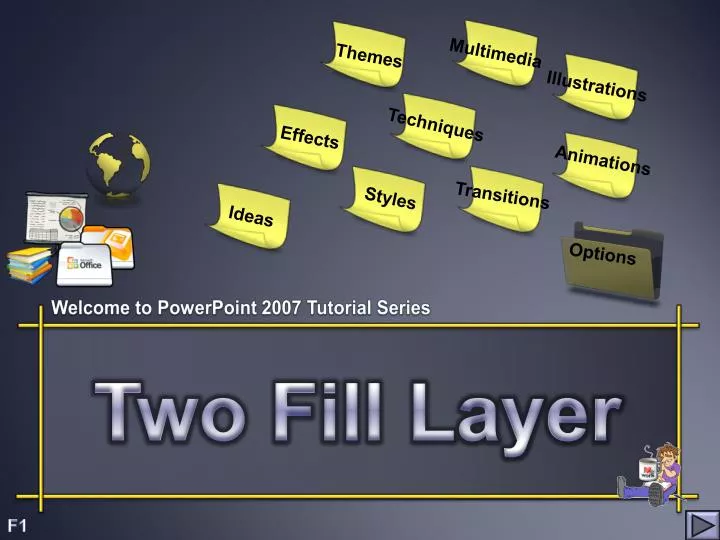
Multimedia Themes Illustrations Techniques Effects Animations Transitions Styles Ideas Options Welcome to PowerPoint 2007 Tutorial Series Two Fill Layer F1
I know! The Statue of Liberty has nothing to do with the Niagara Falls, but my Galleries needs more Picture variety. To achieve this type of Effect you need two pictures ; one for background and one for the transparency! The Statue is the transparency here This technique combines an image file with another fill, for example a photo and a gradient, to create a Photoshop-like, layering effect. Here is the technique in brief: Insert any Shape onto a slide. Right-click and select Format Shape / under Shape Fill select Picture Choose any image picture file and click Insert. (the more white space the better! Under Shape Outline select the No Line option. Right-click on image / select Format Picture / under Fill drag the Transparency slider to around 70% and click Close to return to your slide. Your image filled the entire Shape. If that process distorted the image, you may want to resize the Shape until you are satisfied with the look of the image PowerPointSeries
. Here comes the trick. Select the Shape and choose Cut under the Home Tab Then choose Paste Special, choose Picture (PNG) and click OK. Note: The PNG format supports many colors like the JPG format, but also supports transparency like the GIF format. It's a great marriage of the two. Right-click the image to open the Format Picture dialog box and choose the Colors and Lines tab.. (the Fill section [right-click / select format picture / fill] now shows No Fill which means that you can now apply another fill to your picture). That's what's so special about this technique. Cool Hey!? You can add a gradient, texture, pattern or even another picture. Add your new fill as normal, right-click / select format picture / fill Because the first fill is transparent, the second fill shows through. I first tried with the Tree and hills in a Rounded Rectangle, then the second fill with the Elephants, BUT the Rounded became a normal Rectangle !!!!!!!????? PowerPointSeries
First Picture / Transparency 70% Second picture PowerPointSeries
Picture first was done with Pink 70% Transparency in an Oval Shape! Picture second was done with Pink 70% Transparency in an Rectangle Shape! What am I missing here? I added Bevels to all PowerPointSeries
Both these pictures has black backgrounds and worked well Some Warm Lighting and Contour were added (right-click / Format Picture / 3-D Format) PowerPointSeries
Click Esc to Exit Thank you for watching this short Lesson This is just one of several free Lessons available All these Ideas are readily available on the Internet Come back soon! Creator: Frans Kruger 2009 The End http://outoppie-presentations.blogspot.com www.encryptologic.co.za