Download
1 / 25
250 likes | 385 Vues
Let’s build this bridge. Waddel “A Truss” Bridge over Lin Branch Creek Trimble, MO. ¼” x ¼” Tube. 1/8” Bar. 1/16” Bar. The Design. Design Requirements:. We’ll talk about how it was designed later. Our A-Truss Bridge. Prefabrication of Members. Cut out bars Cut out and assemble tubes

E N D
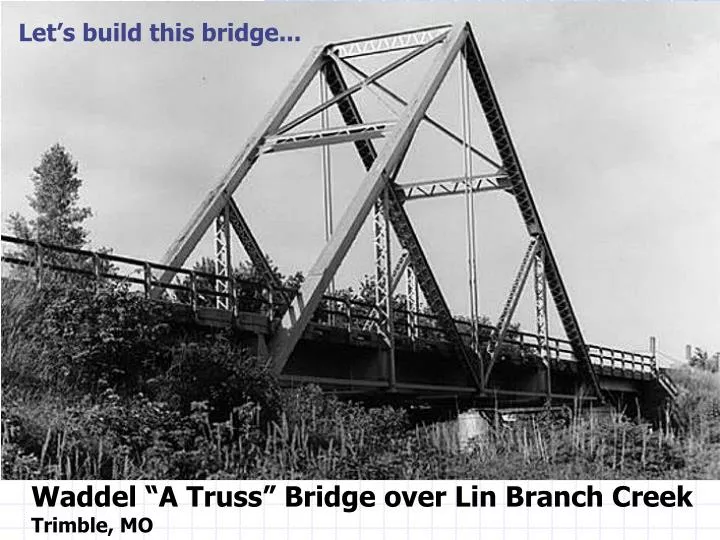
Let’s build this bridge... Waddel “A Truss” Bridge over Lin Branch CreekTrimble, MO
¼” x ¼” Tube 1/8” Bar 1/16” Bar The Design • Design Requirements: We’ll talk about how it was designed later...
Prefabrication of Members • Cut out bars • Cut out and assemble tubes • Cut out gusset plates • Trim bars and tubes to length
Trim Bars and Tubes to Length Bottom Chords(4 each)
Trim Bars and Tubes to Length Bottom Chords (2 per truss)
Trim Bars and Tubes to Length Verticals (4 each)
Trim Bars and Tubes to Length Verticals (2 per truss)
Trim Bars and Tubes to Length End Posts(1/4” tubes) (4 each)
Trim Bars and Tubes to Length End Posts (2 per truss)
Set up the Building Board Each Student: • Place the layout drawing on your desk. • You will have a blank space on the right for additional glue work.
Add Gusset Plates • Place Gusset Plate A at its correct location on the layout drawings. • Hold it in place with a very small ball of earthquake hold putty.
Add Gusset Plates • Repeat the process for Gusset Plates B, C, and D.
Add Bars • Apply a line of glue along the bottom edge of Gusset Plates A, B, and C. • Place a 1/16” bar in position as the bottom chord AC. • Stretch tight and hold in place with earthquake hold putty.
Add Bars • Apply glue to Gusset Plates B and D. • Place a 1/8” bar in position as the vertical member BD. • Stretch tight and glue in place. Each truss should now have two of these subassemblies —for each side of one truss.
Add Tubes For the bottom half of the truss (one per team): • Apply glue to Gusset Plates A and D. • Place a ¼” x ¼” tube in position as end post AD. • Hold in place for a minute until the glue sets.
Add Tubes • Apply glue to Gusset Plates C and D. • Place a ¼” x ¼” tube in position as end post AD. • Hold in place for a minute until the glue sets.
Add Tubes • Cut a 9/16” length of ¼” x ¼” tube. • Apply glue to Gusset Plate B. • Place the tube vertically on the gusset plate. • Hold in place for a minute until the glue sets.
The Finished Half-Truss • Allow all glue joints to dry.
Assemble the Two Halves • Put glue on the tubes at A, B, C, and D. • Place the upper half onto the lower half. • Stretch the bars tight and hold until the glue has set.
Assemble the Two Halves • Allow all glue joints on the completed truss to dry.
15 cm 15 cm 15 cm Model the Structure D A B C mass=5 kg =2.5 kg per truss
Finish the Truss • Trim off the excess length on both bottom chords (AC) .
Results of Compression Testing • Compressive strength depends on: • Type of material • Length of member • Width and thickness of cross-section • Shape of cross-section Bar Tube
Place the Structure into Service The completed bridge Load test with 5 lbs. of weight suspended from midspan. Bridge building attempted = 70 points Bridge tested at 2.5 lbs. = 80 points Bridge tested at 5 lbs. = 100 points