Download
1 / 48
480 likes | 600 Vues
Introduction to OBIEE: Learning to Access, Navigate, and Find Data in the SWIFT Data Warehouse Lesson 8: Printing and Exporting an OBIEE Analysis

E N D
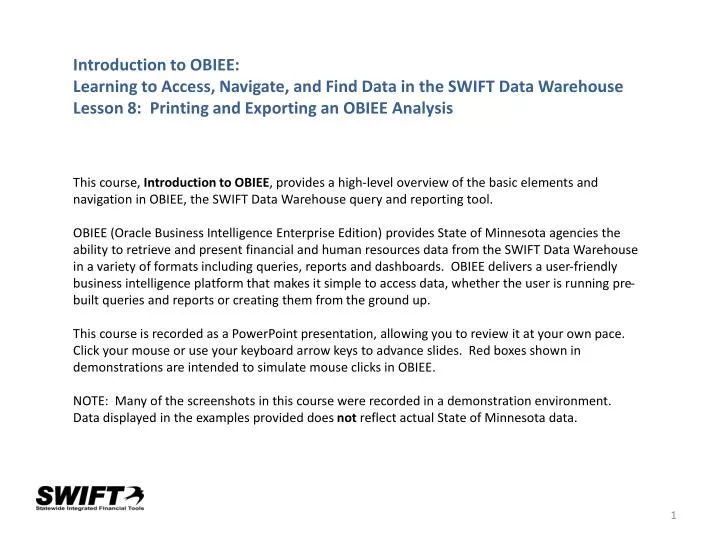
Introduction to OBIEE: Learning to Access, Navigate, and Find Data in the SWIFT Data Warehouse Lesson 8: Printing and Exporting an OBIEE Analysis This course, Introduction to OBIEE, provides a high-level overview of the basic elements and navigation in OBIEE, the SWIFT Data Warehouse query and reporting tool. OBIEE (Oracle Business Intelligence Enterprise Edition) provides State of Minnesota agencies the ability to retrieve and present financial and human resources data from the SWIFT Data Warehouse in a variety of formats including queries, reports and dashboards. OBIEE delivers a user-friendly business intelligence platform that makes it simple to access data, whether the user is running pre-built queries and reports or creating them from the ground up. This course is recorded as a PowerPoint presentation, allowing you to review it at your own pace. Click your mouse or use your keyboard arrow keys to advance slides. Red boxes shown in demonstrations are intended to simulate mouse clicks in OBIEE. NOTE: Many of the screenshots in this course were recorded in a demonstration environment. Data displayed in the examples provided does not reflect actual State of Minnesota data.
Lesson 8: Printing and Exporting an OBIEE Analysis • OBIEE provides several simple options for printing and exporting an analysis. The ability to export an analysis to another application such as Microsoft Excel provides flexibility for working with the data that you retrieve from the SWIFT Data Warehouse. • We’ll start the lesson by browsing the OBIEE Catalog to find and open an analysis. • The lesson will introduce: • The various options and instructions for printing an analysis, either electronically or on paper • The various options and instructions for exporting an analysis • Note: Data presented in this demonstration does not reflect actual state of Minnesota data.
Let’s start by finding an analysis. As we’ve seen, there are several methods for finding an analysis. This time, let’s browse the Catalog to find an analysis within My Folders called Rev by Region. Lesson 8: Printing and Exporting an OBIEE Analysis
Notice that the My Folders folder is currently selected (highlighted in blue). Lesson 8: Printing and Exporting an OBIEE Analysis
The contents of the selected folder are displayed to the right in the Catalog area. Lesson 8: Printing and Exporting an OBIEE Analysis
Let’s view the contents of the Financials folder. Lesson 8: Printing and Exporting an OBIEE Analysis
Click its Expand link. Lesson 8: Printing and Exporting an OBIEE Analysis
Here is the analysis we’d like to open: Product Rev by Region. Lesson 8: Printing and Exporting an OBIEE Analysis
Click the Open link under the Product Rev by Region analysis. Lesson 8: Printing and Exporting an OBIEE Analysis
The analysis, which is based on a query against the SWIFT Data Warehouse, runs and the results are displayed. The Product Rev by Region analysis displays in a compound layout with a table view on top and a graph view on the bottom (this time in the form of a pie chart.) Let’s check out the Printing options. Lesson 8: Printing and Exporting an OBIEE Analysis
Notice the Print link at the bottom of the analysis. Lesson 8: Printing and Exporting an OBIEE Analysis
Click the Print link. Lesson 8: Printing and Exporting an OBIEE Analysis
You have two printing options: You may print to a printable PDF file or HTML document. Let’s check these out.
Click Printable PDF. Lesson 8: Printing and Exporting an OBIEE Analysis
The analysis is rendered as a PDF document, which opens in a separate browser window. Lesson 8: Printing and Exporting an OBIEE Analysis
You could print this document by clicking the PDF’s Print button. Lesson 8: Printing and Exporting an OBIEE Analysis
Let’s close this PDF document and return to the analysis. Click the Close Tab button for this window. Lesson 8: Printing and Exporting an OBIEE Analysis
Click the Print link. Lesson 8: Printing and Exporting an OBIEE Analysis
This time, click Printable HTML. Lesson 8: Printing and Exporting an OBIEE Analysis
The Printable HTML option displays the analysis as it would appear on a web page. It opens in a separate browser window. Lesson 8: Printing and Exporting an OBIEE Analysis
If you wanted to print, you could click the browser window’s Print Icon, or click File, Print. Lesson 8: Printing and Exporting an OBIEE Analysis
Let’s close this HTML view and return to the analysis. Click the Close Tab button for this window. Lesson 8: Printing and Exporting an OBIEE Analysis
A nice feature of OBIEE is the ability to export data to other applications. This provides lots of flexibility for working with the data that you retrieve from the SWIFT Data Warehouse. Let’s check out the export options next. Lesson 8: Printing and Exporting an OBIEE Analysis
Click the Export link at the bottom of the analysis. Lesson 8: Printing and Exporting an OBIEE Analysis
You’re presented with several different options for exporting the results of the analysis. Let’s check a couple of these out. Lesson 8: Printing and Exporting an OBIEE Analysis
Click PDF Lesson 8: Printing and Exporting an OBIEE Analysis
A File Download box opens with options to Open or Save the file as a PDF document. Let’s open it. Lesson 8: Printing and Exporting an OBIEE Analysis
Click the Open button. Lesson 8: Printing and Exporting an OBIEE Analysis
Your analysis is presented as a PDF file using Adobe Reader software. Lesson 8: Printing and Exporting an OBIEE Analysis
Close the Adobe Reader. Lesson 8: Printing and Exporting an OBIEE Analysis
Let’s export the analysis to Microsoft Excel. Lesson 8: Printing and Exporting an OBIEE Analysis
Click the Export link at the bottom of the analysis. Lesson 8: Printing and Exporting an OBIEE Analysis
Click Excel 2003+ Lesson 8: Printing and Exporting an OBIEE Analysis
A File Download box opens with options to Open or Save the file as a Microsoft Excel Worksheet. Let’s open it. Lesson 8: Printing and Exporting an OBIEE Analysis
Click the Open button. Lesson 8: Printing and Exporting an OBIEE Analysis
The analysis, including both the table view and graph view opens in a Microsoft Excel Workbook. You can use the functions available in Microsoft Excel to change the presentation of the data to meet your needs. Lesson 8: Printing and Exporting an OBIEE Analysis
For example, you could delete the graph view, add new calculated columns, and re-format the data. You could then save the spreadsheet. Lesson 8: Printing and Exporting an OBIEE Analysis
Close the Excel workbook. Lesson 8: Printing and Exporting an OBIEE Analysis
Let’s take a look at some other export options. Lesson 8: Printing and Exporting an OBIEE Analysis
Click the Export link at the bottom of the analysis. Lesson 8: Printing and Exporting an OBIEE Analysis
You may need to export data for a purpose that requires a specific type of data format. Click the Data link. Lesson 8: Printing and Exporting an OBIEE Analysis
Three separate options are provided for exporting the data from the analysis. Let’s take a look at those. Lesson 8: Printing and Exporting an OBIEE Analysis
The CSV Format export provides the results of the analysis in an Excel spreadsheet. This format provides the data in a comma-separated list of values in plain-text form. Lesson 8: Printing and Exporting an OBIEE Analysis
The Tab delimited Format export also provides the results of the analysis in an Excel spreadsheet. In this format, each record in the table is presented as one line with tab separators between the values. Lesson 8: Printing and Exporting an OBIEE Analysis
The XML Format export provides the results of the analysis in a new browser window. XML (Extensible Markup Language) is a language that is used to structure, store, and transport information. It is presented with built-in tags. Lesson 8: Printing and Exporting an OBIEE Analysis
This concludes our discussion of printing and exporting an OBIEE analysis. Lesson 8: Printing and Exporting an OBIEE Analysis
Terminology Review Term Next Term Definition Next Definition