Download
1 / 8
80 likes | 99 Vues
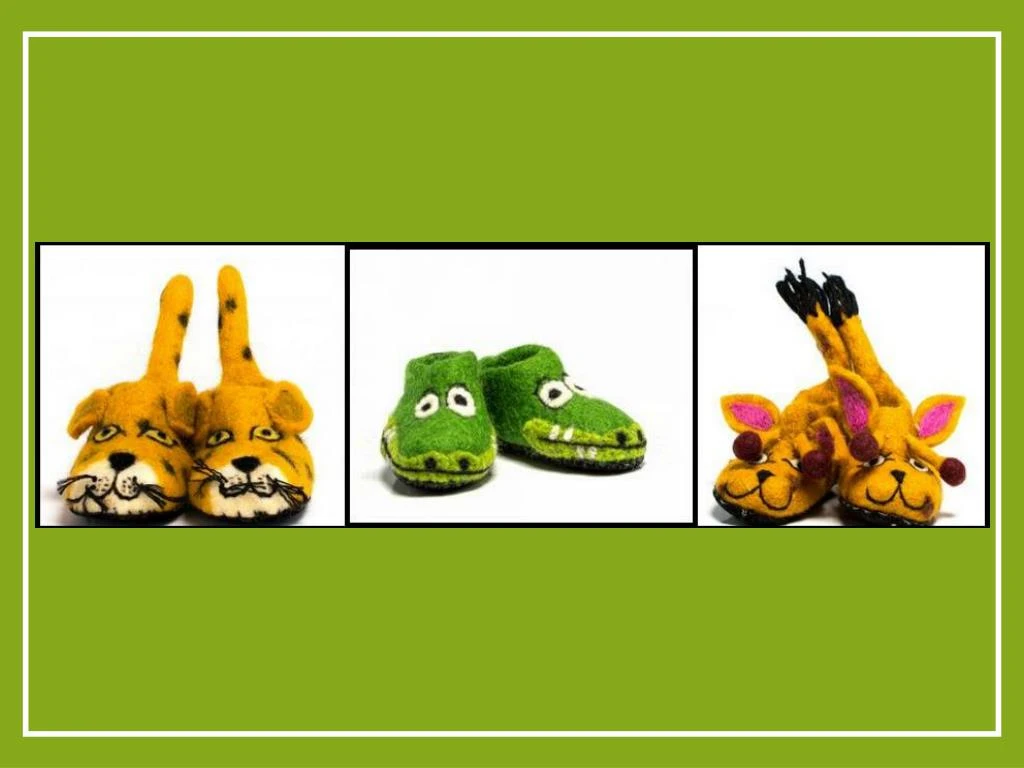
Designing baby shoes or slippers at home are actually simple. Visit here and go through the step by step guide to prepare the baby booties.

E N D
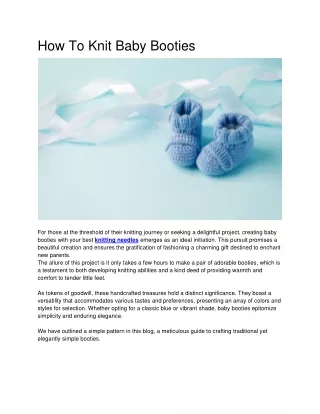
A Step by Step Guide on How to Prepare the Baby Booties The baby booties are perhaps the cutest way to enhance the beauty of your baby’s foot. Even if you are well familiar with weaving techniques, knitting the baby booties is an overwhelming task. There exist a wide variety of patterns to select from and besides that, shaping it appropriately so that the booty fits your baby’s little foot is indeed a complicated job.
How to design your baby booties Cast on the suitable amount of stitches to complete the toes knitting Stitch for as many chains as you require obtaining the preferred extent from toe to heel, making certain to reduce your knits as suitable, so that the baby bootie isn’t of loose-fitting at the narrower section of their foot.
Once you accomplish knitting the base of your kid’s bootie, stitch several rows to obtain your preferred rise up the calf as well as the ankle. For instance, if you desire your kid’s bootie to have a short ankle rise of ½ inches. If your estimation is 6 rows per 1 inch, then you need to stitch 3 rows for the cuff. On the other hand, if you desire to have a high calf rise of more than 4 inches, stitch around 24 rows for the same.
While knitting, it is a must to take into account that the yarn should be connected loosely so that your child doesn’t feel uncomfortable while wearing it. Fold up the yarn in half to make the bootie come inside out while the ridge is sewn. This step is used to conceal the ridge inside your kid’s bootie and avoid it becoming apparent while your child carries the same.
Once you accomplish sewing and knitting of your baby’s booties, the next step is to add some decorative pieces to enhance the beauty of the same. You can put on whatever the adorable or fun pieces of designing you like. You can easily add up the ribbons and buttons using a thread and a needle
So here your baby booties are ready. Surprise your kids and amaze the people with the adorable patterns of your kid’s booties.
WEBSITE https://hectorandqueen.co.uk/