Download
1 / 11
120 likes | 250 Vues
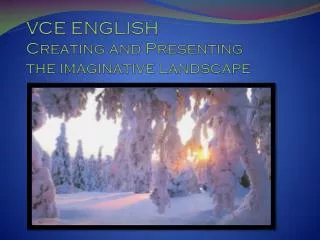
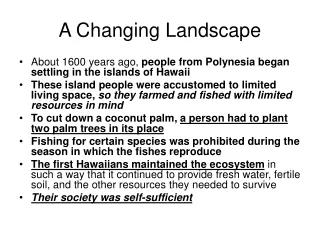
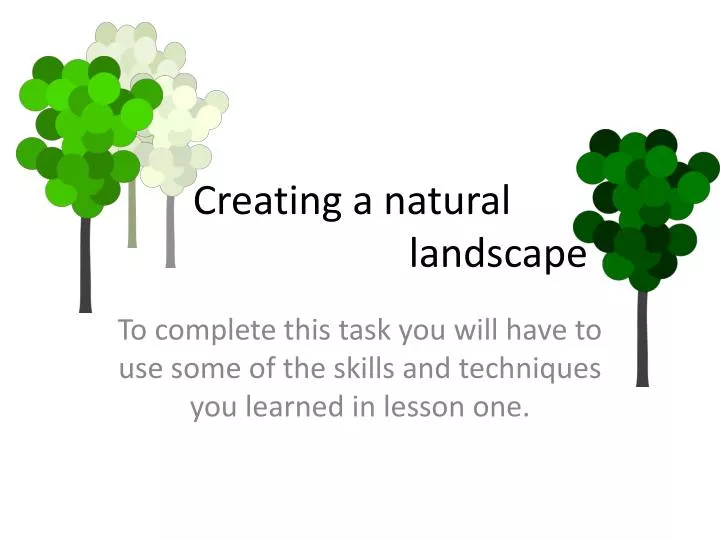
Creating a natural landscape. To complete this task you will have to use some of the skills and techniques you learned in lesson one. . Natural landscapes. The project: Create one 5 slide show showing how your landscape is built.

E N D
Creating a natural landscape To complete this task you will have to use some of the skills and techniques you learned in lesson one.
Natural landscapes The project: Create one 5 slide show showing how your landscape is built. You are to use only the tree and sky provided. You will make your own mountains You may recolour them, change their size and the density of their colour.
Sky You can change the colour of your sky by recolouring your picture To recolour: right click the image, Select format picture, select ‘picture’ option and press recolour, this will provide some colour options. Still having trouble? Press F1 for help.
Trees Trees can be recoloured, resizes and rotated. Using your pointer grab the squares on the boundary lines of the image to resize it. to rotate the image select the image, grab the green dot and turn. Again F1 for help you need it.
Mountains You will be making your own mountains for your landscape. To do this use the basic shapes for this program. Make sure you colour the shapes, change their opacity and overlap them to create depth in your image. Don’t worry if your shapes hang over the edges of your slides, you cant see them in the slide show
Example The following five slides is an example of what you need to do to complete the task. It is an example only. You may construct your slide show which ever way you like. The only things you need to include • 5 slide PowerPoint • Use/change the sky and tree images provided • Save the file with your name and class • Email to Rnewton@deakin.gov.au by 4pm on 27.9.2010