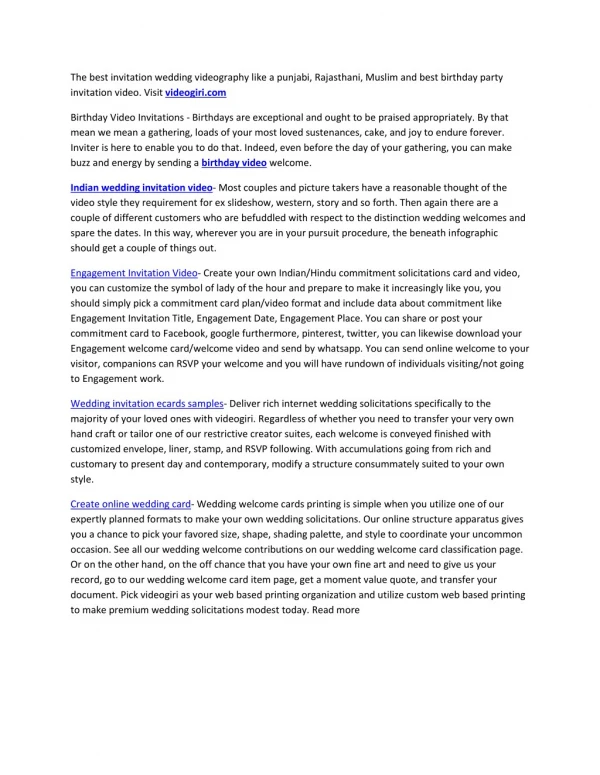
Download
1 / 18
180 likes | 319 Vues
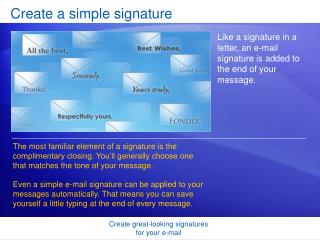
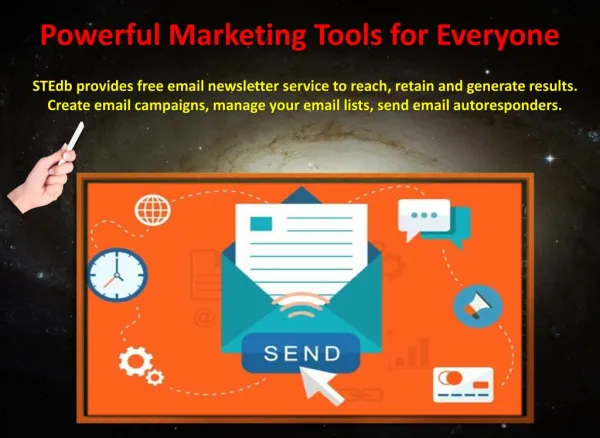
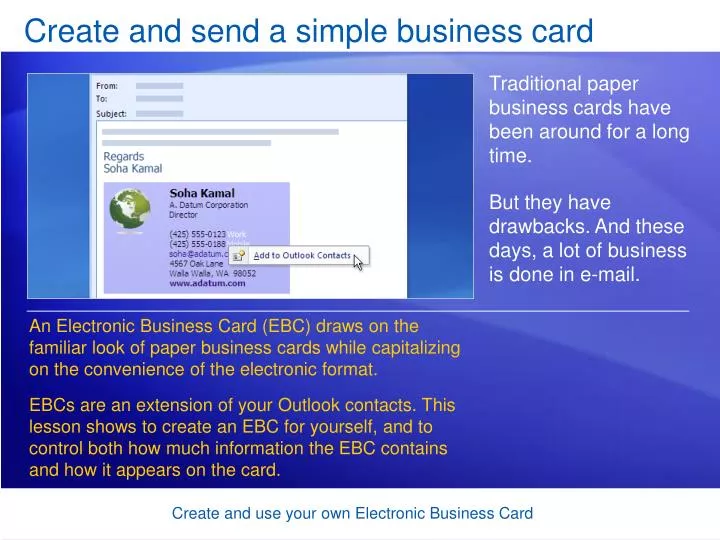
Create and send a simple business card. Traditional paper business cards have been around for a long time. But they have drawbacks. And these days, a lot of business is done in e-mail. .

E N D
Create and send a simple business card Traditional paper business cards have been around for a long time. But they have drawbacks. And these days, a lot of business is done in e-mail. An Electronic Business Card (EBC) draws on the familiar look of paper business cards while capitalizing on the convenience of the electronic format. EBCs are an extension of your Outlook contacts. This lesson shows to create an EBC for yourself, and to control both how much information the EBC contains and how it appears on the card. Create and use your own Electronic Business Card
An EBC is part of a contact In Outlook, you keep track of people in Contacts. Outlook 2007 automatically creates an associated business card for each contact you have. In other words, every business card comes from, and is part of, a contact—you can’t have one without the other. As you modify information in the contact to keep it up to date, information in the business card is updated as well. And when you create a new contact, an Electronic Business Card is created for it. Create and use your own Electronic Business Card
Start with a contact for yourself To create an Electronic Business Card for yourself, just create a contact for yourself. In the contact form, you’ll type your own contact information. Outlook takes the information that you type into the contact form and puts it into your business card. Create and use your own Electronic Business Card
Open the business card for editing Although Outlook creates a business card for you, you are ultimately in control of what the card contains and how it looks. To get started, open the Edit Business Card dialog box. You get to it by clicking the Business Card button on the Ribbon in the open contact. You can choose background colors and pictures for the card at any time. But it’s a good practice to make sure you’ve got all the information in the card first. Create and use your own Electronic Business Card
Add or remove information As mentioned, when you enter information in the contact form, Outlook puts that information on the business card. Specifically, you type information in fields on the contact form, and Outlook displays that information (known as the values for those fields) on the business card. The fields that appear on the business card are listed in the Edit Business Card dialog box, under Fields (shown on the right side of the picture). Create and use your own Electronic Business Card
Add or remove information You can change which fields are displayed on your card by adding or removing them from the Fields list, as shown in the picture. To add a new field to the list and display its content on the card, click Add and select from the available fields. To keep a field from being included with the card, select its field name under Fields and click Remove. If you decide you want to add it back, just click Add and select it from the list. Create and use your own Electronic Business Card
Move information around In the business card, you’re not stuck with any particular order of display. You can move things around. To move a field up or down on the business card, select the field in the list, and then use the Move Field Up and Move Field Down buttons at the bottom of the dialog box, next to the Remove button. Create and use your own Electronic Business Card
Move information around In the business card, you’re not stuck with any particular order of display. You can move things around. Here’s how to move the Job Title field up one position. The job title, “Actuary,” appears below the company name. In the Edit Business Card dialog box, under Fields, select Job Title and then click the Move Field Up button once. Create and use your own Electronic Business Card
Move information around In the business card, you’re not stuck with any particular order of display. You can move things around. In the card on the right, “Actuary” now appears above the company name. Create and use your own Electronic Business Card
Type in the Edit box and you change everything One more thing you should know about working in the Edit Business Card dialog box is that it’s possible to edit the value (contents) of a field. You can do this by typing in the box under Edit. If you do this, you’ll modify the value of the field as it appears in the business card, and you’ll also modify it for the associated contact. Create and use your own Electronic Business Card
Type in the Edit box and you change everything Proceed with caution. This type of editing can be helpful if you need to make a small change to your contact information. However, if you delete the value, it will be gone for good. Which means it will be gone from the Electronic Business Card and it will be gone from the contact. If you simply want to keep the field from being displayed on the card, use the Remove button as described earlier in this lesson. Create and use your own Electronic Business Card
Include your business card in a message Now comes the exciting part! After you’ve created your card, you can use it to share your contact information with associates and friends. You do that by including it in an e-mail message. Create and use your own Electronic Business Card
Include your business card in a message Here’s a summary of the steps. From a new message, click the Business Card button and then click Other Business Cards. Select your card from the list. A picture of the business card appears in the body of the message, and a .vcf file attachment is added to the Attached box. Create and use your own Electronic Business Card
Include your business card in a message The attachment is in vCard (.vcf) format, the Internet standard for creating and sharing virtual business cards. This .vcf file is what makes it possible to save your Electronic Business Card. The vCard format is widely supported. So even people who aren’t using Outlook 2007 will be able to easily save the contact information, as long as the program they are using supports the vCard format. Create and use your own Electronic Business Card
Include your business card in a message Important Earlier, the lesson mentioned that space on the card is limited and that sometimes not all fields can be displayed on the card. However, any field that is included in the Fields list of the Edit Business Card dialog box will appear in the attached .vcf file, even if that field does not appear on the card. So take care that you're only sharing the information that you want to share. Create and use your own Electronic Business Card
Include your card in your e-mail signature While you can insert your EBC manually every time you want it to appear in a new e-mail message, another option is to insert it automatically by adding it to your e-mail signature. The picture shows the Signatures and Stationery dialog box that you use to create or modify signatures. To include your business card in a signature, click the Business Card button and select your card from the list. You can choose a display size other than 100 percent for the image of the card, as shown in the picture. Create and use your own Electronic Business Card
Need to make a change? Return to Contacts The lesson has described two methods you can use to attach your EBC to a message. You can attach it to one message at a time by using the Business Card button, or attach it to every message by including it in a signature. Either way, when you attach your EBC to an e-mail message you’re creating, you’re making a unique copy of the EBC for that message or that signature only. Create and use your own Electronic Business Card
Need to make a change? Return to Contacts If you need to make a change to the information that appears in the business card you’ve attached, follow these steps. Delete the attached business card and the .vcf file from the message (or delete the card from the signature if you used that method). Return to Contacts, and make the revisions from there. Create and use your own Electronic Business Card