Download
1 / 51
510 likes | 766 Vues
Magnetically-Enhanced Whiteboard. Group 19 Jason Cooper, Yenny Lozada Tulsi Parikh, Marcelo Trujillo. Whiteboards.

E N D
Magnetically-Enhanced Whiteboard Group 19Jason Cooper, Yenny LozadaTulsi Parikh, Marcelo Trujillo
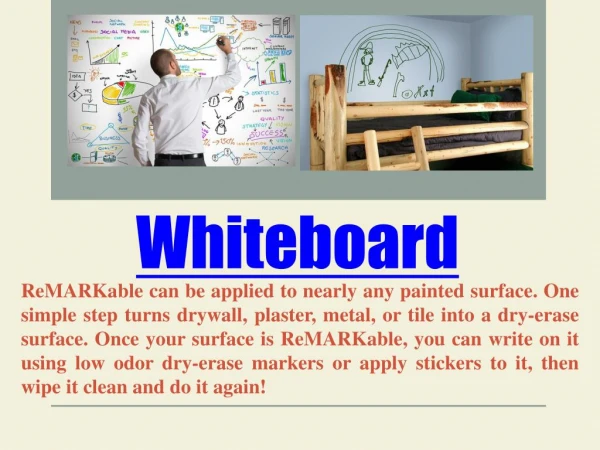
Whiteboards Dry-erase boards, or simply whiteboards, are one of the most effective, time-tested methods of communication. They save paper and allow for tools such as markers and erasers to be used with ease.
The Problem No, not that people make their own dry-erase boards with a sheet of glass and several 2x4s. The ledge holding markers, erasers, and other tools becomes cluttered, making it difficult retrieve items and more likely to loose items.
Goal Create a revamped whiteboard interface that would enhance users’ experience by allowing greater usability. In doing so, it would be necessary to incorporate all existing tools of the traditional whiteboard: markers, erasers, and drawing tools.
Birth And with that, it was born…
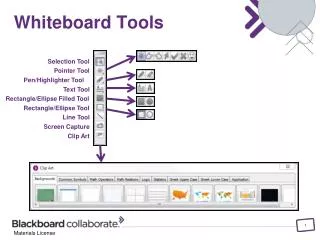
Interface Components Magnetic whiteboard Eraser Straight-edge, protractor, etc. Markers galore Magnetic strips
Interface Components Back ofWhiteboard More useful magnetic strips for storage
Some Design Inspiration Example Tool Setup Fun Tools Markers Eraser Look familiar? Drawing Region
Some Design Inspiration Maybe not familiar, but the interfacefollows the same toolbar design concept. Fun Tools Markers Eraser Drawing Region It’s Microsoft® Paint
You-Choose Layout On top of that, the “toolbar” components can be freely moved around to allow for most convenience and efficiency. Fun Tools Markers Drawing Region Eraser Markers Fun Tools Markers Drawing Region Eraser
Choosing a Population Convenience sampling techniques were used in selecting a population. We desired a population including both students and instructors on the UCF campus. We determined four participants would be sufficient in carrying out the objective.
Population A couple of our participant demographics were split. Only two age groups were present in our sample.
Population A couple of our participant demographics were split.
Pre-Evaluation In trying to determine our population’s experience with whiteboards, we a few pertinent topics including previous use of whiteboards and use of drawing tools with a whiteboard.
Pre-Evaluation We orally administered the pre-evaluation.
Pre-Evaluation It is noteworthy to mention that all participants have used a whiteboard previously and none have used drawing tools with one.
Pre-Evaluation We received a number of responses as to where whiteboards have been most commonly used in their past.
Evaluation The evaluation contained three components: • Tasks for use with a standard, non-magnetic whiteboard • Tasks for use with the magnetically-enhanced whiteboard (the primary interface being tested for usability) • Tasks for use with the magnetically-enhanced whiteboard again to determine additional usability
Evaluation The first and second procedures contained an identical set of tasks. Each contained a total of 13 tasks. Most of the tasks were repetitive to allow for the collection of more accurate data.
Evaluation The third procedure contained roughly half the number of tasks. The included tasks were identical to the tasks from the first and second procedures. Procedure 1 Procedure 2 Procedure 3 Tasks1-13 Tasks1-13 Tasks1-7
Evaluation The difference between the two is that the participants were permitted to use the magnetic features of the tools during the second procedure, whereas during the first, participants were not physically able to take advantage of such features. Magnetic whiteboardwith magnetic tools Procedure 2, 3 Fun Tools Markers Eraser Standard non-magneticwhiteboard Procedure 1 Participants place tools on ledge Fun Tools Markers Eraser
Evaluation Each participant was video recorded. We used these recordings to obtain more precise time measurements. For each item we had participants write or draw, we also had them erase. Times were measured for erasing too.
Evaluation One task participants were asked to complete was…
Evaluation One task participants were asked to complete was…
Evaluation One task participants were asked to complete was…
Evaluation One task participants were asked to complete was… By providing the participants with drawing tools such as rulers and protractors, we are providing a complete interface that matches or exceeds the components seen with the common whiteboard.
Evaluation One task participants were asked to complete was… Connect-the-Dots
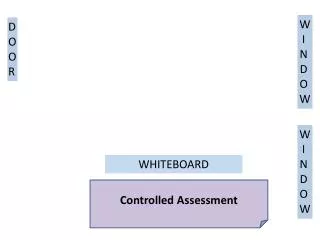
Evaluation During the third procedure, in which use of magnetic features were permitted, users were asked to setup their own workspace. Participant 3’sCustomized Workspace
Evaluation During the third procedure, in which use of magnetic features were permitted, users were asked to setup their own workspace. Coming Up Participant 2 Working in hisCustomized Workspace
Post-Evaluation All participants responded that they found new or creative ways for using the magnetic surface of the whiteboard on the modified, magnetic design.
Post-Evaluation We orally administered the post-evaluation.
Post-Evaluation All participants responded that they preferred the magnetically designed whiteboard framework over the standard design and would recommend using the design to a friend or family member. These participants preferred not to use the ledge to store markers and other items. Magnetic whiteboardwith magnetic tools Fun Tools Markers Eraser Standard non-magneticwhiteboard Participants place tools on ledge Fun Tools Markers Eraser PREFERRED
Post-Evaluation The modified, magnetically designed whiteboard was fun to use. Satisfaction
Post-Evaluation All participants maximally agreed that they feel that the tools of the magnetic whiteboard are less likely to fall and get lost. Safety,Effectiveness
Post-Evaluation Ease of Use
Post-Evaluation All participants maximally agreed that being able to place their tools anywhere on the surface of the whiteboard was practical.
Post-Evaluation Comments • “[The magnetic whiteboard] worked pretty nicely…” • Would be nice if the protractor could have a knob on it at the center to easily spin it • Allow eraser be magnetized from the felt side • “Great product” • “I liked how you can place the tools anywhere an they don’t fall.”
Compiling Data We used Microsoft® Excel to store data and perform calculations. All task times were retrieved via pre-recorded videos.
Results To determine whether or not the magnetically-enhanced whiteboard was more efficient than the standard, non-magnetic whiteboard, we concentrated on the time it took to write a single alphabetic letter.
Results Efficiency,Learnability
Results Efficiency,Learnability
Results Efficiency,Learnability
Results Efficiency,Learnability
Results Efficiency,Learnability
Results Efficiency,Learnability
Results Efficiency,Learnability
Conclusion Our results indicate that we have met our goal of creating a revamped whiteboard interface that would enhance users’ experience by allowing greater usability.
References Thomas , Emily. "History of the Whiteboards." Whiteboards. Reporter magazine, 30 07 2011. Web. 12 Nov. 2013. <http://www.whiteyboard.com/history-of-whiteboards.html>. http://cdn.instructables.com/FJ3/VCQI/FORZTJCK/FJ3VCQIFORZTJCK.LARGE.jpg