Download
1 / 11
110 likes | 254 Vues
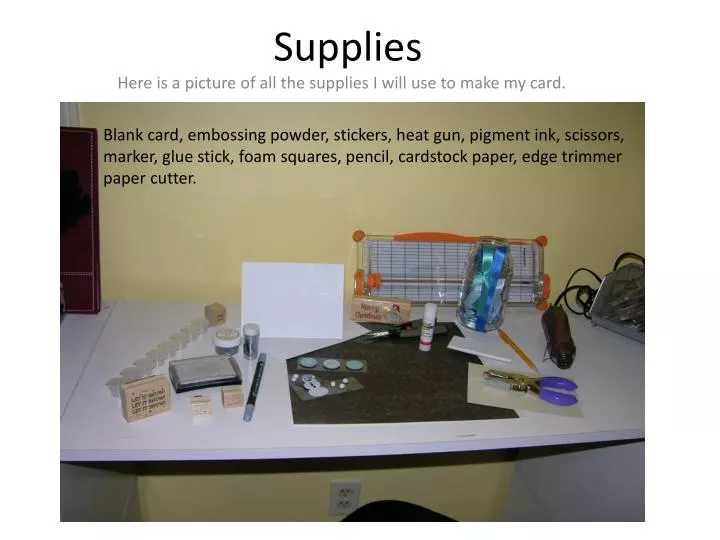
Blank card, embossing powder, stickers, heat gun, pigment ink, scissors, marker, glue stick, foam squares, pencil, cardstock paper, edge trimmer paper cutter. Supplies. Here is a picture of all the supplies I will use to make my card.

E N D
Blank card, embossing powder, stickers, heat gun, pigment ink, scissors, marker, glue stick, foam squares, pencil, cardstock paper, edge trimmer paper cutter. Supplies Here is a picture of all the supplies I will use to make my card.
First you will need to measure and then cut your cardstock paper to fit the front of your card.
Now, you can make a “Merry Christmas” cutout-sticker using pigment ink, a stamp, embossing powder, a heat gun, paper cutter, and an edge trimmer.(See my wikispace for an embossing tutorial)
To exclude the Santa on the right, only put pigment ink on the words “Merry Christmas” (You can use tape to cover Santa, and then just peel it off before you stamp your paper)
After it is embossed, using the powder and heat gun, cut it out.
Next, round the edges of a scrap piece of cardstock that you used on the front of your card. Cut it a bit bigger than the “Merry Christmas” stamp you just cut out.
Put them together with the double sided stickey foam squares, and place it on the front of your card.
And you are done!(you could also add some stamps or stickers on the inside and/or back as well.)