Download
1 / 28
290 likes | 474 Vues
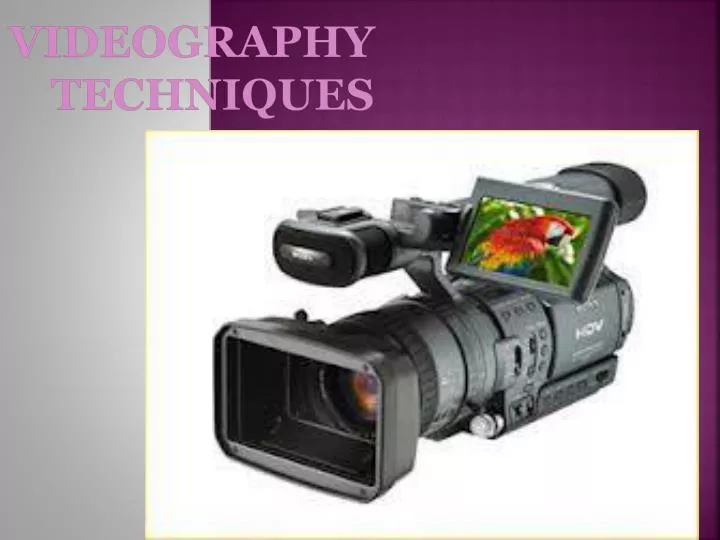
Videography Techniques. The three areas of a picture. Foreground: closest subject in the frame; helps supply depth to the picture. Middle ground: where subject will most likely be; allows separation between foreground and background. Background:

E N D
The three areas of a picture Foreground: closest subject in the frame; helps supply depth to the picture. Middle ground: where subject will most likely be; allows separation between foreground and background. Background: pretty picture, establishes area in the frame.
Framing – Wide Shot/ Establishing Shot • The wide shot tells the audience where they are; usually is used to establish the scene at the beginning of the video.
Framing- Medium shot • The medium shot supplies the actual scene where action is going to take place; introduce individuals. This shot is used during active moments (not for interviewing). • Frame waist up.
Framing- Close up shot • Close up is the standard shot you will set up most of your interviews in. • Includes head and shoulders of individual (make sure to include shoulders. If they are eliminated, it looks as if the subject has no body.)
Framing- extreme close up • Extreme close up is used rarely to emphasize emotions on a subject’s face.
Framing- eye level • Unless there is a specific reason, make sure to film at eye level. This allows the camera to look like a natural observer. • Framing above subject gives allusion of weakness, belittling. • Framing below subject gives allusion of power.
Framing- headroom • Gives space above subject’s head. Too much allows for too much dead space above subject. Too little cuts off subject’s head.
Framing- looking room • Allow space in front of subject in direction they are looking. • Almost never frame person looking straight into camera unless you want to connect directly to audience by sending direct message.
Framing- lead room • Same concept as looking room, but applies to a moving subject. • Keep room in front of subject in the direction they are moving.
Framing- background • Be careful where you frame when competing with lines behind the subject.
When shooting people, make sure to put eyes at top 1/3 line. • Creates angle more compelling than centering subject.
When shooting landscape (wide shot), make sure to put the horizontal line on either the top or bottom 1/3 line.
Vertical lines: also make use of the two vertical lines in the rule of thirds. When shooting a medium shot of a subject, make sure to place them on a vertical line.
zooming • Zoom should be used VERY minimally when shooting. • It is almost impossible to create a consistent zoom, so if you choose to zoom, make sure to do it before you begin recording.
Tripod vs. handheld • It’s almost impossible to hand hold a camera and produce consistently good video, so when possible, use a tripod. • If you don’t have a tripod, try to find a steady surface to place the camera, especially in a wide and medium shot. • If you must use your hand, use both hands to keep it steady.
If you are using a tripod… • The most important thing to remember is to make sure it is level. • On most tripods there is a “bubble level” that allows you to create a level surface.
Auto and manual controls- focus • Most of the time, auto focus will work, but sometimes you must do it manually. • If manual focus is necessary, zoom all the way in on the subject, then adjust the focus, and it will be focused when zooming back out.
Auto and manual controls- Iris/ exposure • Depending on the camera, some have an iris feature that allows you to open or close the lens to let in more or less light. • Open iris to let in more light if subject is too dark • Close iris to restrict amount of light if subject is too light.
Framing in front of a window • AVOID AT ALL COSTS • Even with an iris feature, it is almost impossible to light a subject correctly while in front of a window.
audio • If possible, check out an external microphone to connect to video camera and hook up to your subject. • If not possible, shoot video in quietest place possible to allow subject’s voice to be dominant sound.
Audio • Don’t forget to add music, narration, sound effects, and/or natural sound to add quality to video and tie it together. • Use dead air minimally (same concept as white space) where there is no sound, talking, music, etc.