Download
1 / 3

E N D
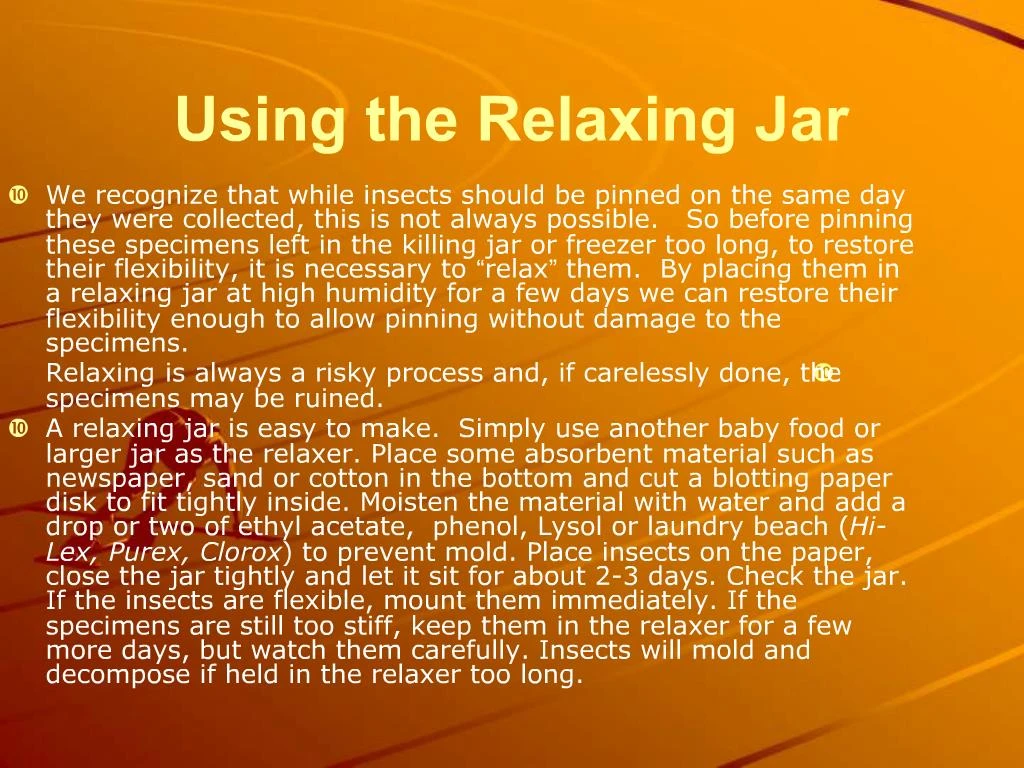
1. Using the Relaxing Jar We recognize that while insects should be pinned on the same day they were collected, this is not always possible. So before pinning these specimens left in the killing jar or freezer too long, to restore their flexibility, it is necessary to �relax� them. By placing them in a relaxing jar at high humidity for a few days we can restore their flexibility enough to allow pinning without damage to the specimens.
Relaxing is always a risky process and, if carelessly done, the specimens may be ruined.
A relaxing jar is easy to make. Simply use another baby food or larger jar as the relaxer. Place some absorbent material such as newspaper, sand or cotton in the bottom and cut a blotting paper disk to fit tightly inside. Moisten the material with water and add a drop or two of ethyl acetate, phenol, Lysol or laundry beach (Hi-Lex, Purex, Clorox) to prevent mold. Place insects on the paper, close the jar tightly and let it sit for about 2-3 days. Check the jar. If the insects are flexible, mount them immediately. If the specimens are still too stiff, keep them in the relaxer for a few more days, but watch them carefully. Insects will mold and decompose if held in the relaxer too long.
2. Using the Relaxing Jar
3. Using a Collecting Net Aerial nets for collecting flying insects can be ordered or made at home from a 4-foot length of doweling, about 4 feet of heavy wire and a half yard or so of sheer nylon or orlon netting. Grooves are cut across one end of the handle, then a one-half inch deep hole is bored on one side of the handle (in the groove) three inches from the end. A second hole is bored one-half inch deep in the opposite groove four inches from the end. A four foot length of heavy wire is bent into a hoop and attached to the handle by a 4-inch aluminum slip collar, which holds the wire hoop in place.
The bag, once hemmed and attached to the hoop, is about one foot in diameter, two to three feet long and tapered to a point. The bag is slipped onto the wire hoop before it is attached to the handle. A muslin or denim band is usually sewn over the hoop end of the bag to make the net last longer. Sweeping or beating nets are made like aerial nets. However, the net bag is constructed of strong muslin material instead of the lighter netting. These heavier duty nets are used to collect insects from grass, trees and shrubs by swinging the net through heavy foliage. Thus, these nets are sometimes referred to as �beating� or �sweeping� nets. The sweeping net is widely used to sample insect populations in standing field crops such as alfalfa, wheat and soybeans. As the surveyor walks through the crop, the net is swung in an arc a specified number of times � e.g. 10, 20, 50, 100, etc. Done at several locations over time in a field, and the results totaled, a reasonable assessment of the pest population can be made, compared with economic thresholds and management/control decisions made.
4. Using a Collecting Net