Download
1 / 42
420 likes | 581 Vues
Why are we here?. No more need for vis-à-vis markers!. Number Spinner. Color Wheel Spinner. The evolution of technology in schools…. A little about me….

E N D
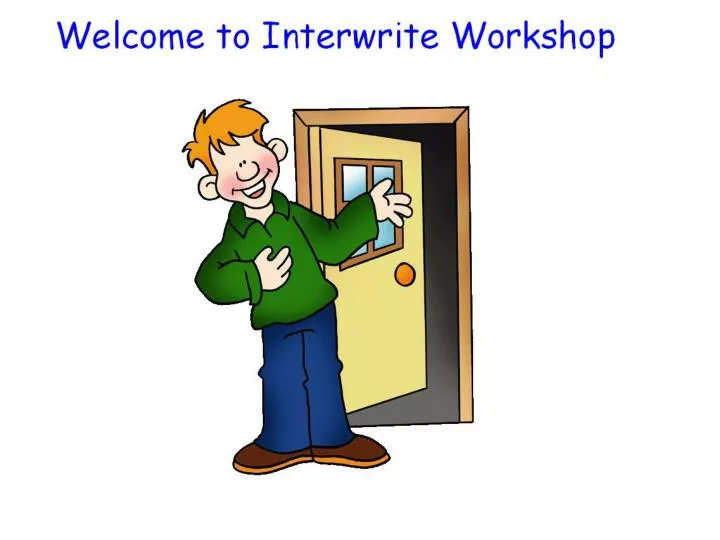
Why are we here? No more need for vis-à-vis markers!
A little about me… I have been using the Interwrite pad in my classroom over the past three years and was asked to share my experience and knowledge with the software to my colleagues. I think the Interwrite has been a life saver and has helped me create “effective, challenging, and engaging lessons” on a daily basis! http://www.mtnbrook.k12.al.us/cms/Mr.+Haller/7944.html
My Goal for Today’s Workshop:By the end of the workshop, every participant will be able to use the Interwrite pad in their own classroom.
Today’s Agenda: • 1. Setting up the Interwrite Pad in your classroom. • 2. Work through: • Module 1: Getting Started with Workspace • ***Module 2: Creating Interactive Content • Module 3: Engaging Content with Learners • Module 4: Integrating Multimedia Resources • Module 5: Using Workspace with Other Applications • Module 6: eInstruction Product Suite Integration • Module 7: Customizing Workspace • 3. Content Creation and Practice Time
First Things First… • 1. Charging the Interwrite Pad (Be sure the pen is secured in holster). • 2. Turning on the Interwrite Pad and Opening the Interwrite Program from eInstruction. • 3. Connecting the Interwrite Pad. • 4. Changing the toolbar size to 40 x 40. • 5. Setting up the Gallery Database.
#5. Interwrite Workspace Gallery Setup • http://www.mtnbrook.k12.al.us/Images/Users/8/File/Tech%20Handouts/interwrite09setup.pdf
Module 1: Getting Started with Workspace • “Preferences” • Workspace Pages: blank (white) pages, colored pages, lined pages, graph paper pages, gradient pages (2 and 4 colors), image pages, calendar pages….and more! • Once you set up pages, you can simply add an additional page in a one click step
Interactive Modes • Mouse Mode • Annotate Mode Video - http://mbsinterwritebeginner.wikispaces.com/
Your turn… • Create 3-5 pages. Try to use a variety of pages.
Module 2: Creating Interactive Content • Toolbar – How to use items in the toolbox. • A description of each item can be found on the wikispace page: • http://www.mtnbrook.k12.al.us/Images/Users/8/File/Tech%20Handouts/01%20Getting%20Started%20with%20Workspace.pdf
Math Tools • Video on how to use some of the math tools such as a ruler, protractor, & compass. http://mbsinterwritebeginner.wikispaces.com/
Module 3: Engaging Content with Learners • All lessons are improved with the use of the Interwrite. • Students LOVE to use the pads and are able to….SHARE THE LOVE! • Features: Spotlight, Curtain, Gradient Backgrounds • Video: http://mbsinterwritebeginner.wikispaces.com/
Module 4: Integrating Multimedia Resources • Using the Document Camera incorporated in an Interwrite lesson. • Math Lesson Example
Multimedia Resources • Adding a sound file
Multimedia Resources • Adding a Video File
Multimedia Resources • Record and Playback
Multimedia Resources • Videos: • http://mbsinterwritebeginner.wikispaces.com/
Your Turn!!! • Use the record and playback multimedia resource! • Try adding an audio or video file!
Module 5: Using Workspace with Other Applications • Creating hyperlinks. Found on the properties bar at the bottom of the page. • http://mbsinterwritebeginner.wikispaces.com/
Your turn… • Create a hyperlink on a page.
Module 6: eInstruction Product Suite Integration • 3 videos • http://mbsinterwritebeginner.wikispaces.com/
Module 7: Customizing Workspace • There are videos on the website that you can refer back to when in your classroom.
How to Save an Interwrite Lesson onto Your Webpage • Simply click on the workspace menus (drop arrow on the top right of the toolbar) and click “Export PDF file.” It will then save this file as a PDF. • Once this file is saved, you should be able to upload it on in10sity without any trouble!
Extra Special Features! • Page Transitions • Gallery Walk! • Look at the different subject areas in the gallery!
The more you play with the Interwrite Pad and software, the easier it becomes!!!“The expert at anything was once a beginner” Helen Hayes
Conclusion • I hope you learned at least one new thing. • You can always find someone to help you with the Interwrite software at your school…just ask. • Chad Haller, 5th Grade Math @ Cherokee Bend. Feel free to e-mail me!
Practice/Creation Time: • I am around to help you with any questions you may have. I will do my best to help you out!