Download
1 / 4
40 likes | 44 Vues
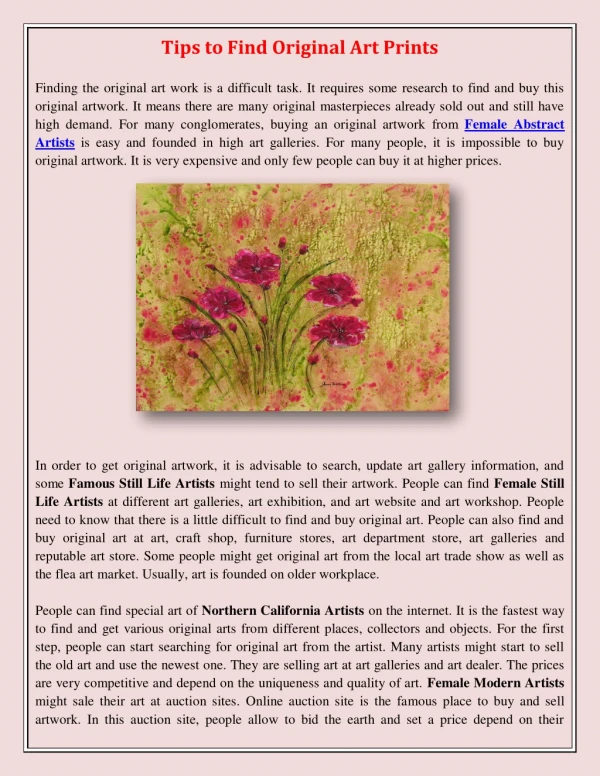
Whether youu2019re an amateur or a professional artist, you want to make art quality prints that look best. So here are easy steps to make perfect art prints.

E N D
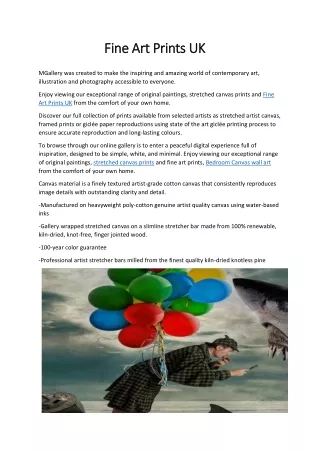
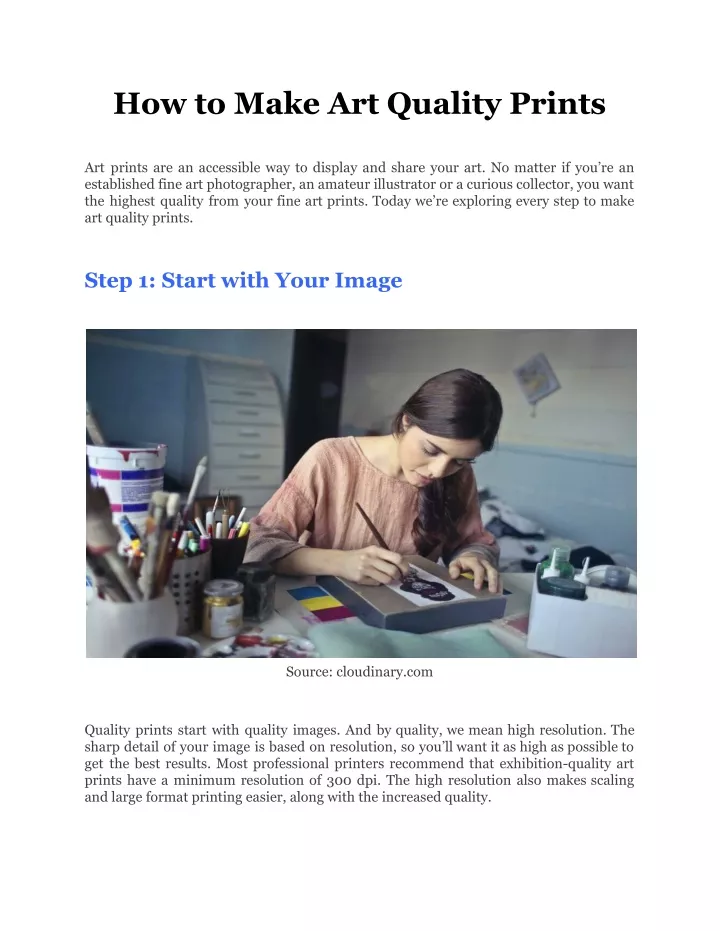
How to Make Art Quality Prints Art prints are an accessible way to display and share your art. No matter if you’re an established fine art photographer, an amateur illustrator or a curious collector, you want the highest quality from your fine art prints. Today we’re exploring every step to make art quality prints. Step 1: Start with Your Image Source: cloudinary.com Quality prints start with quality images. And by quality, we mean high resolution. The sharp detail of your image is based on resolution, so you’ll want it as high as possible to get the best results. Most professional printers recommend that exhibition-quality art prints have a minimum resolution of 300 dpi. The high resolution also makes scaling and large format printing easier, along with the increased quality.
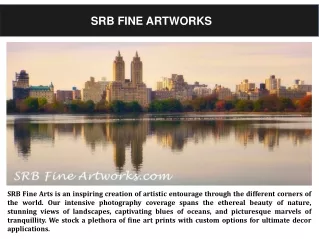
Step 2: Print Like a Pro Source: agora-gallery.com When it comes to printing, the two types of printing favoured by professional artists and galleries are C-type and Giclée Art Printing. Giclee is a form of inkjet printing that creates striking images using up to 12 pigment-based ink colours sprayed in microscopic dots. While home desktop inkjet printers work in much the same way, most can only accommodate four or five inks, giving less range of colour. C-type printing, short for Chromogenic Type, uses paper treated with specialised silver halide that reacts to light and creates the image. Originally used primarily for photography and large-scale prints, today, c-type printing can be made from any digital file.
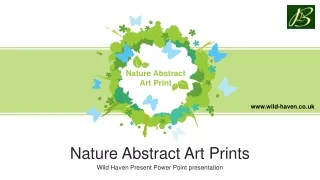
Step 3: Paper Perfection The quality of your paper can make a dramatic impact on the finish of your art print. From softly textured papers suited for watercolour effects to high gloss images ideal for punch photography, your choice of paper does more than act as the substrate of your art print. Archival papers free from acid and lignin can also help protect your print from ageing and fading. Professional printers have access to the latest equipment and paper styles, so if you’re looking to print your work up to 160cm x 5000cm with superior results, you’ll want to talk with the printing professionals. Step 4: Finishing Touches Source: fruitbowlstudio.com
The last step to making a quality art print is ensuring it’s ready to be hung, either at home or on the gallery wall. Bespoke Art Framing is the final finishing touch that will set your art print apart. Remember, it’s vital to choose a frame that compliments your artwork. Bespoke frames come in a wide variety of shapes, colours and styles. If you prefer a modern style, mounting your artwork is a contemporary alternative. A rigid substrate is applied to the back to mount your print, keeping the print rigid and flat. By mounting the print, it can be displayed directly on the wall without the need for a frame. Mounted art prints are a sleek and modern way to display your fine art print. Contact Us : Website: https://interiorcraze.com Email Id: interiorcrazeofficial@gmail.com To Connect With Us Visit