Download
1 / 42
550 likes | 1.31k Vues
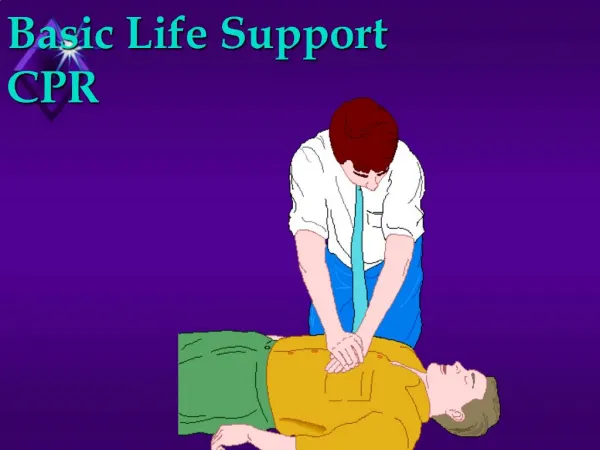
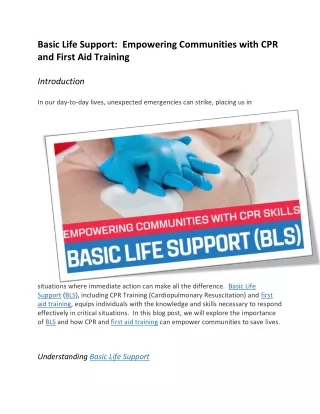
Basic Life Support CPR. Introduction. Mr. K ASU basketball game Student: You saved my child’s life Introduce Annie. CPR Training Precautions. Do not practice on a person Clean faces properly after each use Alcohol Bleach wash. Do Not Use A Manikin If:. Cold or sore throat

E N D
Introduction • Mr. K • ASU basketball game • Student: You saved my child’s life • Introduce Annie
CPR Training Precautions • Do not practice on a person • Clean faces properly after each use • Alcohol • Bleach wash
Do Not Use A Manikin If: • Cold or sore throat • Known positive hepatitis B or C • Infected by HIV or AIDS • You have an infection
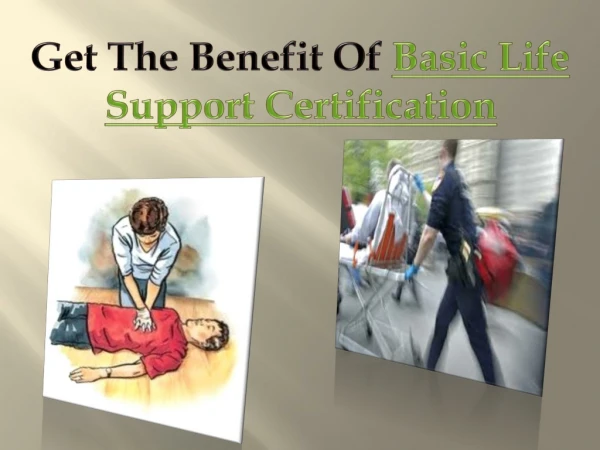
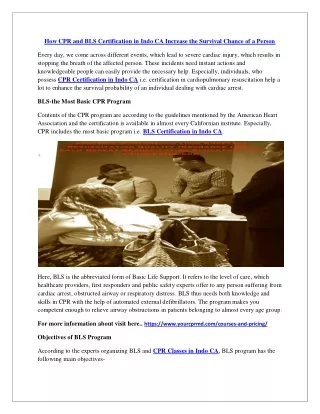
CPR • Combines rescue breathing and chest compressions • Revives heart (cardio) and lung (pulmonary) functioning • Use when there is no breathing and no pulse • Provides O2 to the brain until ACLS arrives
How CPR Works • Effective CPR provides 1/4 to 1/3 normal blood flow • Rescue breaths contain 16% oxygen (21%)
Start CPR Immediately • Better chance of survival • Brain damage starts in 4-6 minutes • Brain damage is certain after 10 minutes without CPR
Do Not Move the Victim Until CPR is Given and Qualified Help Arrives… • unless the scene dictates otherwise • threat of fire or explosion • victim must be on a hard surface • Place victim level or head slightly lower than body
Even With Successful CPR, Most Won’t Survive Without ACLS • ACLS (Advanced Cardiac Life Support) • ACLS includes defibrillation, oxygen, drug therapy
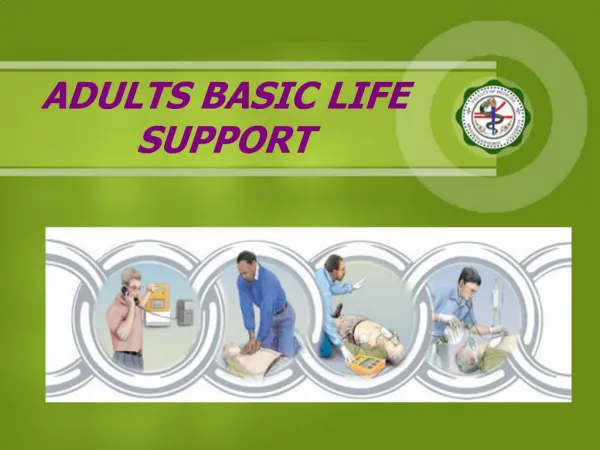
Survey The Scene, then: RAP • R - Responsiveness • Tap shoulder and shout “Are you ok?”
RAP • A - Activate EMS ( if unresponsive) • YOU - call 911 – come back and let me know what they said (another can stay by the phone) • You may have to make the call
RAP • P - Position on back • All body parts rolled over at the same time • Always be aware of head and spinal cord injuries • Support neck and spinal column
ABCD • Airway • Breathing • Circulation - Bleeding • Disability (keep this in mind from the beginning) • If victim is unconscious but does display vital signs, place on left side
Checking Vital Signs • A – Airway • Open the airway • Head tilt chin lift
B – Check For Breathing • Look, listen and feel for breathing • No longer than 10 seconds seconds
Breathing • If the victim is not breathing, give two breaths (1 second or longer) • Pinch the nose • Seal the mouth with yours • If the first two don’t go in, re-tilt and give two more breaths (if breaths still do not go in, suspect choking)
Breathing: Mouth To Nose (when to use) • Can’t open mouth • Can’t make a good seal • Severely injured mouth • Stomach distension • Mouth to stoma (tracheotomy)
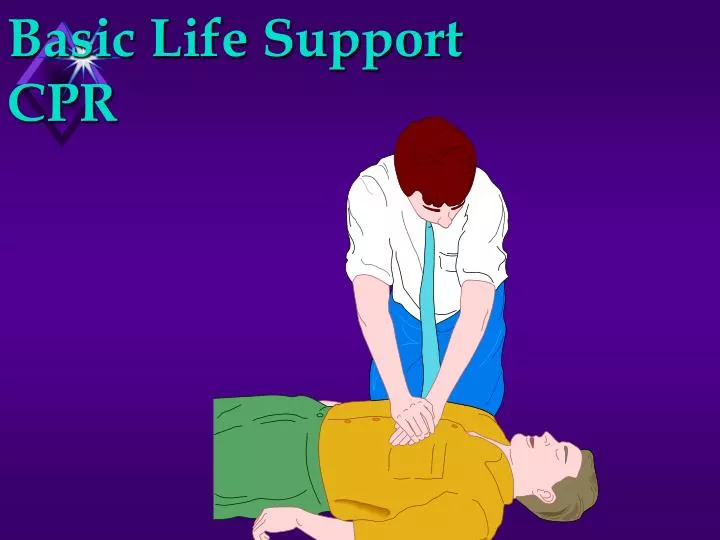
Compressions • After giving breaths… • Locate proper hand position for chest compressions • Place heel of one hand on center of chest between the nipples OR
Compressions • Using both hands, give 30 chest compressions • Count 1, 2, 3 … • Depth of compressions: 1 .5 to 2 inches • For children: ½ to 1/3 of chest depth and use 1 or 2 hands (keep one hand on forehead if possible)
CPR • After 30 chest compressions give: • 2 slow breaths • Continue until help arrives or victim recovers • If the victim starts moving: check breathing
When Can I Stop CPR? • Victim revives • Trained help arrives • Too exhausted to continue • Unsafe scene • Physician directed (do not resuscitate orders) • Cardiac arrest of longer than 30 minutes • (controversial)
When to Stop CPR • Victim revives • Replaced by another rescuer • Too exhausted • Trucker
Two Partner CPR • Rescuer 1: • RAPAB • Rescuer 2: • place hands for compressions • Compression rate: 30:2 • Switch off when tired • 1 and 2…..4 and change
Checking for CPR Effectiveness • Does chest rise and fall with rescue breaths? • Have a second rescuer check pulse while you give compressions
Why CPR May Fail • Delay in starting • Improper procedures (ex. Forget to pinch nose) • No ACLS follow-up and delay in defibrillation • Only 15% who receive CPR live to go home • Improper techniques • Terminal disease or unmanageable disease (massive heart attack)
Injuries Related to CPR • Rib fractures • Laceration related to the tip of the sternum • Liver, lung, spleen
Complications of CPR • Vomiting • Aspiration • Place victim on left side • Wipe vomit from mouth with fingers wrapped in a cloth • Reposition and resume CPR
Stomach Distension • Air in the stomach • Creates pressure against the lungs • Prevention of Stomach Distension • Don’t blow too hard • Slow rescue breathing • Re-tilt the head to make sure the airway is open • Use mouth to nose method
Mouth to Mouth Barrier Devices • Masks • Shields
If You Are Afraid to Perform CPR • Call EMS • Open the airway • Give chest compressions
Choking • The tongue is the most common obstruction in the unconscious victim (head tilt- chin lift) • Vomit • Foreign body • Balloons • Foods • Swelling (allergic reactions/ irritants) • Spasm (water is inhaled suddenly)
How To Recognize Choking • Can you hear breathing or coughing sounds? • High pitched breathing sounds? • Is the cough strong or weak? • Can’t speak, breathe or cough • Universal distress signal (clutches neck) • Turning blue
Recognizing Choking #2 • A partial airway obstruction with poor air exchange should be treated as if it were a complete airway blockage. • If victim is coughing strongly, do not intervene
Conscious Choking(Adult Foreign Body Airway Obstruction) • Give 5 abdominal thrusts (Heimlich maneuver) • Place fist just above the umbilicus (normal size) • Give 5 upward and inward thrusts • Pregnant or obese? 5 chest thrusts • Fists on sternum • If unsuccessful, support chest with one hand and give back blows with the other • Continue until successful or victim becomes unconscious
If You Are Choking And You Are Alone • Use fist • Use corner of furniture • Be creative
If Victim BecomesUnconscious After Giving Thrusts • Call 911 • Try to support victim with your knees while lowering victim to the floor • Assess • Begin CPR • After chest compressions, check for object before giving breaths breaths
You Enter An Empty Room And Find An Unconscious Victim On The Floor • What do you do? • Assess the victim (RAPABC) • Give CPR if needed • After giving compressions: • look for object in throat • then give breaths
CPR for Infants (Under 1 Year of Age) • Same procedures (RAPAB) except: • Seal nose and mouth or nose only • Give shallow “puffs”
CPR: Infants • RAPAB • Give CPR • Press sternum 1/2 to 1/3 depth of the chest • Use middle and ring finger • 30 compressions to 2 • If alone, resuscitate for 2 minutes then call 911
Choking: Conscious Infants • Position with head downward • 5 back blows (check for expelled object) • 5 chest thrusts (check for expelled object) • Repeat
Choking: Unconscious Infants • If infant becomes unconscious: • RAPAB • When the first breaths don’t go in, check for object in throat then try 2 more breaths. • If neither set of breaths goes in, suspect choking • Begin 30 compressions • Check for object in throat (no blind finger sweep) • Give 2 breaths
SIDS • 5000 per year • Affects more males than females • No know cause • No indication of problem • Usually occurs during the sleep during first 6 months of life • Place baby on back (now, side) • Avoid “fluffy” blankets etc.