Download
1 / 4
60 likes | 123 Vues
Here included basic tools of photoshop and its working procedure here also included shortcut of using of this tool. Eye dropper tool, Hand tool, Blur tool, Gradient tool and many more things has in it.

E N D
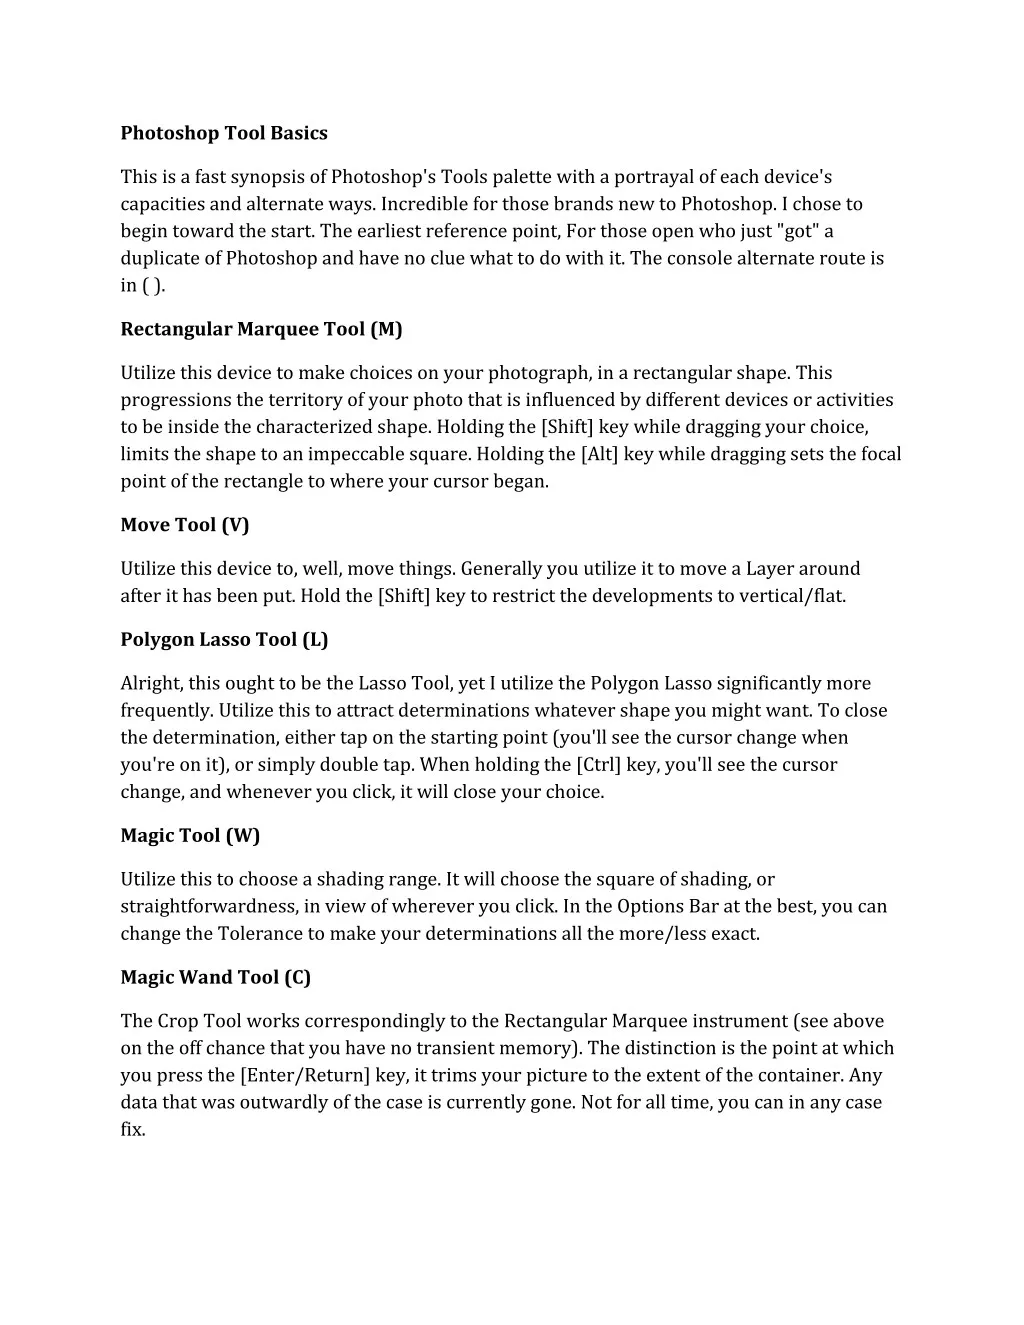
Photoshop Tool Basics This is a fast synopsis of Photoshop's Tools palette with a portrayal of each device's capacities and alternate ways. Incredible for those brands new to Photoshop. I chose to begin toward the start. The earliest reference point, For those open who just "got" a duplicate of Photoshop and have no clue what to do with it. The console alternate route is in ( ). Rectangular Marquee Tool (M) Utilize this device to make choices on your photograph, in a rectangular shape. This progressions the territory of your photo that is influenced by different devices or activities to be inside the characterized shape. Holding the [Shift] key while dragging your choice, limits the shape to an impeccable square. Holding the [Alt] key while dragging sets the focal point of the rectangle to where your cursor began. Move Tool (V) Utilize this device to, well, move things. Generally you utilize it to move a Layer around after it has been put. Hold the [Shift] key to restrict the developments to vertical/flat. Polygon Lasso Tool (L) Alright, this ought to be the Lasso Tool, yet I utilize the Polygon Lasso significantly more frequently. Utilize this to attract determinations whatever shape you might want. To close the determination, either tap on the starting point (you'll see the cursor change when you're on it), or simply double tap. When holding the [Ctrl] key, you'll see the cursor change, and whenever you click, it will close your choice. Magic Tool (W) Utilize this to choose a shading range. It will choose the square of shading, or straightforwardness, in view of wherever you click. In the Options Bar at the best, you can change the Tolerance to make your determinations all the more/less exact. Magic Wand Tool (C) The Crop Tool works correspondingly to the Rectangular Marquee instrument (see above on the off chance that you have no transient memory). The distinction is the point at which you press the [Enter/Return] key, it trims your picture to the extent of the container. Any data that was outwardly of the case is currently gone. Not for all time, you can in any case fix.
Crop Tool (K) This is utilized for the most part to build sites, or part up one picture into littler ones when sparing out. It's sort of a propelled instrument, and since you're in here for the nuts and bolts, we'll sort of skirt it. Sort of makes you frantic I influenced you to peruse all that to no end, huh? Slice Tool (J) This is an extremely helpful instrument. Somewhat progressed. You can utilize this device to repair scratches and specs and stuff like that on pictures. It works like the Brush apparatus (see underneath). You pick your cursor estimate, at that point holding the [Alt] key; you select a decent/clean zone of your picture. Relinquish the [Alt] key and paint over the terrible zone. It fundamentally duplicates the information from the main zone to the second, as the Brush instrument. Just, toward the end, it midpoints the data, so it mixes. Healing Brush Tool (B) This is one of the principal apparatuses ever. It's what Photoshop is based off of. All things considered, not by any means, yet it's truly fundamental. It paints one your picture, in whatever shading you have chosen, and whatever size you have chosen. There are a considerable measure of alternatives for it, however this is essential, so you don't get the chance to learn them. Ha. Clone Stamp Tool (S) This is fundamentally the same as the Healing Brush Tool (see above). You utilize it precisely the same, with the exception of this instrument doesn't mix toward the end. It's an immediate duplicate of the data from the principal chose territory to the second. When you figure out how to utilize both of these apparatuses together in consummate concordance, you will be a Photoshop MASTA! Not by any stretch of the imagination, it's simply less chafing. History Brush Tool (H) This apparatus works simply like the Brush Tool (see above) aside from the data that it paints with is from the first condition of your picture. In the event that you go Window>History, you can see the History Palette. The History Brush instrument paints with the data from whatever History state is chosen. Eraser Tool (E) This is the counter Brush apparatus. It works like an eraser (duh) and eradicates whatever data wherever you snap and drag it. In case you're on a Layer, it will eradicate the data
straightforward. On the off chance that you are on the foundation layer, it eradicates with whatever optional shading you have chosen. Gradient Tool (G) You can utilize this to make a gradiation of hues. Gradiation doesn't have all the earmarks of being a word, yet it bodes well at any rate. It makes a mixing of your frontal area shading and foundation shading when you snap and drag it. Like an angle. Blur Tool (R) The Blur device is cool. It makes things foggy. Snap and drag to make things foggy. The more you snap and drag, the blurrier things get. Dodge Tool (O) This device isn't as crappy as the auto mark. It's really used to help whatever zone you utilize it on. For whatever length of time that it isn't outright dark. Supreme dark won't help. Path Selection Tool (A) You utilize this apparatus when working with ways. Since this is about the rudiments, I won't go into subtle elements. It's identified with the Pen Tool (see underneath) however. Horizontal Type Tool (T) It makes compose. Or on the other hand message. Or then again whatever you need to call it. You can click a solitary point, and begin composing immediately. Or then again you can snap and drag to influence a bouncing to box of where your content/type goes. There's a ton of alternatives for the Type Tool. Simply play around, it's genuinely straight-forward. Pen Tool (P) I specified this device above. It's for making ways, in which you would utilize the Path Selection Tool to choose the way. Ways can be utilized as a part of a couple of various routes, for the most part to make cutting ways, or to make determinations. You utilize the apparatus by clicking to include a point. On the off chance that you snap and drag, it will change the state of your way, enabling you to curve and shape the way for exact determinations and such. Rectangle Tool (U) Of course it draws a Shape Layer as a rectangle. It fills the rectangle with whatever closer view shading you have chosen. It's quite confounded; don't hurt yourself with this one.
Notes Tool (N) Like post-it notes, however advanced. You can utilize this device to add little note boxes to your picture. These are helpful in case you're exceptionally absent minded or in case you're sharing your Photoshop document with another person. I'm almost certain it just works with .PSD documents. Eyedropper Tool (I) This device works by changing your closer view shading to whatever shading you tap on. Holding the [Alt] key will change your experience shading. Hand Tool (T) You can truly make short work of your activity with the Hand Tool. It's for moving your whole picture inside a window. So in case you're zoomed in and your picture region is bigger than the window, you can utilize the Hand Tool to explore around your picture. Simply snap and drag. You can get to this device whenever when utilizing some other instrument by squeezing and holding the [Spacebar]. Zoom Tool (Z) Entirely clear what this apparatus does. It enables you to zoom into your picture. Try not to be idiotic, it doesn't really change the measure of your picture. Hold the [Alt] key to zoom out. Holding the [Shift] key will zoom the greater part of the windows you have open in the meantime. Double tap on the Zoom Tool in the palette to backpedal to 100% view.