Download
1 / 9
90 likes | 296 Vues
Interactive Mysteries in PowerPoint. These slides will introduce you to the tools you need to use in PowerPoint or any similar software (eg OpenOffice Presenter) in order to create a simple, branching, adventure-style narrative. NOTE: As I wasn't sure what version of

E N D
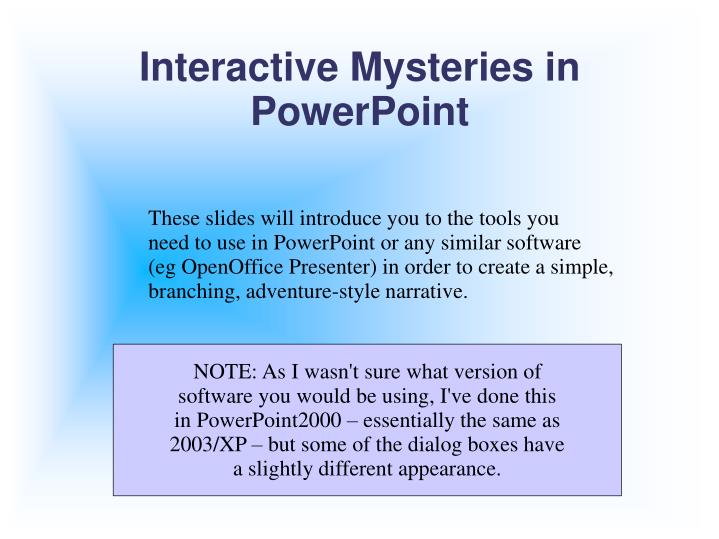
Interactive Mysteries in PowerPoint These slides will introduce you to the tools you need to use in PowerPoint or any similar software (eg OpenOffice Presenter) in order to create a simple, branching, adventure-style narrative. NOTE: As I wasn't sure what version of software you would be using, I've done this in PowerPoint2000 – essentially the same as 2003/XP – but some of the dialog boxes have a slightly different appearance.
Before You Begin PLAN AHEAD! Storyboard your ideas out. Write location descriptions out on index cards. Lay your cards out on a larger board/card. Stick them down with blue tack. Draw lines on the board to show how your locations are linked.
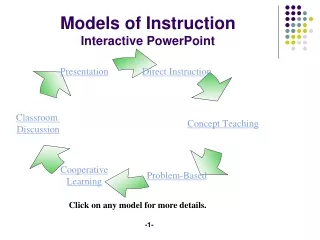
Adding Slides I prefer not to start with a totally blank template. A title allows me to easily select the slide I want later. Bullet points show up in your outline and can be revealed in turn for effect.
A First Slide An introductory slide sets the scene, and can then link to a slide that is part of the story's plot.
Creating Action Buttons HINT! You can copy/paste these buttons once you have made them I usually choose the custom button, as I can then add some suitable text to it.
Hyperlinks on Buttons The action you choose (can be changed via action settings later) is to hyperlink to another slide. You may need to scroll down to find it
Choosing a slide Now you can see why giving each slide a different title is a good idea. Or add a unique graphic that you can clearly see in the preview...
Adding text A right click on a button brings up its own menu. Very easy to add text or change its settings from here
Kiosk Applications You don't want to have someone accidentally click on a different part of the screen and progress to another slide. So, from the Slideshow menu, choose the set-up option that allows you to present your slides as a kiosk application. HINT: Make sure your pages are all interlinked – otherwise a user may meet a dead end...