Download
1 / 21
210 likes | 1.51k Vues
How do I use this digital camera, and why would I want to, anyway? Turn It On! Shutter Peek here LCD display What’s this one do?? Play Mode Zoom Camera Mode Video Mode Set-Up Mode What’s this one do?? Up (and Flash) Left Right Center (Enter) Down (and Timer) What’s this one do??

E N D
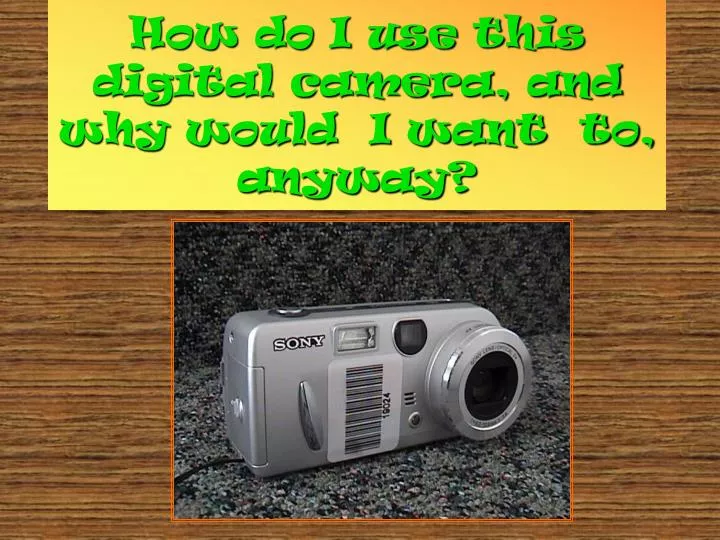
How do I use this digital camera, and why would I want to, anyway?
Turn It On! Shutter Peek here LCD display What’s this one do??
Play Mode Zoom Camera Mode Video Mode Set-Up Mode What’s this one do??
Up (and Flash) Left Right Center (Enter) Down (and Timer) What’s this one do??
Menu LCD on/off Image Size (and Delete) What’s this one do??
How can I change the size?? • To take (smaller) photos for websites, emailing, etc. • Switch mode selector to camera icon. • Press menu, and use control keys to choose “Email” mode. • To take photos for printing, publication, etc: • Switch mode selector to the camera icon. • Press menu, and use control keys to choose “Normal” mode.
How can I change the size and quality?? • In Camera mode, press the Image Control/Delete button, and choose from the list: • As size is larger, quality is better, but space is smaller. • 3.1 • 2.8 • 2.0 • 1.2 • VGA
Automatic most of the time!! For most times, leave the camera in the “Auto” setting. Other settings are for landscapes, snow, twilight, portraits, beach, etc.
Play Mode Left Control Can I see it?? • Press the left button for a quick view of your photo. • To see all of your photos or images, switch the mode selector to “Play,” and use the control keys to see what you’ve got. • In this mode, you can also delete what you don’t like. • You can also use the right zoom key to see a larger image (but it doesn’t change the image itself).
While you are looking at the image, simply press the “Delete” key (the little garbage can). • Use the up/down keys to choose “Delete” and then press the “Enter” key.. Can I delete it??
While you are looking at the image, use the right zoom key to zoom in, and the left and right keys to center on what you want to keep. • When you see what you want, press the menu key, and choose “Trimming” • Choose the size that you want, and press the “Enter” button. The new image is saved. How can I trim it??
How can I use still photos in my class? • Assign pairs of students to walk through the school to find such examples of geometric shapes as circles, triangles, parallel lines, obtuse angles, and so on. Label each photo and create a geometry book. • Photograph community landmarks and have students create a brochure about your community. • Take pictures to illustrate such science concepts as food chain, biodiversity, biome, and so on. • For math ask students to take pictures of angles in the classroom or school yard. Example: take 5 pictures of acute angles. A collection of odd numbered things, objects that are parallel/ perpendicular. etc • Write a class novel and illustrate it with live-action photos of your students. • Have students go on a photographic scavenger hunt, taking pictures of the objects they find rather than retrieving the objects themselves. • Equipment demonstrations are enhanced by having pictures of inputs, outputs, cable ends, backs of monitors, etc. to show on big screens or digitize into your handouts • Create a list of similes and metaphors. Then take pictures of things that show how that object is or is not like your word. School is like - picture of ant hill A lifetime is like - picture of highway • Take pictures of plants or animals in your community and use them to create a field guide of local wildlife. • Document the growth of classroom plants or animals with daily or weekly photos. • Use photographs to illustrate the process for complicated projects or for science experiments.
While camera is in camera mode, choose menu. • Use the right key to change menu, then choose “Voice.” • To take the picture, just press the shutter, and the camera will record 5 seconds of sound (after the picture is taken). • To record longer, keep your finger pressing down on the shutter, up to 40 seconds. • To play back, go to the “Play” mode, select your picture with the control keys, and press “Enter” to hear the sound. How can I record still photos with sound??
How can I use still photos with sound in my class?? • Students take pictures with narrations to document a class field trip. • Teachers can make online or digital assignments, and speak the directions. • Students can narrate the steps on a process. • Teachers can photograph and explain the parts of difficult process. • Students can create a “talking” story book, or illustrate a scene from a novel.
GIF recorder—for playback anywhere • Turn the dial to setup mode, choose “Moving Images” and then “Clip motion.” and press “Enter.” • Turn the camera back to the Video mode, and snap the first picture. A bar will appear (creating clip motion), then snap the rest of the series. When you are finished, push the “Enter” button to save. You can add up to 10 images • To view, go to the “Play” mode, and look at it. How can I record animated clips??
How can I use animated clips in my class?? • Illustrate a process. • Create animated movies • Use frame by frame analysis techniques to accurately record rapid change in experiments or sport • Compile still images over a long period to produce time lapse movies • Record students role playing difficult social situations • View difficult, dangerous or expensive experiments or activities (recorded with specialists)
Go to Set Up, and make sure moving image is in MPEG movie mode. (Use control keys and enter). • Put camera in Video mode, (film strips icon). • Press the shutter button to start recording, then press again to stop. • To view, go back to “Play” mode, and press “Enter.” Video Mode How can I record mini-movies?
How can I use mini-movies in my class? • Prepare mini documentaries, interviews or news reports • Have students re-enact historical events, scenes in literature, etc. • Record school performances, excursions, special events, field trips, visits by specialists, etc. • Have students calculate the speed of an object as it moves across the screen by placing markers either on the ground or in the background that are a known specific distance apart and then videoing a person or object as it moves across. • For a physical education class, video a student’s swing or other motion to analyze or display proper motion. • Compile still images over a long period to produce time lapse movies
Can I upload it to my computer?? • Plug in the USB cable to the camera (with the power on), and then into the computer. If the computer has Windows XP, a wizard will start that tells you everything you need to do. If not, the Sony software does the same thing, but you might have to load it onto your computer.