Download
1 / 23
230 likes | 337 Vues
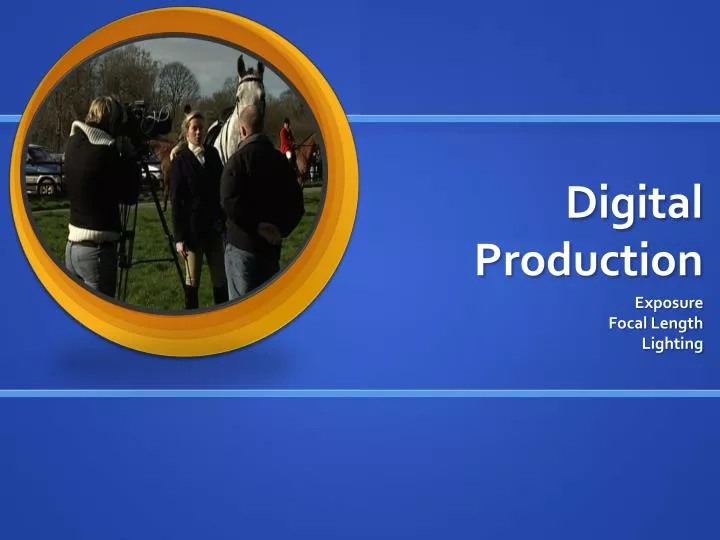
Digital Production. Exposure Focal Length Lighting. Recap Lesson 3. Types of shot Subject position Headroom, noseroom , footroom Pan, tilt Focus Zoom. Exposure. Controlling the amount of light that comes into a camera Too much light = over exposure Too little light = under exposure

E N D
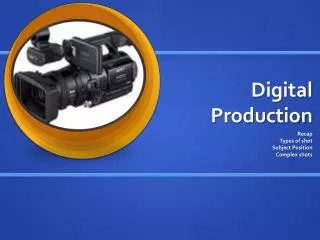
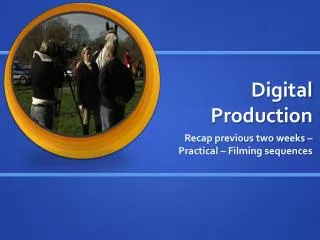
Digital Production Exposure Focal Length Lighting
Recap Lesson 3 • Types of shot • Subject position • Headroom, noseroom, footroom • Pan, tilt • Focus • Zoom
Exposure • Controlling the amount of light that comes into a camera • Too much light = over exposure • Too little light = under exposure • Controlled via the iris (aperture) – just like the pupil of an eye • Auto exposure – averages out dark & light, however if a white car passes there will be a flash
Setting manual exposure • Press iris button – the letter F and a number will appear in the LCD screen • Select aperture size by turning silver dial • Higher the number (f11) the less light enters the camera; lower the number (f1.6) more light floods in iris • Neutral Density (ND) filters are like adding sunglasses to the camera – ND 1 and ND 2 – camera automatically tells you when to switch them on
Setting exposure • Does it look right? • Ask the camera • Use the zebras BE AWARE exposure, gain and iris all affect exposure Always set exposure manually, set gain to 0db, set zebra to 70% and if it gets too bright flick ND filter on
Zebra • Zebra stripes are like an audio meter, they tell you when the picture is too bright – detail is lost • Zebra stripes put lines on the screen but they are not recorded • Set the camera to 90% - 95% zebra stripes • Ask the camera – zoom in, focus and switch onto auto then back to manual
Gain • Used when shooting in low light levels (night, dusk) • Lets more light into the camera when iris is fully open (f1.6) • Picture will appear grainy (noisy) • Measured in dB (decibels) – H M L
How much gain? • Most of the time gain should be set to 0dB (low light you can get away with 3 – 6dB) • At 9dB picture starts to become grainy • 18dB will allow you to shoot at night and in low light • If you don’t want grainy pictures adjust gain setting to : Low 0 dB Medium 6 dB High 12 dB
Hypergain • Used when working somewhere very dark • This will boost picture to 36 dB • Press the MENU button. Scroll down to the OTHERS MENU using the silver SEL/PUSH EXEC wheel. • Press on the SEL/PUSH EXEC wheel and select ASSIGN BTN • Choose a vacant ASSIGN button • Set HYPER GAIN to that button. • Exit MENU.
Focus • Do this manually as auto focus will not work under the following conditions – • When the subject is not in the centre of the picture (particularly when there are moving objects in the background • In low light conditions • If there is a bright light behind the subject (e.g. a window) • When the subject is bright (e.g. a car with its head lamps on) • When the subject is of low contrast - walls, the sky • If the subject is made up of fine repetitive patterns or behind vertical bars or a chain link fence • When another subject passes between the camera and the point of interest
Focas manually • Set focus switch to manual • Zoom in as close as you can to subject (for a person always zoom in on their eyes) • Use ring to focus up until image is sharp • Zoom out and frame
Colour Temperature • Camera has to be told what type of light is it working in • Colour temperature
White Balance • Camera analyses spectrum of colours hitting a white paper and it does so until the white looks white • In single source of light this is simple…in mixed light we can have problems – this can be fixed with gels, but on the whole balance for the strongest light source • Manual white balance – focus on something white, tilted to reflect the dominant source • Always check white balance when moving from different light sources
Shutter Speed • Press shutter speed indicator and turn dial to select speed – for no effects leave at 50 – or press shutter button to select to automatic • Shutter speed is used when shooting sports matches • For interesting visual effects - such as showing the individual water droplets of a fountain. • To reduce flicker when recording a scene with computer screens.
Sound - microphone • Microphone is inbuilt but there are two inputs for external mics • Want good clean sound – always get 30 seconds of atmos • Use headphones to monitor noise • Get microphone as close in to source as possible (arm’s length away) • In audio menu ensure 48 FSK is set
Setting manual levels Press the MENU button • Turn the SEL/PUSH EXEC dial until the CASSETTE icon is highlighted • Push the SEL/PUSH EXEC dial in to select the CASSETTE sub menu • Turn the SEL/PUSH EXEC dial until the words AUDIO SET is highlighted • Push the SEL/PUSH EXEC dial in to select the AUDIO SET options • choose either AGC CH1 - OFF • Push the SEL/PUSH EXEC dial in to select the mode option • REPEAT FOR AGC CH2 - OFF • You have now selected manual sound • Next select MAN GAIN ….. SEPARATE (to enabled each channel to be adjusted separately)
Sound levels • Press the silver AUDIO LEVEL button. The viewfinder/LCD will show the recording levels. • You can adjust the incoming sound levels using the SEL/PUSH EXEC dial. • Use the headphones – (the headphone own volume level can be adjusted using the controls on the edge of the LCD screen.) • Peak levels should not exceed minus 3dB voice levels should be around minus 20dB • Generally, it is better to record slightly too low than way too high. • To clear the display (so you can see your shot!) just press the silver AUDIO LEVEL button.
Z1 Useful Workbooks http://www.urbanfox.tv/workbooks/index.htm
Task Practise using the camera manually – • Set up an interview (think about composition, framing, sound plus exposure, etc). Film one interview inside and one outside. • Think about simple shots to accompany interview – practise inside and outside
Practical • This needs to be done over the weekend • Film someone making a cup of tea or making/answering a phone call or walking out the door (Consider location, motivation of each shot, composition, lighting, exposure, movement, sound) PRACTICE PRACTICE PRACTICE
Shooting a simple sequence • Wide shot (master shot) of scene • Offer at least three shots for the edit – camera lens angle shot ( WS); camera position shot (profile, head-on, over the shoulder) and camera height (high angel, low angle or eye height) • Hold each shot for 6 seconds • Do not cross the line – be clear where the line of action is • Shoot appropriate cutaways (hands on buttons, etc) • If someone is doing an activity the facial shots are important