Download

1 / 13
130 likes | 252 Vues
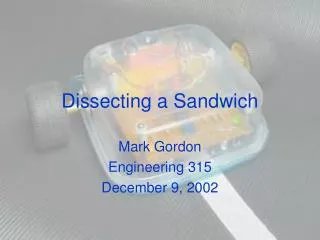
Dissecting a Single-Use Film Camera. RIT Center for Imaging Science. WARNING. The single use cameras used in this exercise contain charged electronic components which could possibly cause a painful, but not life-threatening, shock.

E N D
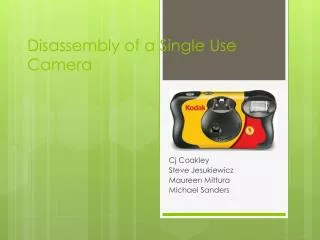
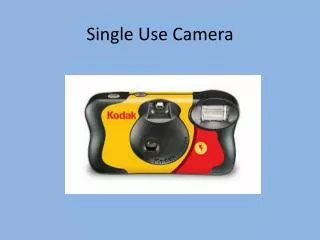
Dissecting a Single-Use Film Camera RIT Center for Imaging Science
WARNING • The single use cameras used in this exercise contain charged electronic components which could possibly cause a painful, but not life-threatening, shock. • This procedure should be followed exactly as described, and only under the supervision of an adult.
Push the flash charging button on the front of the camera. • Peel back the adhesive label on the top of the camera as shown.
Unsnap the camera with a flathead screwdriver as shown in the pictures • There are four different tabs – one on each side of the camera
FILM ADVANCE VIEWFINDER • Remove the BACK of the camera. Leave the front in place. • Remove the AA battery on the left side. You can use this battery in any electronic device that requires a AA battery. FILM CANNISTER BATTERY FILM
Remove the film from the back of the camera. Since this film has been exposed to the light, it is no longer useable. • Turn the camera over and remove the front. WARNING – BE ESPECIALLY CAREFUL NOT TO TOUCH ANY PART OF THE PRINTED CIRCUIT BOARD OR ANY ELECTRONIC COMPONENTS.
In order to make the camera safe for further handling, it is necessary to remove the electric charge from a component called a capacitor. The capacitor is the black cylinder visible in the diagram below. CAPACITOR LEADS CAPACITOR
The electricity that’s stored in the capacitor is used to make the flash go off when the shutter release is pressed. To remove the electricity, take a screwdriver and while HOLDING ONLY THE PLASTIC HANDLE, touch the metal part to both capacitor leads at the same time. • WHEN YOU DO THIS, YOU WILL SEE A BRIGHT SPARK AND HEAR A LOUD POP!
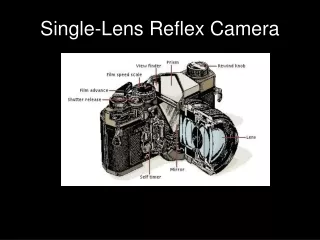
SHUTTER RELEASE VIEWFINDER FLASH • The remaining parts of the camera are now safe to handle. CIRCUIT BOARD LENS
Use a small screwdriver to pry off the lens over the flash. • Why do you think this lens has a series of lines going through it? Next pry off the viewfinder lens. Does it look different?
Use a screwdriver to turn the gray ring around the lens in a counterclockwise direction. • Remove the ring, and take out the round lens. What is the purpose of this lens?
Use your screwdriver to push a small black lever in the area shown to the left until it locks in that position. • Now you should be able to press the shutter release and watch the shutter move quickly across the hole in the front of the camera. What purpose does this serve?
Web Quest • Why does the film camera need a shutter and the digital one doesn’t? • Find similarities between the film camera and digital camera • Find differences.