Download
1 / 52
520 likes | 652 Vues
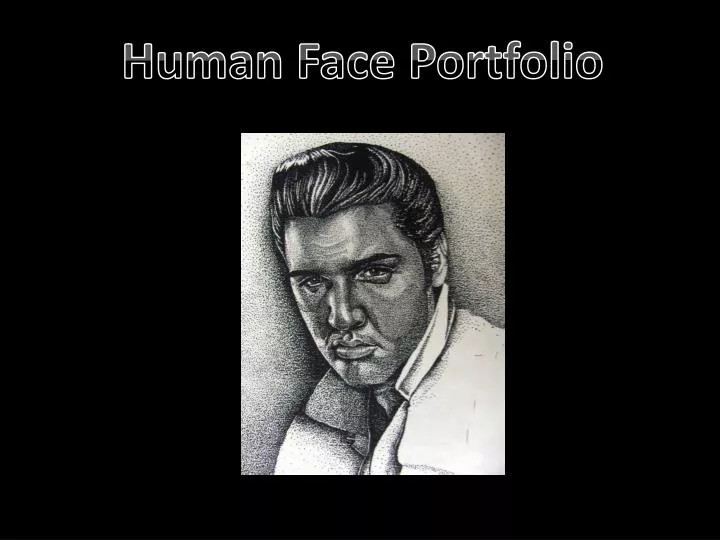
Human Face Portfolio . OBJECTIVES. LINE, VALUE, AND TEXTURE. Contour line (light). Demonstrates appropriate values using proper shading technique, the student blended out the contour line and created a soft edge. Hard vs soft shadows according to light source proximity/intensity

E N D
OBJECTIVES LINE, VALUE, AND TEXTURE Contour line (light). Demonstrates appropriate values using proper shading technique, the student blended out the contour line and created a soft edge. Hard vs soft shadows according to light source proximity/intensity Demonstrate proper textures through the use of high contrast and gradation.
OBJECTIVES EFFORT AND PARTICIPATION Student never needed to be reminded to stay on task. Made good use of class time and really put forth enormous effort and thought in the creation of the work. Always prepared for class. Clear evidence of planning and budgeting time in order to complete a quality project on time
OBJECTIVES CRAFTSMANSHIP Artwork demonstrates a high quality and attention to details. Neatness was of primary concern. Paper is neat and clean. Shading is accurate, decisive, and shows gradation of value where appropriate.
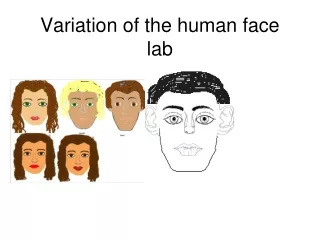
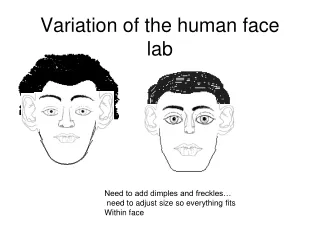
OBJECTIVES CONTENT • Student submitted all required facial features, including; • 3 sets of eyes (including shaded eye sockets and eye brow) • 3 noses • 3 sets of lips • 3 sets of ears.
Draw concentric circles. One for the cornea, the other for the pupil. One third of the circle will be overlapped by the top eyelid. Draw a football shape with the tips of the football connecting with the guideline Begin with a guide line at a slight angle
At first you should mark three parallel lines in order to draw beautiful lips (see my example). But remember that the farther short lines are from the main one, the fuller lips you'll get.
It would be too easy to draw all the lines of the portrait with a ruler. You should use your imagination and draw real shape of the lips, divide the upper lip into 2 parts. The upper lip has a shape of a heart. The upper contour must be reduced and the lower one must be enlarged
At first erase the guidelines (leave the lines on the lower lip). Now your drawing looks like real lips But you should draw the lip line. In order to do that, just copy the contour of the upper lip at the level of the main line. The middle part of the lip line must be a little bit stretched (like in my picture). Don't hurry to erase the guidelines on the lower lip as I said before. Just shade the parts where the lines cross.
Now you should add volume to your drawing in order to make it realistic. So shade the lips at their corners and in the places of their connection. If you want to paint your drawing, do it now. If you've decided to draw the lips in pencil, then make one more step
Human lips have some "wrinkles" or folds that stretch while a person smiles. Draw these details. Then shade the lips. Your lips drawing is ready. I suppose that now you agree with me that it is quite easy to draw human lips, isn't it?
STEP 1 - THE INITIAL LINE DRAWING The ear is a complicated arrangement of ripples and folds of flesh. You need to organize its irregular shape into some basic forms that are easier to outline. You can then use this linear framework to gradually build up its complex form with tone.
STEP 2 - THE INITIAL TONES Simplify the tonal structure into three areas: 1. Areas that are mostly light - Leave these un-shaded. 2. Areas that are mostly dark - Shade these with a mid-tone. 3. Areas that are extremely dark - Shade these with a dark tone.
STEP 3 - THE FINAL TONES Look deeply into each area of tone and try to pick up on the subtle variations that lie within. You may have to darken some of the light areas and lighten some of the dark areas to achieve a balance of tone. Tonal drawing is simply a balancing act between the elements of light and shade. In fact, all drawing is a constant balance between your observation, your concentration, your judgment and your technique.