Download
1 / 10
120 likes | 253 Vues
Assembling a PC . Alton, Dahlmon, Robert, Spencer CIS 265. Safety Precautions. Keep first aid kit handy. Remove all jewelry. Always wear short sleeve shirts or roll up long sleeves Use anti-static mats to protect computer and anti-static wristbands to protect you.

E N D
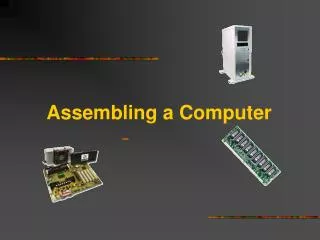
Assembling a PC Alton, Dahlmon, Robert, Spencer CIS 265
Safety Precautions • Keep first aid kit handy. • Remove all jewelry. • Always wear short sleeve shirts or roll up long sleeves • Use anti-static mats to protect computer and anti-static wristbands to protect you. • Watch sharp edges of computer.
Disassembly • Lay down anti-static mat • Find how to open case • Unlock from back • Push front button to remove panel • Remove side panel and lay computer case on its side
Disassembly (continued) • Lift power supply • Disconnect power supply cables from motherboard, hard drive(s) CD-Rom and zip drive. • With non-magnetic screwdriver, unscrew and remove power supply from case
Disassembly (continued) • Remove ribbon cable from hard drive • Unscrew cage from case and remove hard drive. • Remove ribbon cable from CD-Rom and mother board. • Disconnect audio cable from CD-Rom. • Unscrew CD-Rom, zip and floppy drive from case
Disassembly (continued) • Remove riser board from case • Remove memory • Disconnect power button from motherboard • Remove motherboard
Reassembly • CAREFULLY place motherboard back into computer case and screw into place • Connect memory • Screw zip drive, floppy drive, and CD-Rom back in to computer case
Reassembly (continued) • Insert riser board into case • Connect audio cable from CD-Rom to motherboard. • Attach ribbon cables from motherboard to CD-Rom, zip drive, and floppy drive. • Screw the hard drive case back into the case
Reassembly (continued) • Connect ribbon cables from hard drive to motherboard • Screw power supply back into case. • Connect power supply to all the necessary components in computer case. (motherboard, CD-Rom, zip drive, hard drive.)
Reassembly (continued) • Attach front panel • Slide side panel into place • Remove anti-static pad • Sit computer upright and lock case