Download
1 / 21
210 likes | 364 Vues
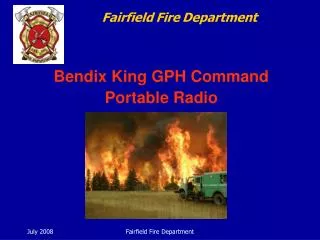
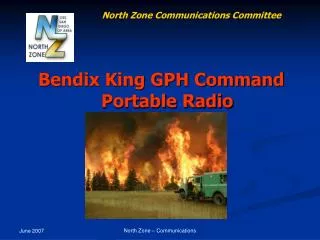
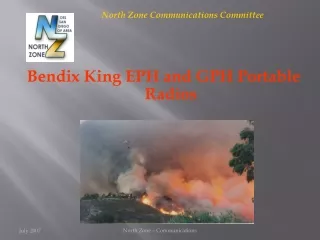
North Zone Communications Committee. Bendix King EPH and GPH Portable Radios. WARNING.

E N D
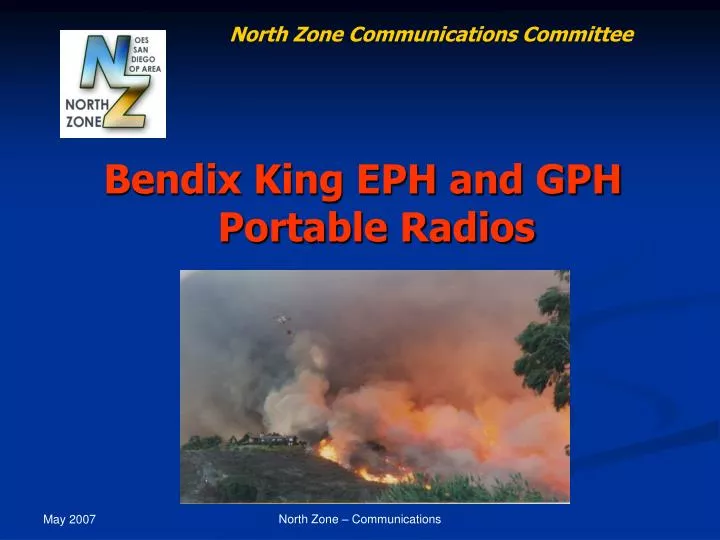
North Zone Communications Committee Bendix King EPH and GPH Portable Radios North Zone – Communications
WARNING The contents of this PowerPoint covers the operation of a Bendix King EPH or GPH portable radio which has been programmed with the respective North Zone data file. Radios which are programmed with another data files may have switch functions and other parameters which may be different than discussed here. North Zone – Communications
Objectives • Review basic specifications & features • Learn to switch between groups • Learn to create and alter a scan list • Learn to select a tone • Learn to set a Priority channel North Zone – Communications
Specifications & Features EPH: 210 Channels 15 Groups, each group has 14 channels GPH: 240 Channels 15 Groups, each has 16 channels Field Programmable Rechargeable battery and AA Battery “Clamshell” User Programmable Scan and Priority Scan User Programmable Repeater Access Tones Note: Group 15 left open for incident radio plan cloning North Zone – Communications
Battery Removal & Installation • Lock tab on right side. • Twist battery ¼ turn • Battery twists 30 degrees • Twist either direction North Zone – Communications
Clamshell • Holds 9 AA batteries • Twice the life of the NiCad rechargeable battery • Standard issue is Orange North Zone – Communications
Opening A Clamshell • Press dot on terminal end • Case pops up and out North Zone – Communications
Battery Capacity • Some “older” clamshells may take 10 batteries • Do not remove installed spacer. • Will “Overvolt” and damage the radio North Zone – Communications
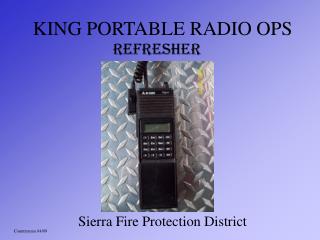
Top Of Radio Squelch Volume Busy Channel Indicator (red) Channel Select Hi/Lo 5/1 watt Scan Priority Priority Light (green) Remember, when the toggles are toward the front, the feature is OFF, when the toggles are toward the back, the feature is ON. When programming, all features should be in the OFF position North Zone – Communications
Switch Options • Some Fire Cache Radios or other agencies radios may have a HI /LOW Power Switch • HI is 5 Watts Transmit • LO is 1 Watt Transmit • No Talk Around available, unless programmed. North Zone – Communications
Repeat & Talk Around • Places radio in “Talk-Around” Mode (car-to-car), for any repeated channel. Flip switch UP to activate Talk-Around. • Note: Some EPH’s may have a Dir & Rep label. The GPH may have a letter “A” for this function. Flip UP to activate. North Zone – Communications
Switching Groups • Press “#” • Enter desired group number • Press “ENT” or wait five seconds • Press “#” by itself to display the current group. North Zone – Communications
Adding Channels To A Scan List Turn off SCAN & PRI • Switch to desired channel. • Press “ENT” to add to channel list. Beep will sound. • Display will indicate “SCN” above channel description North Zone – Communications
Deleting Channels From A Scan List Turn off SCN & PRI • Turn channel selector to desired channel • Press “CLR” button • Channel removed from scan list North Zone – Communications
Selecting A Tone NOTE: If operating with Enabled or Disabled groups, manually selecting a tone will only work on Enabled groups. • Press tone number on keypad. North Zone – Communications
The “#” Button • Press “#” once to display the Group • Press”#” again to display the channel and tone you are currently on. North Zone – Communications
Priority Channel There are several options for setting the PRI channel. Priority – Scan Mode Priority – Non Scan Mode North Zone – Communications
Priority ScanEstablish a Priority Channel 1st • Establish a scan list 2nd • Set a Priority channel • Turn Scan and PRI switches off. • Turn channel selector to the channel you wish to be the priority. • Press the PRI button. A short beep will sound and PR will appear in the display. North Zone – Communications
Priority Scan “Scan-Mode” • Flip SCAN (B) and PRI (C) Switches Up. Radio is now in Priority Scan Mode. • The radio will scan until it locks onto an active channel. • If activity occurs on the priority channel, the radio overrides the active scan channel, changes to the priority channel, and holds for the duration of the transmission. • NOTE: Priority channel may or not be in the scan list. North Zone – Communications
Priority Scan “Non-Scanning Mode” • Flip PRI (C) Switch up and SCAN (B) down. Radio is now in the Non-Scanning Priority Mode. • You will hearing traffic on the channel the selector is turned to. • If the priority channel becomes active, the radio changes to the priority channel for the duration of the message. • To reply to the message on the Priority channel, turn the channel selector knob to the Priority channel. North Zone – Communications
After An Incident • If your portable was cloned by the Communications Unit at the incident, have your agencies communication technician reprogram the radio with your agencies data file. This will ensure that all of the programming parameters are returned to their original settings. North Zone – Communications