Download
1 / 17
170 likes | 301 Vues
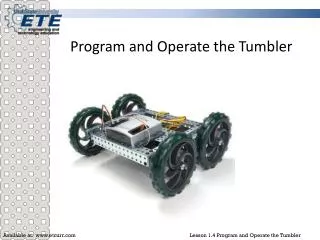
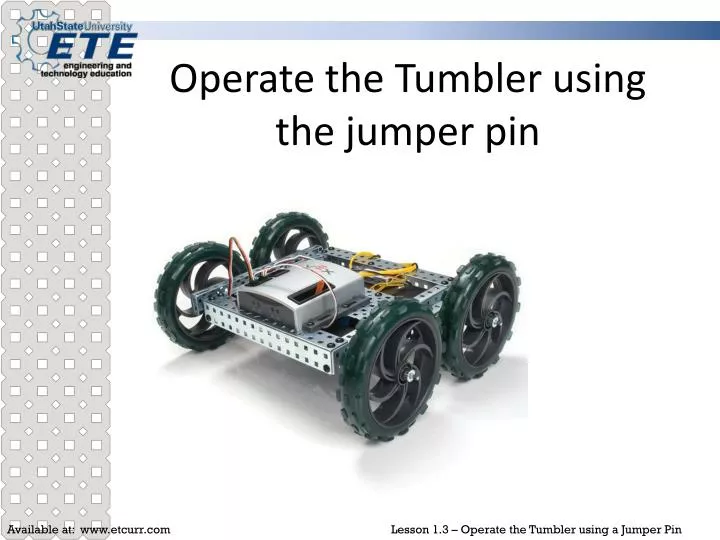
Operate the Tumbler using the jumper pin. Operate the Tumbler Using a Jumper Pin. Performance Objective: Using a Cortex microcontroller and EasyC V4, operate the Tumbler successfully using a jumper pin . Enabling Objectives:

E N D
Operate the Tumbler Using a Jumper Pin Performance Objective: Using a Cortex microcontroller and EasyC V4, operate the Tumbler successfully using a jumper pin. Enabling Objectives: match the following parts to their description and/or function: VEX jumper pin, VEXnet Joystick, USB A-A cable, EasyC V4 for Cortex, VEXnet USB adapter key, USB to serial cable, Default code sync VEXnet joystick and microcontroller install VEXnet adaptor keys describe the process to download the Default code explain the purpose of the Default code explain LED codes on the microcontroller and joystick with potential problems
Sync the microcontroller with the Joystick In order for a VEXnet Joystick to control a microcontroller, they must be synced To sync you will need a USB A-A cable
Sync the microcontroller with the Joystick Plug one end of the USB A-A cable into the USB port on top of the microcontroller Plug the other end of the USB A-A cable into the port on the back of the VEXnet joystick
Syncing Prop the Tumbler up on a block so that none of the wheels are touching a surface NOTE: This prevents the robot from making unexpected movements Switch the microcontroller to ON
Sync the microcontroller The lights on the microcontroller and the joystick will blink and flash The LEDs labeled ROBOT and VEXnet on the Joystick and microcontroller will turn green indicating that the synchronization is complete Because the joystick is not switched on the Joystick LED on the Joystick will be red(this is ok for now) If this is the case, your robot is now synced! (if not, see your instructor for troubleshooting or continue to the troubleshooting slide)
Download the default code The Default code is what come preinstalled on the microcontroller The Default code allows you to operate the microcontroller without having to write a program The Default code will not typically be loaded because most of the applications require a unique program to be written and downloaded
Download the default code First you will need the orange USB to serial cable Plug the USB end of the cable into the computer Plug the serial end of the cable into the port on the back of the joystick labeled Program
Download the default code Open the easyC V4 Cortex software from the start menu or desktop icon Begin a New Standalone Project Select Joystick Project (WiFi) Click OK
Download the default code On the top menu bar of the EasyC V4 software select Build and Download Choose Download Default code Click yes to download the Default HEX File Close the window that pops up reminding you to upload the master code
Download the default code The HEX File will now download onto the microcontroller Click OK on the window informing you that the file has downloaded Close the IFI/intelitek loader window
Insert the VEXnet USB Adapter Key Now turn off the Tumbler. Remove the USB A-A cable from both devices Insert the VEXnet USB adapter Key into the microcontroller and the Joystick
Using the jumper pin • Your Tumbler should be operating in Tank mode now. • The left side motors run in the same direction when the left joystick is pushed • The right side motors run in the same direction when the right joystick is pushed • One or more of your motors may be turning in the wrong direction • If so, place a jumper pin into the corresponding digital input of the motor port
Using the jumper pin • If you want to operate the robot in arcade mode (one joystick controls both the right and left motors) place a jumper pin into digital input 12
Finished If after syncing your microcontroller and joystick, downloading the Default code, and using jumper pins if necessary, you should be able to drive your Tumbler around! Congratulations!