Download

1 / 13
150 likes | 403 Vues
EMPTY BOWLS project. A Good Kind of Mold. What is the EMPTY BOWL project??. A metaphor = after a meal what is left is an empty bowl and across the world there are people who only have the empty bowl and not the meal. HUNGER World Map. The Numbers.

E N D
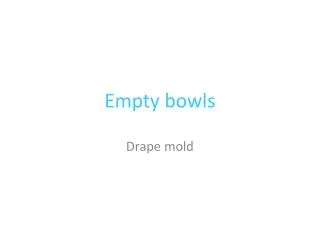
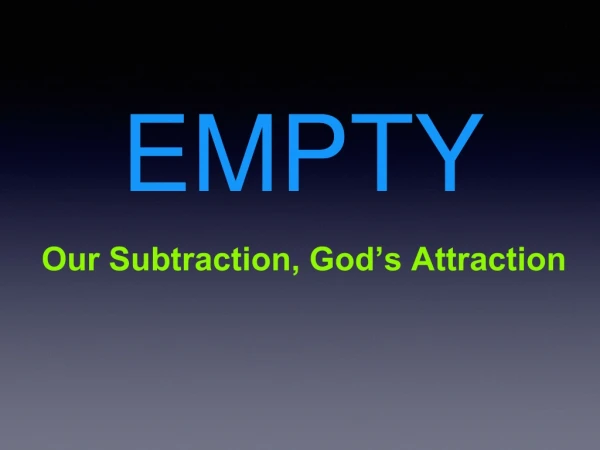
EMPTY BOWLS project A Good Kind of Mold
What is the EMPTY BOWL project?? • A metaphor = after a meal what is left is an empty bowl and across the world there are people who only have the empty bowl and not the meal.
The Numbers • 17.4 Million households are Low Food Secure houses = 14.7% of U.S. households • 6.8 Million households are SEVERE Food Secure houses = 5.7% of U.S. households • In Chicagoland area, 1 in every 7 students skip at least one meal or go hungry.
What is the EMPTY BOWL project?? • HISTORY: It all started with an art teacher in Michigan. • John Hartom decided to take stand against hunger with his students. • They decided to make ceramic bowls and host a soup and bread dinner to raise funds.
What is the EMPTY BOWL project?? • Deeper meaning: Supporters get a bowl of soup and when they are done they have a bowl, an empty bowl which represents the end of a meal and the possibility of not another meal, as it is around this nation and across the world.
What is the EMPTY BOWL project?? • These projects will be your charitable donation towards the fight to stop hunger in your own area in cooperation with Terra Incognito Studios in downtown LaGrange.
Last Years Event Poster Here at PWHS, we have been fortunate work with David Toan, who has established a partnership with the LaGrange Business Bureau to host an event second to none. Last April, Terra Incognito Studios in LaGrange with the LBB, organized the local restaurants to give away food to the bearers of bowls, and brokered the sale of over 600 bowls. The event was amazing and the profits benefitted two local soup kitchens that feed the local hungry.
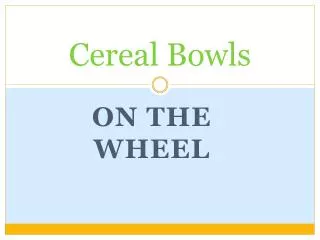
YOUR ASSIGNMENT • Student must make 1 pot formed over one of the hump molds and use any of the decorating techniques covered this semester and having the option to use pre-made sprigging made by the teacher. The student will receive either a passing of failing grade based upon completion with the teacher’s approval. • Each student will be responsible for a weekly blog assignment on the Empty Bowls project. The assignment is going to be evaluated based on your participation not on whether or not you get the right answer as there is not just one answer.
VOCABULARY • Empty Bowls Project-as reviewed on the website www.emptybowls.net • Blogging: A Web page that is frequently updated, usually with personal insights and Web links. Each blog entry is typically short and to the point, sometimes with a link to a longer, extended entry. The process of writing in a web based communication format. • Hump Mold: The process of molding a slab of clay around the outside of a plaster mold to shape a pot.
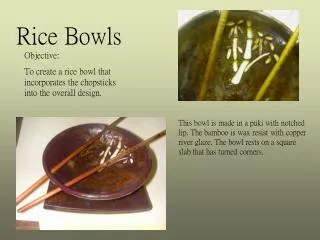
Complete Ceramic Idea Sheet. Wedge clay. Begin with a ball of clay and shape into a flatten piece. Use the slab roller to roll out a slab 1/2” thick. Pick up the slab of clay from the edge farthest from you and turn 90 degrees. Adjust the slab roller; roll out a slab no thinner than 3/8” thick. Take the slab to your table and mold over the plaster mold. Step by Step Directions
Step by Step Directions Let the slabs dry to a slightly leather hard state or use a hair dryer to speed up the drying. Use a tool to remove the edges around the base of the mold. Gently remove the leather hard slab from the mold. Use slip and your finger to repair any blemishes. Alter the rim or add other features such as feet and handles. Add any other decorating you may wish. Once decoration has been finished, add signature and let dry to bone dry.