Download
1 / 25
250 likes | 391 Vues
The (April) Fool’s Guide to Designing a Scientific Poster. Stephanie R. Taylor CS 441 April 1 , 2010. Outline. Getting Started PowerPoint Designing and Adding Content Layout (general layout, what to include) Graphics (e.g. Matlab figures, bitmaps) Fonts (What size?)

E N D
The (April) Fool’s Guide toDesigning a Scientific Poster Stephanie R. Taylor CS 441 April 1, 2010
Outline • Getting Started • PowerPoint • Designing and Adding Content • Layout (general layout, what to include) • Graphics (e.g. Matlab figures, bitmaps) • Fonts (What size?) • Printing (Language Resource Center in Lovejoy) • Presenting the Poster (it’s a dialog) • Additional Resources
My Favorite Form of Publication • A poster allows you to share your work with the scientific community • Get the main ideas across to others • Spark discussions with potential collaborators • A poster is a hybrid form • Less detailed than a paper • More detailed than a talk • A poster presentation is INTERACTIVE. • When you are creating your poster, think about how you will describe your work
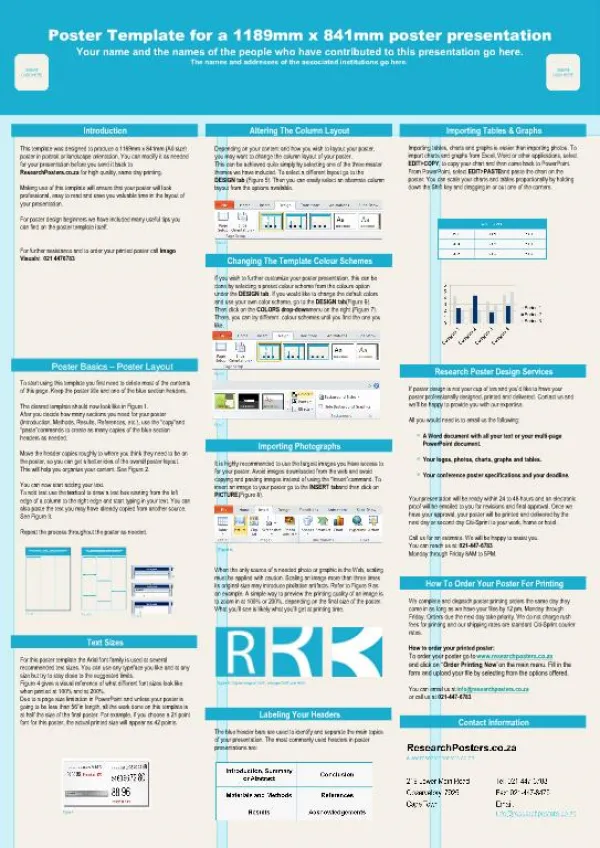
Getting Started • Getting the size right • Check the conference website for size and other guidelines • Common size is 3ft (height) by 4ft (width) • 3ft tall is what you want if printing at LRC • PowerPoint 2007 • Easy way to get theright size is to download theblank poster fromLRC’s website
Process • Determine the template • Determine the story • Put the figures, titles, references, and equations in • Then refine the layout and add necessary text
In addition to content, include … • Title • Author list (this is like a paper, so chances are, your advisor’s name should be included) • The fact that the project is associated with CS 441 • Colby logo (I use the seal) • References to works cited (but this list should be small)
Content • Tell a story, e.g. • Circadian clocks are complex multi-oscillators. Phase adjustments to intercellular signals allow them to synchronize. We want to understand what intracellular components are important for this behavior and we want our multi-oscillator models to be smaller. So, we developed a new model reduction technique and applied it to a model. The results were good over many runs of the reduction. The results at the single oscillator level were excellent. The acid test was forming a multi-oscillator model and examining the population-level behaviors. It passed. • Focus on 2 or 3 main points. Create figures for them and design the layout around the figures. • Make the take-home message explicit • Write it on the poster • Put it into the title
Content and Layout • Make sure your story follows an expected pattern, e.g. • Motivation • Method • Experiment/Application • Results • Discussion • Separate the main sections visually, e.g. • 3 column layout • Box the subsections • In PowerPoint 2003, it is helpful to put this on the master slide
Layout • Balancing Text and Graphics • I aim for 50/50 but that isn’t a universal rule. • DYA • Equations • Pay attention to your audience • Font should be at least 24pt • Fonts • Use a readable font (I likeVerdana) • Title (~80 pt) • Subtitles (~60 pt) • Figure Captions (24-30 pt) • Text (24-30 pt) • References and Acknowledgements (18-24 pt)
Graphics • Make sure you have sufficient resolution • A good rule of thumb is never to increase the size of a graphic (e.g. a bitmap) once you have inserted it into the poster – make sure it is big enough before you save it as a bitmap. • To copy a figure from a pdf, first zoom in as much as you can on the pdf. • Advice from LRC: To include an image on your poster, do NOT 'copy and paste'. You must save the image to your computer, then use the 'insert > picture' option to import it into Powerpoint. • Figures • ALWAYS LABEL YOUR AXES! • Generally, aim for at least 7” wide figures (this is a heuristic based on my own work)
Importing Figures from Matlab • Get the Matlab figure at the desired size and appearance, then save it as a picture (.jpg) • Make the fonts as large as they can be while fitting everything in the figure (aim for 14 or higher, but this won’t always work) • For data that are simple time traces, consider using thicker (2pt) lines
Refining the Layout • Do your best to make the whitespace look evenly distributed throughout the poster • Do your best to make the graphics evenly distributed throughout the poster • Get the level of detail correct • Someone reading the poster should be able to get the main picture without your help • But it is NOT a paper and details not immediately relevant to the story should be left out
Printing • Language Resource Center • Lovejoy 404 • http://www.colby.edu/lrc/poster.php • Qiuli.Wang@colby.edu • Important Notes from the LRC • Size must be 36" tall by 48" wide. • No more than 1/3 of the poster may have a non-white background to conserve toner and reduce printing time. • Photographs, pictures, and figures should be of the highest possible resolution. • Keep fonts simple - remember that if a you use a font that is not installed on the master computer, your poster will lose both the font and its formatting in the printing process. • Use a font size that can be easily read from a distance. • The poster must be saved as a PowerPoint file (.ppt) • **A note about creating your poster on a Mac: To include an image on your poster, do NOT 'copy and paste'. You must save the image to your computer, then use the 'insert > picture' option to import it into Powerpoint. No solid colored backgrounds allowed (no more than 1/3 poster can have color on it) • 48 hours to print • You never know when the hordes will descend upon the printer, so PRINT EARLY (1 week ahead of time).
At the Poster Session • General Advice • Stand by your poster for as long as you can handle it • Drink lots of water and bring breath mints in case you are standing close to people and shouting at them • If there is alcohol, don’t imbibe too much. You need to be able to think on your feet.
A Poster Presentation is a Dialog • When someone is interested • Gauge their level of interest and background with a couple of quick questions, e.g. • Do you work with mice? • Are you familiar with phase response curves? • Do you want the mathy version or the non-mathy version? • Present the poster quickly (e.g. 1-3 minutes). Tell your story without including every detail on the poster. If people are very interested, they will ask questions, and THEN you can go into detail. • Let the visitor ask questions – this is a great opportunity for feedback! • Smile and don’t be flustered when they find fault. Often that arises out of a lack of understanding • Remember, people outside your immediate field want to be told why this work is interesting to them, e.g. • The methodology extends to other problems • The application is particularly important • You can solve their jetlag problems
Resources • Jane E. Miller (2007) Preparing and Presenting Effective Research Posters, Health Services Research 42 (1p1) , 311–328 doi:10.1111/j.1475-6773.2006.00588.x • http://www.bio.miami.edu/ktosney/file/PosterHome.html