Download
1 / 29
290 likes | 414 Vues
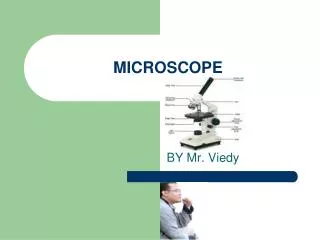
Microscope Notes. Microscope. Ocular lens. One or more lense that makes an enlarged image of an object. Body Tube. Nosepiece. Arm. Objective Lens. Stage. Stage Clips. Diaphragm. Coarse Adjustment Knob. Light. Fine Adjustment Knob. Base. ocular lens. Ocular lens.

E N D
Microscope Ocular lens One or more lense that makes an enlarged image of an object. BodyTube Nosepiece Arm ObjectiveLens Stage StageClips Diaphragm Coarse Adjustment Knob Light Fine Adjustment Knob Base
ocular lens Ocular lens Located in the EYEPIECE, where you look through to see the image of your specimen. Our microscopes have an occular lens power of 10x.
arm supports the body tube and connects it to the base arm
stage the flat platform where you place your slides stage
coarse adjustment knob Moves stage (or body tube) up and down coarse adjustment knob
fine adjustment knob small, round knob on the side of the microscope used to fine-tune the focus of your specimen after using the coarse adjustment knob fine adjustment knob
base the bottom of the microscope, used for support base
body tube body tube connects the eyepiece to the objective lenses
revolving nosepiece the part that holds two or more objective lenses and can be rotated to easily change power revolving nosepiece
objective lenses Usually you will find 3 or 4 objective lenses on a microscope. They almost always consist of 4X, 10X, 40X and 100X powers. objective lens
objective lenses When coupled with a 10X (most common) eyepiece lens, we get total magnifications of 40X (4X times 10X), 100X , 400X. The shortest lens is the lowest power, the longest one is the lens with the greatest power. Lenses are color coded. objective lenses
stage clips Stage clips hold the slides in place. If your microscope has a mechanical stage, you will be able to move the slide around by turning two knobs. One moves it left and right, the other moves it up and down. stage clips
diaphragm Controls the amount of light going through the specimen. Many microscopes have a rotating disk under the stage. This diaphragm is used to vary the intensity and size of the cone of light projected into the slide. diaphragm
light makes the specimen easier to see light
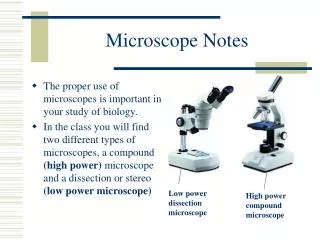
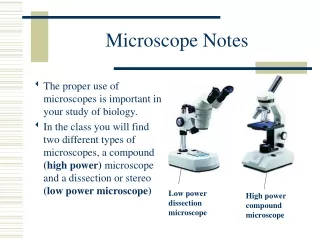
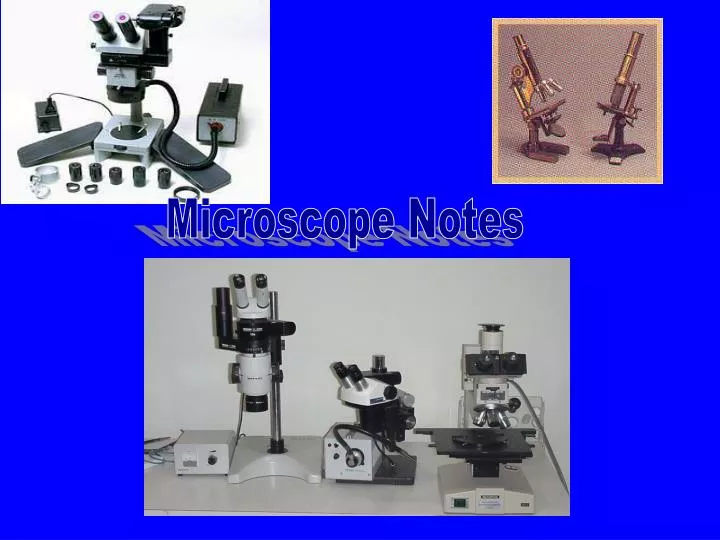
Types of Microscopes • Compound • Stereoscopic • Electron
Compound Microscope • Lets light pass through an object and then through two or more lenses.
Stereoscopic Microscope • Gives a three dimensional view of an object. (Examples: insects and leaves)
Electron Microscope • Uses a magnetic field to bend beams of electrons; instead of using lenses to bend beams of light.
A Lens • Enlarges an image and bends the light toward your eye.
Eyepiece Lens Usually has a power of 10 x
Eyepiece Lens X Objective Lens = Total Magnification
Objective Lenses Low Power = 4 x Medium Power = 10 x High Power = 40 x
What’s my power? To calculate the power of magnification, multiply the power of the ocular lens by the power of the objective. What are the powers of magnification for each of the objectives we have on our microscopes?
We can see better details with higher the powers of magnification, but we cannot see as much of the image. Which of these images would be viewed at a higher power of magnification? Comparing Powers of Magnification
4 - Slowly lower the cover slip on top of the drop. Cover Slip Lower slowly How to make a wet-mount slide … 1 – Get a clean slide and coverslip from your teacher. 2 – Place ONE drop of water in the middle of the slide. Don’t use too much or the water will run off the edge and make a mess! 3 – Place the edge of the cover slip on one side of the water drop. 5 – Place the slide on the stage and view it first with the red-banded objective. Once you see the image, you can rotate the nosepiece to view the slide with the different objectives.
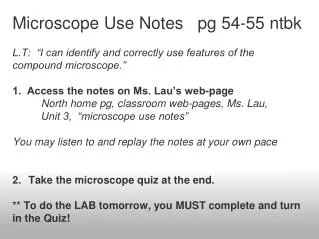
Using the Microscope • Start with the lowest power objective lens first and while looking from the side, crank the lens down as close to the specimen as possible without touching it. • Now, look through the eyepiece lens and focus upward only until the image is sharp. If you can't get it in focus, repeat the process again.
Using the Microscope • Once the image is sharp with the low power lens, you should be able to simply click in the next power lens and do minor adjustments with the fine adjustment knob. • If your microscope has a fine adjustment, turning it a bit should be all that's necessary. Continue with subsequent objective lenses and fine adjustment each time.
CLEAN UP • Point the lowest power objective lens toward the stage • Wrap any cords around the microscope • Place the dust cover over the microscope