Download
1 / 16
170 likes | 178 Vues
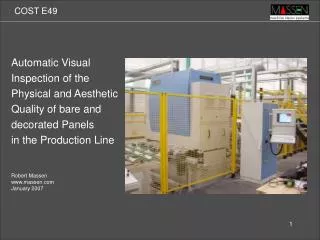
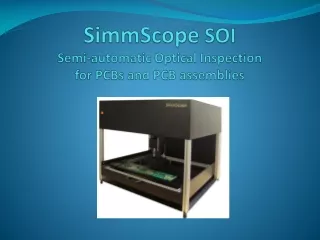
Automatic visual inspection of the optical quality. By: Joris Kuin GS Improve the Netherlands. General set-up of Vision system for Inspection. Computer with software. Top view of camera set-up with patterned illumination. Removing scrap.

E N D
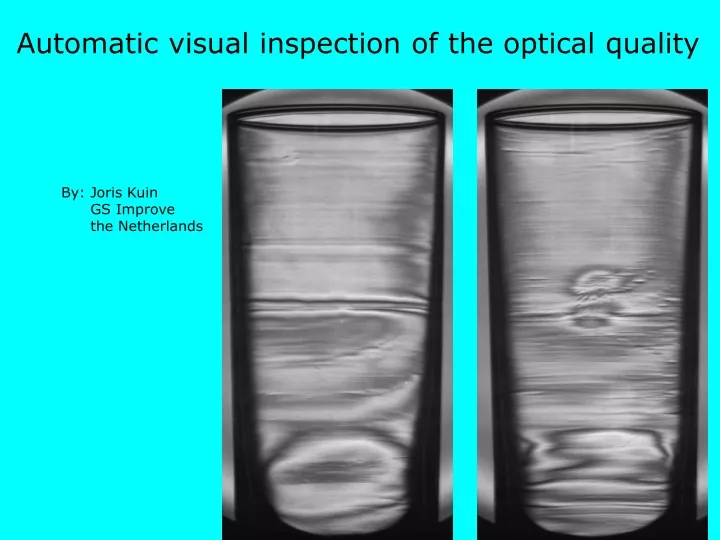
Automatic visual inspection of the optical quality By: Joris Kuin GS Improve the Netherlands
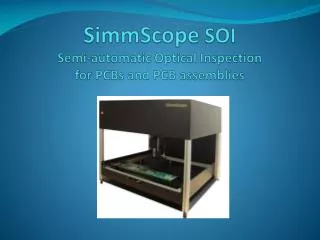
General set-up of Vision system for Inspection Computer with software Top view of camera set-up with patterned illumination Removing scrap
General set-up of Vision system for process control Process Control Computer with software Top view of camera set-up with patterned illumination Removing scrap • Requirements for process control: • Measurement data of the process, acquired with this system • Knowledge about the process (not provided in this presentation)
Automatic visual Inspection for optical defects Items for Vision / Subjects in this presentation: • Different types of Illumination • Highlight the defects by filtering • Quantification of the defect • Demonstration of the present program
Illumination Blisters Clear Field illumination Blisters, Dimensions Patterned lines Simple set-up Optimised illumination Best for optical defects
Illumination Heavy Line Clear Field illumination Patterned lines Optimised illumination
Illumination Water Mark Clear Field illumination Patterned lines Optimised illumination
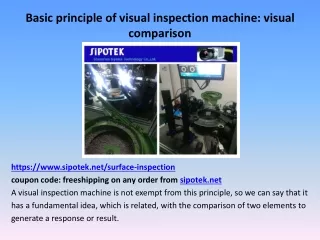
Highlight the defects by filtering Filtering in position • Which region is important? • Position of glass in picture, search for edges and after that masking of the edges to avoid that edges are seen as defects. • Inspection of rim • Inspection of body on optical defects and large blisters • Inspection of lower part, reject limits must be set higher Filtering in intensity • What is important in intensity? • In Clear Field Illumination:(see on the left) Absolute value of intensity, defect for intensity lower as Ithreshold • With Patterned lines: Change in intensity along lines at 450 • Optimised Illumination: (Sudden) change in intensity, high pass filter Clear Field illumination
Highlight the defects by filtering Defect Blister Clear Field illumination Patterned lines Optimised illumination
Highlight the defects by filtering Defect Heavy Line Clear Field illumination Patterned lines Optimised illumination
Highlight the defects by filtering Defect Water Mark Clear Field illumination Patterned lines Optimised illumination
Quantification of the defect Quantification and judging on the computer • What is important of the defect, • dimension ( blister ) • intensity ( heavy line ) • shape ( rim ) • Setting limits to variations in intensity to avoid too much noise • Setting distance to join broken defects • Search for defect type?
Quantification of the defect, examples Blister Heavy Line Water Mark
Quantification of the defect Correlation with ranking by operators?
See you at the Glass Tec? Please visit us at Glasstec 2006, October 24-28, Düsseldorf, Germany in Hall 13 / A 17.