Download
1 / 24
240 likes | 243 Vues
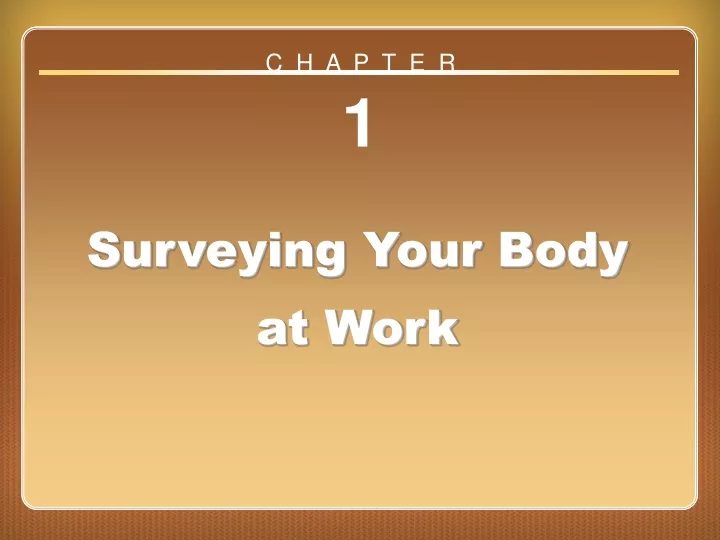
Chapter ??. C H A P T E R. 1. Surveying Your Body at Work. How can you discover and improve on the strengths and weaknesses of your body?. Objectives. Explain healthy vertical alignment and demonstrate your own vertical alignment.

E N D
Chapter ?? C H A P T E R 1 Surveying Your Body at Work
How can you discover and improve on the strengths and weaknesses of your body?
Objectives • Explain healthy vertical alignment and demonstrate your own vertical alignment. • Recognize major bones, muscles, and joints and how they interact to make movement possible. • Create a dance phrase based on your knowledge of types of joints and the types of movement possible at each joint. • Analyze your body, noting its strengths and limitations.
Lesson 1.1Stand on Your Own Two Feet Move It! Tuck your hips under, push them forward, and tighten your buttocks muscles. Now try to walk. How easy or difficult is it to walk? Now start over by lifting your abdominal muscles up toward your rib cage. You will notice that your buttocks can now relax. Again, try walking. How does the walk feel to you now? What do you think makes the difference?
Kyphosis-Lordosis Posture (Exaggerated S-Shape in Side View)
In your journal, write about any changes you have made to improve your alignment.
Lesson 1.2 Body Mechanics: Matching Movement to Muscles and Bones Move It! Part I Repeat the simple jazz arm exercise shown in figure 1.3 until your muscles get tired. In this way you will be able to identify which muscles are doing the work.
Jazz Arm Exercises Right-click on the image, then choose “Open hyperlink” to view video.
Lesson 1.2 Body Mechanics: Matching Movement to Muscles and Bones Move It! Part II With a partner, take turns doing a similar movement with resistance. Note: One person moves while the other person carefully presses or pulls on the lower arm in the opposite direction (resistance). With your partner, discuss which muscles you felt when you bent your elbow (flexion) and when you straightened your elbow (extension).
Concentric and Eccentric Contractions Flexion of elbow: Biceps do a concentric (shortening) contraction; triceps do an eccentric (lengthening) contraction. Extension of elbow: Biceps do an eccentric contraction; triceps do a concentric contraction.
Take the Stage 1.2 • Identify the two sets of muscles that are the prime movers and antagonists for the joints: shoulders, wrists, fingers, hips, knees, and ankles. • Write your predictions or guesses next to the name of the joint. • While moving the joint, touch the muscles to see if your predictions are true. Make any needed corrections. Use the partner work that you did in this lesson’s Move It! to help you with your work. (Remember how your partner provided careful resistance.)
Lesson 1.3 Dancing at the Joint Move It! Do a joint survey warm-up by exploring all the movements possible at each joint. Try to move only one body part at a time (isolations). While moving, pay attention to what type of movement is possible at each joint, how free and large this movement can feel (range of motion), and which joints can do similar movements as others. To start, follow the instructions for head (neck) and shoulder joint isolations. Continue down the body, exploring movement at each of the major joints.
Dancing at the Joint • Create a dance phrase from movement discovered in the previous movement. While dancing, name out loud the types of joints and movements that you are using in this dance phrase. Have your dance phrase video-recorded. • After viewing your dance phrase, evaluate whether you performed your dance with clear, pure movements and whether you named the types of joints and movements correctly. • In your journal, identify at least three improvements that you could make in your dance phrase. With a partner, review and discuss all of the information from items 1 and 2 in this process. • Revise your dance phrase by making these improvements.
Sample Student Work on Dancing at the Joint Right-click on the image, then choose “Open hyperlink” to view video.
Lesson 1.4 Personal Physical Survey Move It! Today in class, pay attention to movements that may feel restricted, small, or tight. Note in which areas of the body (joints or muscles) these restrictions take place. Also note when movements feel free and can be done with ease. Note in which areas of the body (joints or muscles) these easy movements take place. Write these observations in your journal.
Take a Bow 1.4 After taking today’s class, share your observations and findings with your peers and teacher, and discuss their observations of your body’s abilities. This activity’s learning can be used as a basis for directing your future personal dance training. Write a short essay stating your goals and an action plan for your future personal dance training.