Download
1 / 30
330 likes | 483 Vues
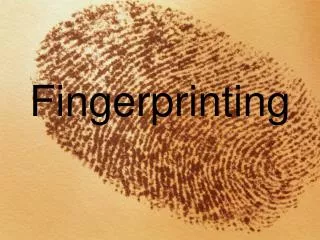
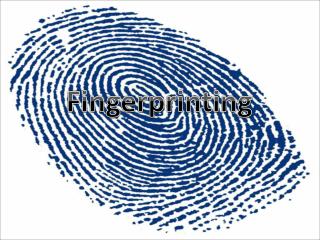
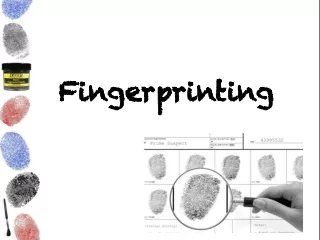
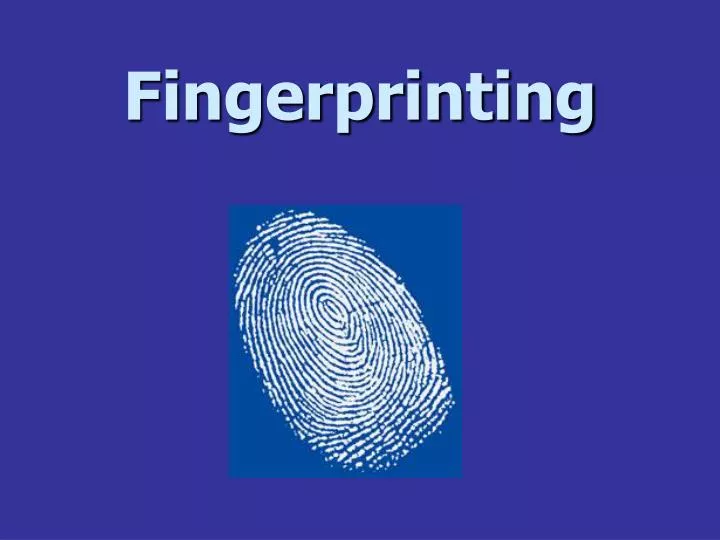
Fingerprinting. Why do we have fingerprints?. “ Friction Ridge Skin ” Provides a firm grasp & resists slippage. Found on the palm side of fingers & hands, soles of feet and toes. Formation occurs during fetal development . Fingerprints do NOT change over a lifetime.

E N D
Why do we have fingerprints? “Friction Ridge Skin” • Provides a firm grasp & resists slippage. • Found on the palm side of fingers & hands, soles of feet and toes. • Formation occurs during fetal development. • Fingerprints do NOT change over a lifetime. • Identical twins have different fingerprints! • Fingerprints grow back when damaged.
Three (3) Types of Fingerprints • Latent • Invisible fingerprints. • Formed when sweat, oil, amino acids, & water are deposited in the formation of the ridge pattern. • Plastic • Impressed into soft materials. • Gum, wax, soap, dust, putty, etc… • Visible or Patent • Fingerprint left in a visible material • Ink, grease, blood, paint, etc…
Fingerprint Composition • Sweat • Eccrine sweat glands • Produce a “watery” sweat. • Apocrine sweat glands • Produce an “oily” sweat • Proteins • Lipids
Skin Anatomy • Epidermis • Top Layer of Skin (2 mm in fingers) • Contains keratin, melanin, & immune cells. • Dermis • Thick layer of connective tissue. • Contains blood vessels, nerves, muscles, oil & sweat glands, & hair follicles. • Papillae • Boundary between layers; forms ridge pattern.
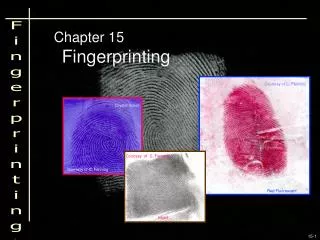
Major Ridge Patterns • Loops • Whorls • Arches
LOOPS • 60% of population. • Two (2) or more ridges entering from one side, curving and exiting on the same side. • Core • Center of loop • Type Lines • Ridges that diverge • Delta • Closest ridges to type lines; forms a triangle.
Radial Loop Loop opens towards thumb. Ulnar Loops Loop opens towards pinkie. Types of Loops
WHORLS • 30%-35% of population. • Must have type lines and a minimum of two (2) deltas! • Four types: • Plain Whorl • Center Pocket Whorl • Double Loop Whorl • Accidental
Plain Whorl Center Pocket Whorl Types of Whorls
Plain vs. Center Pocket Whorls • Both have at least one ridge that makes a complete circuit. Draw a line through the deltas. Center Pocket line does NOT touch circuit ridge! Plain – hits the circuit ridge.
Double Loop Whorl Accidental Types of Whorls
ARCHES • 5% of population. • Simplest of all fingerprints! • Ridges enter on one side of print and exit on the other. • Slight or dramatic rise in the center. • Plain Arch vs. Tented Arch • No type lines or deltas.
Plain Arch Tented Arch Types of Arches
Fingerprint Analysis • Used to match a suspect to a crime scene. • Not based upon general shape or pattern. • Requires a point by point match of minutiae. • Average fingerprint has 150 minutiae. • 8 to 16 matches adequate in court. • No statistical studies regarding locations of common minutiae in populations.
Minutiae • Ridges – raised points on a print. • Groves or Furrows – low points on a print. • Minutiae (Ridge characteristics) • Ridge Endings • Short Ridge • Bifurcation • Island or Dot • Enclosure (or Lake) • Crossover
Latent Fingerprint Removal • Depends upon: • Type of surface • Porous vs. Nonporous • Soft vs. Hard • How the print was left. • Visible vs. Invisible (latent prints) • Amount of print available.
Latent Print Removal • Dusting • Superglue Fuming • Amino Acid Reaction • Iodine Fuming
Dusting • Surface: • Smooth, nonporous. • Chemical: • Carbon black powder • Method: • Dust on powder with brush. • Remove excess powder (puff of air). • “Lift” print with tape. • Place on index card.
Superglue Fuming • Surface: • Smooth, nonporous. • Chemical: • Cyanoacrylate • Method: • Place print evidence in sealed container. • Add few drops of superglue + heat. • Takes 2-3 hours; chemical fumes stick to print.
Amino Acid Reaction • Surface: • Porous. • Chemical: • Ninhydrin • Method: • Spray or dab chemical onto print area. • Allow to dry (2-3 hours). • Turns pink when it reacts with proteins. • Highly effective on old prints (up to 15 years!)
Iodine Fuming • Surface: • Porous. • Chemical: • Iodine crystals (solid) • Method: • Place print evidence in sealed container. • Sublimation of iodine crystals. • Solid to GAS! • Vapors attach to print. • Not permanent! Must photograph!