Download
1 / 4
0 likes | 16 Vues
Installation Of Submersible Pump in a 200 Feet Borewell: Installing a submersible pump in a 200-foot borewell demands meticulous planning and precise execution. Begin by gathering the necessary tools and equipment, ensuring each piece is in optimal working condition. Read full article: https://lubiindustriesllp.wordpress.com/2023/09/29/how-to-install-a-submersible-pump-in-a-200-feet-borewell/

E N D
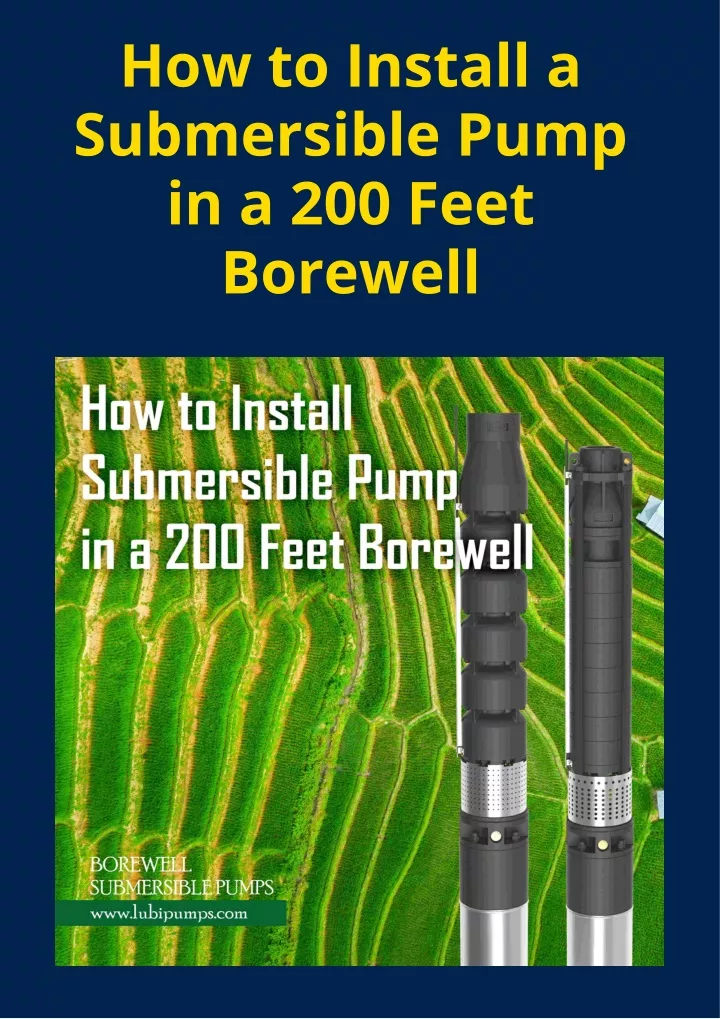
How to Install a Submersible Pump in a 200 Feet Borewell
In the world of accessing water resources buried beneath the earth’s surface, few tools are as indispensable as the Borewell Submersible Pump. This guide will walk you through the intricate process of installing a submersible borewell pump in a 200-foot borewell. We’ll provide you with step-by-step instructions to unlock the knowledge needed to tap into this valuable water source efficiently. So, fasten your seatbelts, because beneath the surface of this article lies the key to successful borewell submersible pump installation. Guidelines for Installing a Submersible Pump in a 200-Foot Borewell 1. Inspection: Preparing for the Installation A comprehensive inspection sets the stage for a successful installation. Get started on the right foot by following these key steps: Measure Borewell Depth: Determine the depth of your borewell accurately. Calculate Head: Assess the vertical distance, known as ‘head,’ between the pump and the ground-level outlet where water enters the pressure tank. Examine Pump and Motor Physical Condition: Carefully inspect the pump and motor condition for any signs of external damage. If damage is detected, replace it promptly. This inspection process ensures that you’re well-prepared to proceed with the installation, minimizing potential issues and ensuring a reliable water supply
2. Motor Preparation: Ensuring Optimal Performance Motor Topping: Contrary to common belief, most submersible motors DO NOT come pre-filled with liquids. Hence, before installation, follow these steps: Vertical Positioning: Place the motor vertically on its base. Secure Fasteners: Check all fasteners for tightness and tighten if necessary. Remove Threaded Plugs: Take out the two threaded plugs located at the top of the motor casing. Inspect Water Level: Examine the water level inside the motor (if any). If it’s low, add clear, cold drinking water from one hole until it overflows from the other hole and wait for 10 to 15 Minutes if water level drops down than fill it again. Eliminate Air Bubbles: Gently rock the motor to remove any trapped air bubbles. Reassemble Plugs: Seal the motor by reassembling the two threaded plugs. Check for Leaks: Dry the motor’s exterior and inspect for any water leakage. Address any issues you find. These steps ensure your motor is properly prepared for optimal performance during installation.
3. Waterproofing the Motor Cable: Ensuring Safety Submersible motors are equipped with a 3-core PVC insulated flat cable for electrical connection. To safeguard against electrical shock and corrosion, it’s imperative to create a waterproof seal at the cable joint connecting the motor to the control panel. 4. Valves: Ensuring Efficient Water Flow When setting up your borewell system, the inclusion of check valves (also known as Non-Return Valves or NRV’s) is essential for smooth operation: Check valves enable water to flow in only one direction, preventing any backflow into the well when the pump is not running. These valves ensure that as soon as the motor starts, water begins to flow into the tank. For greater durability and improved water flow, consider opting for check valves equipped with good quality flaps. 5. Motor Rotation Check: Confirming Proper Alignment To safeguard the motor from potential damage, ensure that the motor’s shaft rotation matches the designated direction, typically marked on the motor casing (look for an Arrow mark or indications like Clockwise (CW) or CounterClockWise (CCW)): Rotate the motor’s shaft to align it with the indicated direction. Connect the cable to the control panel and briefly activate the motor. Observe the rotation direction; it should correspond to the designated direction on the motor casing. If the rotation direction doesn’t align correctly, interchange any two lead (main) wires in the control panel and recheck until the alignment is correct. Continue Reading https://lubiindustriesllp.wordpress.com/2023/09/29/how-to-install-a-submersible-pump-in-a-200-feet-borewell/