Download
1 / 10
100 likes | 115 Vues
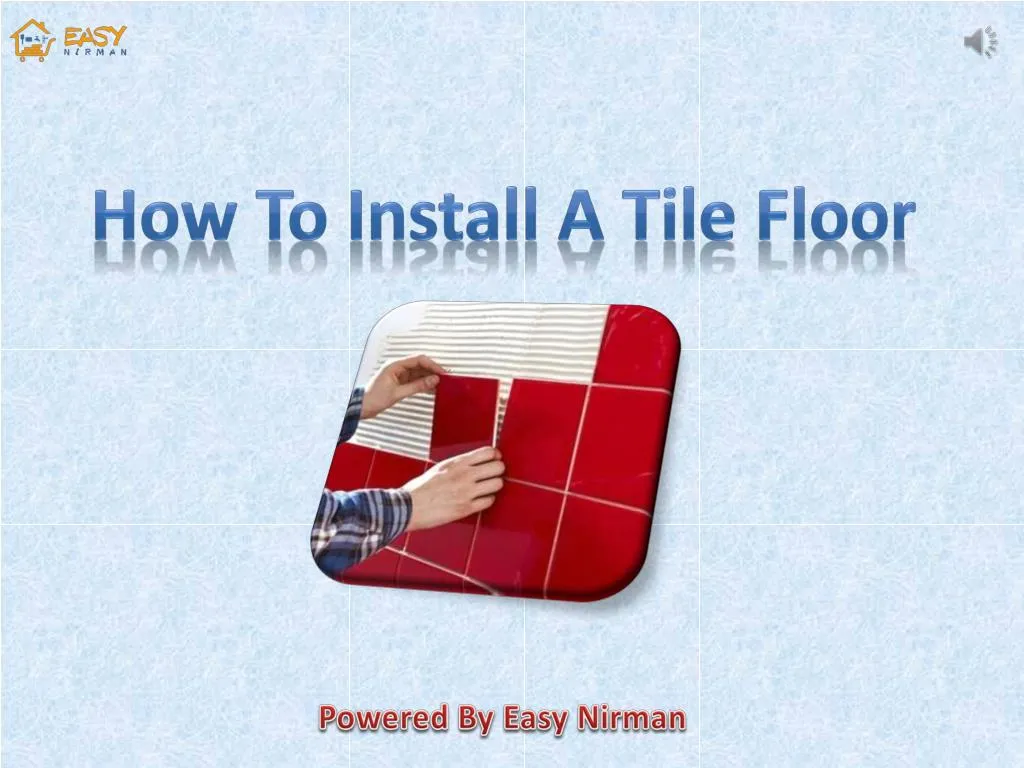
By Easy Nirman: How to Install a Floor Tile At Home.

E N D
How To Install A Tile Floor Powered By Easy Nirman
How To Install A Tile Floor A clean, precise tile installation is easier than you might think. With planning, preparation, and our step-by-step advice, you can do it on your own.
Step 1: Prepare The Surface Make Sure Your Surfaces Are Clean, Smooth, And Dry For Best Results. Take Time To Repair, Patch, And Level Any Damaged Or Uneven Areas.
Step 2: Begin Your Layout For An Efficient Layout, Start By Marking The Center Point Of Each Of The Walls In The Room. Next, Snap Chalk Lines Between The Center Points Of Opposite Walls To Pinpoint The Center Of The Room. Make Any Necessary Adjustments To Ensure That The Intersection Creates Perfect Squares.
Step 3: Apply The Adhesive Using The Flat Side Of The Trowel Type Recommended On The Adhesive Package, Spread A 1/4" Coat On The Surface Of One Grid Area Without Covering The Guidelines. As A General Rule Of Thumb, Be Mindful To Mix Only Enough Of The Adhesive To Be Used Within 30 Minutes.
Step 4: Cut Tile As Needed Start By Marking Carefully Measured Cuts-to-be With A Pencil Or Felt-tip Pen On The Tile Surface. You Can Use A Tile Cutter To Achieve Pinpoint Straight Or Diagonal Cuts. Make Masterful Curved Cuts With A Nipper, Chipping Away Small Pieces For Best Results.
Step 5: Set Your Tile Now That You've Primed The Surface, Created The Layout, Applied The Adhesive, And Cut The Tile, You Are Fully Prepared For The Actual Installation Of Your Tile.
Step 6: Grouting Joints Now That Your Mohawk Ceramic Tile Is In Place And Has Had 24 Hours To Set, Your Last Step Is To "Grout" Or Fill The Joints And Consolidate Your Floor Into One Mass.
Thanks For Watching Easy Nirman Construction was never easy, Before us.