Download

1 / 10
110 likes | 438 Vues
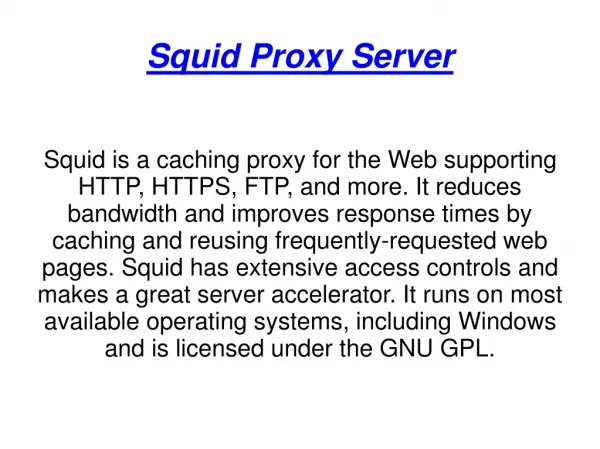
Installasi dan Konfigurasi Squid Proxy Server. Installasi Squid Proxy. Apt-get install squid. Konfigurasi Dasar. Edit file : /etc/squid/ squid.conf Konfigurasi Dasar http_port Cache_peer cache_dir cache_access_log cache_log. http_port.

E N D
Installasi Squid Proxy • Apt-get install squid
Konfigurasi Dasar • Edit file : /etc/squid/squid.conf • KonfigurasiDasar • http_port • Cache_peer • cache_dir • cache_access_log • cache_log
http_port • http_port menentukan squid akan berjalan di port berapa atau akan berjalan di Ip berapa dan port berapa • Contoh : • http_port 10.252.105.21:8080 (jalan di IP 10.252.105.21 di port 8080) • http_port 8080 (jalan di sembarang IP di port 8080)
Membuat Cache • aktifkancache_dir : • cache_dirufs /var/spool/squid 100 16 256 • Jikacache_dirbelumada, buatlahduludirektorinya • mkdir /var/spool/squid • Chmoda+rw /var/spool/squid • Jalankanperintahberikutuntukmengaktifkan cache • /usr/sbin/squid –z
Logging • Aktifkan access log dan cache log sbb • cache_access_log /var/log/squid/access.log • cache_log /var/log/squid/cache.log • Harusdipastikanbahwa file tersebutadalah writable oleh squid jikabelumkasihhakaksesdenganchmod 755
http_access • Awalpertamakonfigurasi proxy akanmelakukanblokakseske proxy • Untukmembuka block, carihttp_access deny all dangantidenganbarishttp_access allow all • Restart proxy denganmenggunakanperintah • /etc/init.d/squid restart
Mencoba proxy • Buka browser, arahkankonfigurasi proxy ke proxy andadanisikannomor port sesuaidengankonfigurasi yang sudahandalakukan • Bukawww.eepis-its.edudanlihathasilnya
Workshop 2 • Buat proxy denganketentuansbb : • Semuatidakbolehakseswww.detik.comdanwww.jawapos.com • Buatbeberapanomor IP bolehakses internet danbuatbeberapanomor IP tidakbolehakses internet • Ujilah proxy anda
Workshop 3 • Buat proxy dengankonfigurasisbb : • Hanyabolehdiaksespadaharisenin, selasa, danrabuantara jam 07 pagihingga jam 5 sore • Tambahkanauthentikasincsa_auth • Ujilah proxy anda