Download
1 / 17
170 likes | 176 Vues
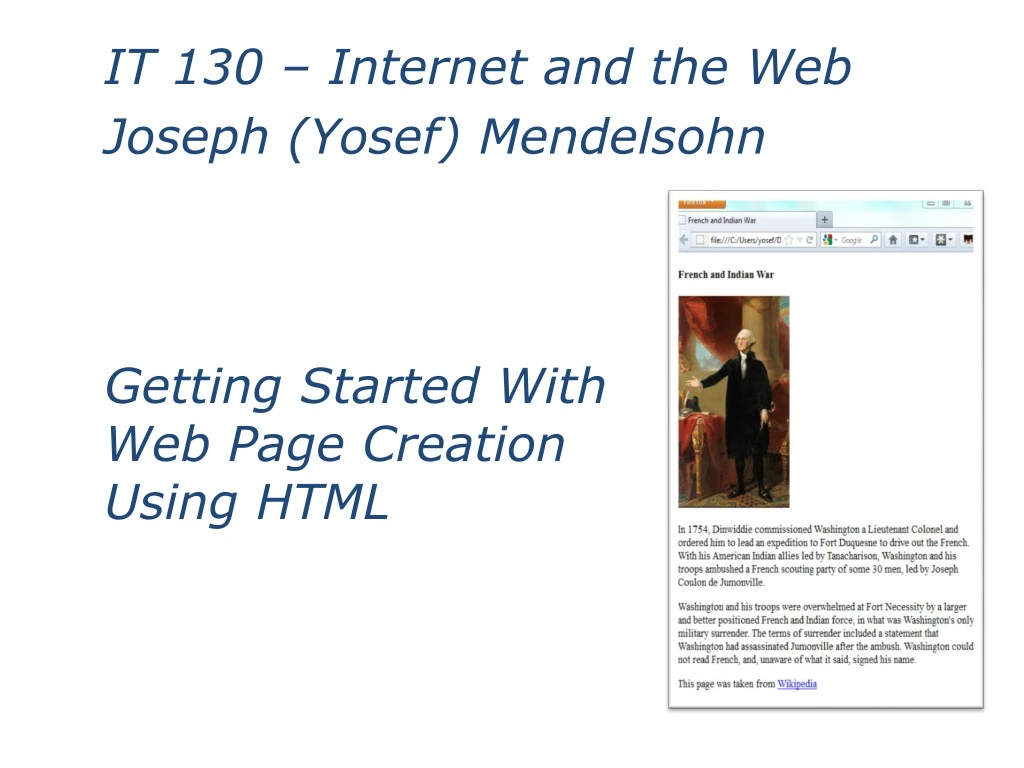
Getting Started With Web Page Creation Using HTML . IT 130 – Internet and the Web Joseph (Yosef) Mendelsohn. Learning Objectives. After reading/watching/practicing this topic, you should be able to: Describe the three tools needed to Create a web page Test/view your web page

E N D
Getting Started With Web Page Creation Using HTML IT 130 – Internet and the Web Joseph (Yosef) Mendelsohn
Learning Objectives After reading/watching/practicing this topic, you should be able to: • Describe the three tools needed to • Create a web page • Test/view your web page • Make a web page viewable on the internet • Type out the basic HTML template page (see first_template.html) without having to look at your notes. • Identify the different sections that make up an HTML document.
Creating Content • Your average web browser can “speak” many languages • HTML (Hypertext markup language) • JavaScript • CSS (cascading stylesheets) • Several others • Each language has its particular uses • In this course will cover HTML, CSS, and Javascript
HTML, CSS, JS • HTML • Organizes your page into sections (headings, subheadings, paragraphs, lists, topics, etc) • CSS • Used to apply styling and positioning to your page (colors, fonts, centering, columns, etc) • JavaScript • Used to control the behavior of your page such as responding to web forms • A script that converts currency from US Dollars into Mexican pesos • A script that allows the user to order a pizza and tells them the total cost
HTML HTML = HyperText Markup Language HyperText Text containing navigable links to other texts A Markup Language A method of adding information to the text indicating the logical organization of a document. You can view the HTML code that was used to generate any web page. One way is to right-click over some content on the page, and choose an option such as “View page Source” (or something similar).
Example of HTML Code Used to Generate a Page You’ll learn how all this works over the next 1-2 modules!
Tools you need to create and share web pages In order to develop web pages by hand and display them online, you will need: A text editor - to create your content You can use any one you like. However, I strongly recommend using 'Brackets' by Adobe. The URL changes, but a quick web search will send you to the proper site. You can also find a link on the course 'Resources' page. Note: A text editor is NOT the same thing as a web design application like Dreamweaver or older applications such as Expression Web. Nor is a text editor a word processing application such as Microsoft Word. I would recommend avoiding the use of applications such as Windows Notepad or TextEdit on a Mac. A web client (aka: web browser) – to test/view your content Popular clients include Firefox, Chrome, Safari. The grader typically uses Chrome or Firefox, so, I’d recommend that you use one of those for testing our own code throughout the course. For your own use, however, i.e. outside of your web page development, feel free to use any browser you like. An account on a web server – used to store your files and make them available online A web server is a computer connected to the internet that stores web pages and makes them available to web clients. We will discuss more about web servers in our HTTP lecture All students in this course will be provided with an account on a web server hosted by CDM.
Text Editor • This is where you will do all of your work typing in HTML, CSS, and JavaScript. • There are many text editors out there. • A text editor used by programmers is very different from a word processor. • A text editor used for programming has some features that you will come to appreciate such as • Color coding various key words and commands • Automatic indenting • Debugging (in some editors) • etc • For this course, any of the following are reasonable choices: • Adobe Brackets, Notepad++, TextWrangler (Mac), etc • There are many great, free text editors out there. Do not spend money on one at this time. • The one we will use for this course is Adobe Brackets. However, feel free to use another one if you prefer.
An example of a complete HTML document typed inside the 'Brackets' text editor
Web Client • More commonly known as a web browser - with which you are certainly familiar. • It is also where you will view and test the pages as you are creating them. • A web client (a.k.a. web “browser”) specializes in reading and interpreting HTML, CSS, and JavaScript files. • Examples include Chrome, Firefox, Safari
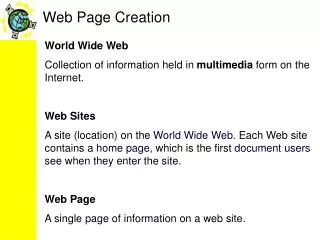
Web Server • Software that sits on a computer that is connected to the internet. This software specializes in storing resources such as HTML documents, and makng those resources available to anyone with access to the internet. • Web server software constantly listens for incoming requests from web clients. • When a web server receives a request for a resource (e.g. a web document, a PDF file, a music video,etc.), the web server program will send that resource to the web client over the internet. This process will be discussed in further detail in our ‘HTTP’ lecture. • Some of the best known examples of web server software include Microsoft's Internet Information Services, and Apache's Tomcat.
Your First Web Document • Now that we understand the various components necessary to create a web document, we are ready to try it out! • Recall that in this course, we will be learning about three of the key languages / scripting tools for web creation: HTML, CSS, and JavaScript. • Let’s begin with a very basic introduction to HTML.
A very basic HTML page <!DOCTYPE html> <html lang="en"> <head> <meta charset="utf-8"> <title>My first web page</title> </head> <body> Hello world! Welcome to my first web page! </body> </html> Notes: • Every page should have the document tags <!DOCTYPE>,<html>, <head>, charset (metatag), <title>, <body> • We will discuss these in a little more detail in the upcoming slides. • The above code is the fundamental template that you will use for every single web page throughout the course.
Some key HTML Elements ("Tags") <!DOCTYPE html> Tells the web client to operate in something called “standards” mode. We may discuss this at a later point in the course. This is an important tag and must be present and located on the very first line of your html file. Be consistent with the case (i.e. capitals v.s. non-capitals) in any code that you type. For example, because you have been told to type the ‘DOCTYPE’ in upper-case, be absolutely sure to do so! <html> … </html> Encloses your entire HTML document – with the exception of the DOCTYPE tag. The ‘html’ section contains two sub-sections: ‘head’ ‘body’
<title> … </title> The text that you type between these tags is displayed in the browser’s title bar. The text is also used as the bookmark description. <meta charset="utf-8"> Specifies something called “character encoding” – may be discussed at a later point. For this course, we will use utf-8 encoding exclusively. <head> … </head> Text in this section of the HTML document is not typically displayed by the browser (other than the title tab). This section typically contains tags such as <title>, <meta>, <style> and others. <body> … </body> This section contains nearly all of the content that is intended displayed by the browser. Pretty much all of the textual content that appears on the web page is placed between these tags. Key HTML Elements contd.
HTML Page Template • The page we just created forms the essential outline that you will type for EVERY page you create in this course! • In other words, the outline seen here should be present in every page you create. <!DOCTYPE html> <html lang="en"> <head> <meta charset="utf-8" > <title> Your Title Goes Here </title> </head> <body> Your Content Goes Here </body> </html>
Practice Time! • Go ahead and type the template document into your text editor. • Open up Brackets (or a different text editor if you prefer). • Create a new document, and type the example shown on the previous slide. • Experiment by modifying the text inside the body and title tags. • Be sure to save your document as an HTML file. • That is, give the file the extension ‘.html’ • Open this document in your browser. • Choose ‘Open file’ (as opposed to ‘Open location’). • Note that each time you make a change, you must hit ‘Refresh’ on your browser.