Download
1 / 6
60 likes | 191 Vues
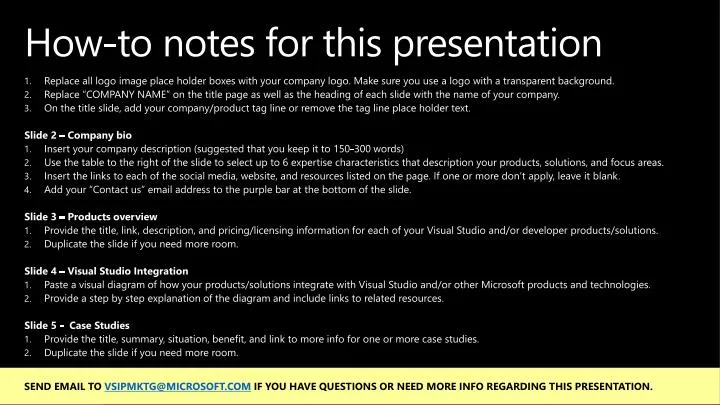
How-to notes for this presentation. Replace all logo image place holder boxes with your company logo. Make sure you use a logo with a transparent background. Replace “COMPANY NAME” on the title page as well as the heading of each slide with the name of your company.

E N D
How-to notes for this presentation • . • Replace all logo image place holder boxes with your company logo. Make sure you use a logo with a transparent background. • Replace “COMPANY NAME” on the title page as well as the heading of each slide with the name of your company. • On the title slide, add your company/product tag line or remove the tag line place holder text. Slide 2 – Company bio • Insert your company description (suggested that you keep it to 150-300 words) • Use the table to the right of the slide to select up to 6 expertise characteristics that description your products, solutions, and focus areas. • Insert the links to each of the social media, website, and resources listed on the page. If one or more don’t apply, leave it blank. • Add your “Contact us” email address to the purple bar at the bottom of the slide. Slide 3 – Products overview • Provide the title, link, description, and pricing/licensing information for each of your Visual Studio and/or developer products/solutions. • Duplicate the slide if you need more room. Slide 4 – Visual Studio Integration • Paste a visual diagram of how your products/solutions integrate with Visual Studio and/or other Microsoft products and technologies. • Provide a step by step explanation of the diagram and include links to related resources. Slide 5 - Case Studies • Provide the title, summary, situation, benefit, and link to more info for one or more case studies. • Duplicate the slide if you need more room. SEND EMAIL TO VSIPMKTG@MICROSOFT.COM IF YOU HAVE QUESTIONS OR NEED MORE INFO REGARDING THIS PRESENTATION.
Skytap Better Software Faster Partner overview
Visual Studio Industry PartnerSkytap Insert your company description here. Expertise • Build Automation • Deployment • Performance Testing • Test Automation • UI Test Automation Contact us at: info@skytap.com NEXT STEPS
Visual Studio Industry PartnerSkytap Product Information
Visual Studio Industry PartnerSkytap INTEGRATION OVERVIEW RESOURCES Diagram description • http://www.skytap.com/solutions/development-and-test/application-lifecycle-management • https://cloud.skytap.com/docs/index.php/For_Developers • http://www.skytap.com/solutions/development-and-test/lab-manager-replacement • This figure shows a typical scenario for an integrated, continuous integration workflow using Skytap Cloud for the automated creation of dynamic testing environments together with an on-premise deployment of Visual Studio TFS 2013. • Existing on-premise Microsoft ALM infrastructure is connected to Skytap Cloud via secure VPN connections (via Ipsec). Because Skytap Cloud serves as a secure extension of on-premise infrastructure, customers have flexibility to migrate additional resource elements into Skytap Cloud, such as the TFS server.
Visual Studio Industry PartnerSkytap Case Study: Zettaset Case Study: [Title here]