Download
1 / 10
100 likes | 106 Vues
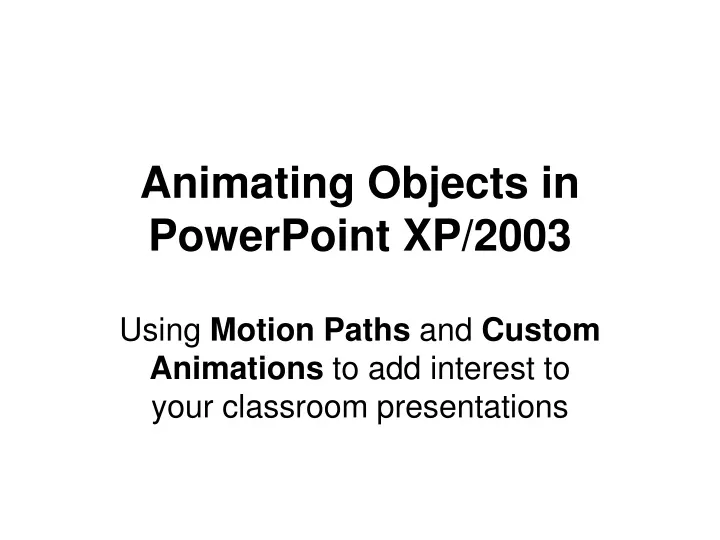
Animating Objects in PowerPoint XP/2003. Using Motion Paths and Custom Animations to add interest to your classroom presentations. Step 1: Add a graphic. EITHER: Insert – Picture – Clip Art Search for a graphic to use OR: Insert – Picture – From File Select a previously saved image

E N D
Animating Objects in PowerPoint XP/2003 Using Motion Paths and Custom Animations to add interest to your classroom presentations
Step 1: Add a graphic EITHER: • Insert – Picture – Clip Art • Search for a graphic to use OR: • Insert – Picture – From File • Select a previously saved image OR: • Use the Drawing Tools to create your own graphic
Step 1: Add a graphic • I did a search for “science” clip art • I selected the graphic shown here, and resized it slightly
Step 2: Create a motion path • Select the graphic • Open the side pane for “Custom Animation” • Click on the button “Add Effect”
Step 2: Create a motion path • Choose “Motion Paths” from the choices in the “Add Effect” menu • You can choose pre-set options, such as “Down”, or “Left” • You can also choose “Draw Custom Path”
Step 2: Create a motion path • Custom paths include: • “Line” – draws a straight line path • “Curve” – forms a curved line • “Freeform” – makes a series of straight connected lines • “Scribble” – draws a freehand path
Step 2: Create a motion path • I will draw a scribble path; this is a graphic line to show what it looks like • Once the path is complete, the rocket will follow it • To have the graphic leave the screen, draw the end of the path beyond the edge of the slide
Custom Animations Custom Animations can be used to reveal parts of a slide in sequence • Choose the text box or graphic to be animated • In the side panel, select Add Effect →Entrance and choose the effect you want • Experiment with various options to see how they look
Custom Animations • Each element in the text box can be set to appear, using one of the following options: • Start on click – starts when you click the mouse button • Start with previous – shows with the previous element • Start after previous – shows automatically after the last element • Different sound effects can also be included with these animations. • You can also choose elements for emphasis, or make an element disappear from a slide show in a similar way.