Download
1 / 37
370 likes | 378 Vues
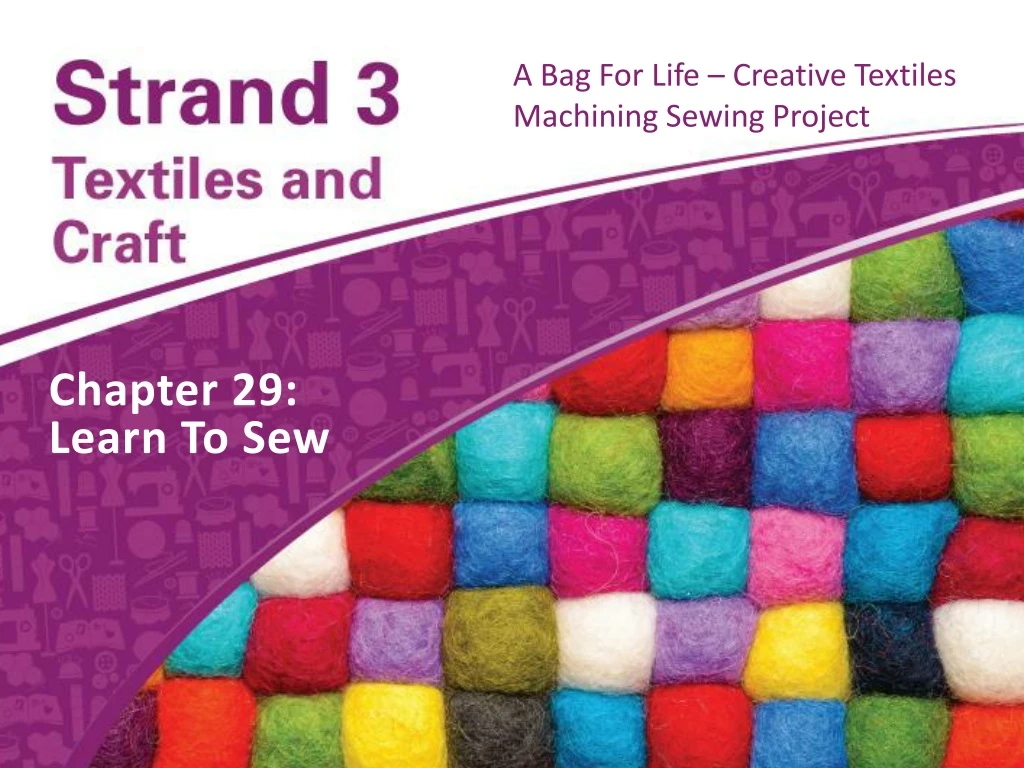
What I Will Learn. To identify the parts of a sewing machine To thread and use the sewing machine correctly To repair and mend items To select appropriate fabrics for sewing To use stitches to make and/or embellish a textile item. The Sewing Machine.

E N D
What I Will Learn • To identify the parts of a sewing machine • To thread and use the sewing machine correctly • To repair and mend items • To select appropriate fabrics for sewing • To use stitches to make and/or embellish a textile item
The Sewing Machine The sewing machine is a very important sewing resource when creating textile items, upcycling items, mending or repairing clothes.
Choosing a Sewing Machine When choosing a sewing machine, consider the following: • Cost: Consider what you can afford to pay. • Features: Consider what you might need, e.g. one-step button hole, adjustable presser foot, etc. • Reliable brand and an informed and knowledgeable retailer. • Attachments and extras that are included, e.g. embroidery functions. • Guarantee and after-sales service. • Ease of use: Is there a demonstration available and can you test it out in the shop before you buy?
Modern Features of the Sewing Machine • Needle down • Automatic needle threader • One-step button hole • Lightweight • Adjustable presser foot • Free arm • Top loading bobbin • Electronic controls • Embroidery stitches
Sewing Machine Activities Set up a sewing machine with your teacher and identify the different parts. Look at the the diagram of a sewing machine on page 251 of your Skills Book and identify the different parts.
How a Sewing Machine Stitches • There are two threads involved – the thread from the spool and the thread from the bobbin. • The stitch is made when these two threads twist around each other. • The interlocking takes place between the two layers of fabric. • If the tension on the thread is too loose or too tight the stitches won’t form properly.
How to Thread a Sewing Machine Put spool on spool pin and bring the spool thread … through the first thread guide around the tension spring through the take-up lever through the thread guide at the top of the needle through the needle, from front to back.
How to Thread a Sewing Machine Put the filled bobbin into the bobbin case and pull the thread through the bobbin tension. Put the case into the machine. Turn the hand wheel until the needle thread catches the bobbin thread. Pull both threads to the back of the machine.
How to Use a Sewing Machine Thread the machine properly. Raise the needle to highest point. Adjust stitch and test stitch on spare fabric. Put the part of fabric to be sewn under the presser foot, with the bulk of the cloth to the left of the needle. Lower the presser foot to hold the fabric in place. Lower needle into the fabric by turning wheel towards you.
How to Use a Sewing Machine (continued) See Activity 29.5 in the TRB Begin machining by pressing the foot pedal gently. Guide the fabric – do not push or pull it! Leave needle in fabric when turning a corner (pivot). When finished, lift the presser foot, raise the needle and pull fabric gently out the back of the machine. Cut the thread.
Sewing Machine Activities Watch your teacher demonstrate how to thread a sewing machine. Then, using your sewing machine diagram, use a coloured marker or pen to show how the machine is threaded. Fill a bobbin, put it in a bobbin case and insert it into the machine. Practise threading the machine, filling bobbins, placing them into a case and then into the machine in sequence.
Care of Sewing Machine • Follow the manufacturer’s instructions. • Cover when not in use to keep out dust. • Oil moving parts. • Have repaired by qualified person. • Do not run a threaded machine without material.
Mending and Repairing Clothes Sometimes, with wear and tear clothes may need to be repaired. • Match the thread or wool as closely in terms of colour, thickness and fibre as possible if you want the repair to blend in. Or choose contrasting threads to add a decorative feature to the textile item. • A patch or darn should extend beyond the hole on all sides to strengthen the area around the patch or darn. • Iron-on patches can be bought for quick repairs. • Hems and seams may need to be repaired either by hand, e.g. backstitch, or by machine.
Darning • This is weaving over the hole and surrounding area. • By machine: Tack a finer piece of fabric over the section to be repaired. This is then machined up and down and over and back. Then the fabric is trimmed. • By hand: Use matching wool/thread; do not pull tightly. Work very long stitches over the hole in one direction first and then weave in and out through these in the other direction, keeping the threads close together to fill in the hole.
Patching • Iron-on: Use an ‘iron-on patch’ to cover the tear or hole. • Creative repairs: Fashionable items can be created with clever repairs, e.g. using a crochet patch or patterned fabric. This can be done by hand, by machine or ironed in place. • By hand: Cut a shape larger than the area to be repaired. Turn a hem on the wrong side all around and tack in position. Follow the grain of the fabric. Then, machine stitch or hem in place, remove the tacking and trim and neaten the back of the patch.
Hems • A hem is the finished edge of a garment, such as the lower edge of a trouser leg, a dress, around the top of a bag or laundry bag. • There are a number of ways to make a hem, depending on the fabric you are using and the finish you want:
Seams • Seams are used to join pieces of fabric together to make clothing and other textile items. • The flat seam is the most common type and needs to be finished off to prevent fraying.
Choosing a Fabric for Project Work Successful sewing depends largely on the right choice of fabrics and accessories. • Choose a fabric that is easy to work with. Stretchy or slippery fabrics are more difficult to work with and to sew. Polyester-cotton or cotton is good for beginners. • Fabrics are sold in different widths. The wider the fabric you buy, the less of it you will need. If recycling fabrics, ensure you have enough to complete your project. • If you are making a garment or a household item from a commercial pattern, calculate the amount of fabric you will need using the grid on the back of your pattern envelope.
Choosing a Fabric for Project Work (continued) • Fabrics that have a nap, e.g. velvet, or a one-way design, are more difficult to cut out properly and need more fabric. • Check washing and care instructions on the fabric roll or label before you buy it in case it is unsuitable. • Buy or recycle anything else you need to complete your project.
Let’s Get Started • A list of requirements or ‘notions’, e.g. matching thread, zip, buttons, hooks and eyes will be given on your pattern envelope. • If designing your own textile item, gather everything you need before you start and keep it all together in a bag or box for the duration of the project.
Creative Textiles: A Bag for Life Since the introduction of a tax on plastic bags in 2002, many shops now sell sustainable, eco-friendly shopping bags.
Design Brief • Your local shop – ‘Fresh’ – are running a competition to design an eco-friendly ‘Bag for Life’ that they can use to advertise their premises and give as a reward to their loyal customers. Design and make an eco-friendly Bag for Life based on the theme ‘Fresh’. • It must be made from sustainable or recycled fabrics. • It will be machine-stitched for strength but you can use a least two hand stitches and a decorative technique of your choice. • The total size of the bag must not exceed 40 cm in length or diameter. • The prototype must be completed in three weeks.
Creative Crafts Research the following crafts to embellish your ‘Bag for Life’: • Potato printing • Block printing • Tie dying • Appliqué • Fabric painting • Cross-stitching
Refining Your Design • Can you recycle any fabrics? • Discuss your design ideas with your classmates. • Take their advice and refine you final design.
Now Make Your ‘Bag for Life’ EXAMPLES