Download
1 / 27
330 likes | 1.48k Vues
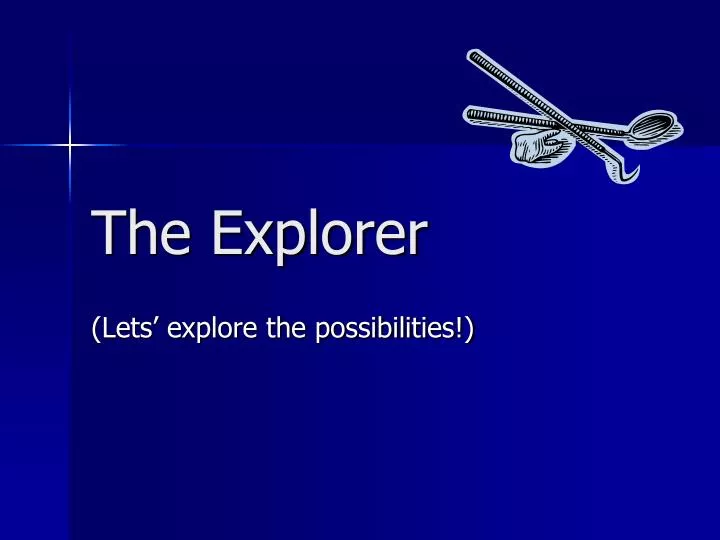
The Explorer. (Lets’ explore the possibilities!). Types of Explorers:. Straight Explorer. Shepherd Hook Explorer. Orban or #17/18 Explorer. Pigstail or Cowshorn Explorer. Explorers that you will use here at UMB . #17 Explorer. ODU 11/12 Explorer.

E N D
The Explorer (Lets’ explore the possibilities!)
Types of Explorers: Straight Explorer Shepherd Hook Explorer Orban or #17/18 Explorer Pigstail or Cowshorn Explorer
Explorers that you will use here at UMB. #17 Explorer ODU 11/12 Explorer
General Design and Characteristics: Foot of instrument
Explorer SHANK: Or ‘Terminal shank’
#17 Explorer for ANTERIOR TEETH Insert so that terminal shank is parallel to the long axis of the Instrument tip should point down towards the sulcus. Here the terminal shank is parallel to line angle.
Start at the Red dotted line (“Line angle”) furthest away from you and walk towards the contact. That means (for Maxillary teeth): Righties start with the ‘distal’ of #11 (upper left canine). Lefties start with the ‘distal’ of #6 (upper right canine).
(What is your clock position for the Anterior teeth?) That means (for Mandibular teeth): Righties start with the ‘distal’ of #22 (lower left canine). Lefties start with the ‘distal’ of #27 (lower right canine).
Exploring the Posterior Teeth: Insert at distal line angle
Right from Wrong: Right Wrong Why is this one wrong? Terminal shank is not parallel to long axis of the tooth!
Shank should be a little straighter so that tip points downward into the sulcus.
After walking the length of the distal surface- pull explorer out of sulcus and roll instrument till tip points towards the mesial surface. Reinsert at the Distal line angle a walk mesially.
Walk explorer to the mesial line angle: Tip of instrument points down into sulcus- this means the terminal shank will now be “oblique”. Terminal shank will straighten up at the Mesial line angle
Probing Sequence (per quadrant): (limited radius) Midline * For Right Handed Clinicians: Notice that operatorposition and the direction of the instrument handle changes at the canine on the dominant side *. * Midline
Probing Sequence (per quadrant): (limited radius) Midline * For Left Handed Clinicians: Notice that operatorposition and the direction of the instrument handle changes at the canine on the dominant side. * * Midline
Things to keep in mind: The video on exploring technique demonstrates this beautifully!!! Can you find it?
This is where your Dental Anatomy is going to come to play!!!
Need to adapt instrument tip to the contours of the tooth- in this case, the concavity.
Distal of the mesial root Mesial of the distal root