Download
1 / 8
90 likes | 229 Vues
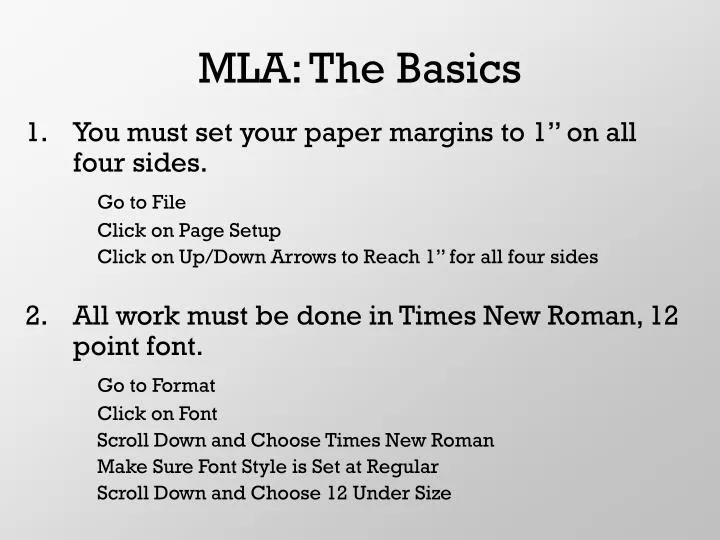
MLA: The Basics. You must set your paper margins to 1” on all four sides. Go to File Click on Page Setup Click on Up/Down Arrows to Reach 1” for all four sides All work must be done in Times New Roman, 12 point font. Go to Format Click on Font

E N D
MLA: The Basics • You must set your paper margins to 1” on all four sides. Go to File Click on Page Setup Click on Up/Down Arrows to Reach 1” for all four sides • All work must be done in Times New Roman, 12 point font. Go to Format Click on Font Scroll Down and Choose Times New Roman Make Sure Font Style is Set at Regular Scroll Down and Choose 12 Under Size
On Page One of Your Paper . . . • Insert a Header with Your Last Name and Page Number Go to View Click on Header and Footer Click on the Right Justify Key on the Toolbar of your Screen Type Your Last Name and Hit the Space Bar One Time Click on the Paper with the Number Sign on the Header/Footer Toolbar (This will automatically enter the correct page number for each page. DO NOT enter a number here!) 4. Enter Your Heading on the Left Top Margin Click on the Left Justify Key on the Top Toolbar of your Screen Enrique Iglesias Mrs. Lloyd English IV - 1 3 September 2007 (You MUST write your date in this style with no punctuation!)
Page One Continued . . . • Enter Your Title Hit Your Enter Key One Time After You Type in Your Heading Date Click on the Center Justify Key on the Top Toolbar Type in Your Title, But Refrain From Bolding, Underlining, or Italicizing 6. Begin Typing Your Intro Paragraph Hit Your Enter Key One Time After You Type in Your Title Click on the Left Justify Key on the Top Toolbar Hit Your Tab Key One Time to Begin Typing on Your First Line Begin Typing 7. Subsequent Paragraphs Hit Your Enter Key One Time After You Complete Your Previous Paragraph Hit Your Tab Key One Time to Begin Typing Your Next Paragraph Continue to do This for Each Paragraph
Internal Citations Example from a website with no author listed: “Alaska’s vast scenery and exotic wildlife draw visitors in from all over the world” and provide a wonderful opportunity to relax and reconnect with the world (“Modern Vacations” 10). (Pay careful attention to the punctuation at the end of the sentence, and note that the period goes AFTER the source. To source a website, you need to use the author’s name and the paragraph number where you found your quotation. If there is no author listed, use the article title as shown above.)
Works Cited Page • Your Works Cited page is the last page of your paper. This means if your paper ends on page 5, your Works Cited page is page 6. 2. This page must also be in Times New Roman, 12 point font and double-spaced. 3. Enter Your Title (It is Works Cited) Make sure your cursor is on the top line of your page and click on the Center Justify button on the top toolbar. Type Works Cited as your title. Do Not put this in quotation marks, bold, underline, or italics.
Works Cited Continued . . . • Enter Your Sources These must be in alphabetical order by author’s last name. If there is no author, then they are in alpha order by article title. DO NOT number or bullet these entries. The first line of each citation must be on the left hand margin and all subsequent lines should be indented. (Press Enter and then Tab at the beginning of the 2nd line of your citation. This will create the indent). *In many cases, you will not find all of the information required for a perfect MLA source citations. In this case, simply omit the missing item and move on to the next piece of information.
Example of an Online Article: Marketti, Matthew, and Kyle Ordin.“Cell Phones are Our Friends.”CNN TonightJuly 2000:65.4 June 2006<http://cnntonight.com/issue/cnn/44cell.html>. Authors’ Names.“Article Title.”Name of Entire WebsiteDate Site Last Updated:Page Number.Sponsoring Organization.Date You Accessed Site<url>. Example of a Subscription Service: Facts on File.“Festival of Venice.”Issues and Controversies16 Oct. 2003.Facts on File News Service.4 April 2008<http://www.2facts.com/ICOF/Search/i238596.asp>. Name of Subscription Service.“Article Title.”Name of Entire WebsiteArticle Date.Sponsoring Organization.Date You Accessed Site<url>.
Example of a Personal Site: Goodall, Jane.Monkey Time.May 2005. 24 June 1999<http://www.monkeys.com/html>. Author. “Article Title.” Name of Entire Website.Date Last Updated.Date You Accessed Site<url>. Example of a Film: She Danced Until Midnight. Wayne, John, Dir. With Renee Zellweger, Dorothy Hamill, Roger Moore.Miramax,2007. Film Title.Director’s Name,Dir.List of Prominent Actors in the Production.Production Company, Date Produced. Pay careful attention to the following: Punctuation - every period, colon, and <> is important! Copy and paste the entire url; google.com is NOT a correct citation! Wikipedia is NOT an acceptable literary source!