1 / 24

Leica Image Extensions for ArcMap

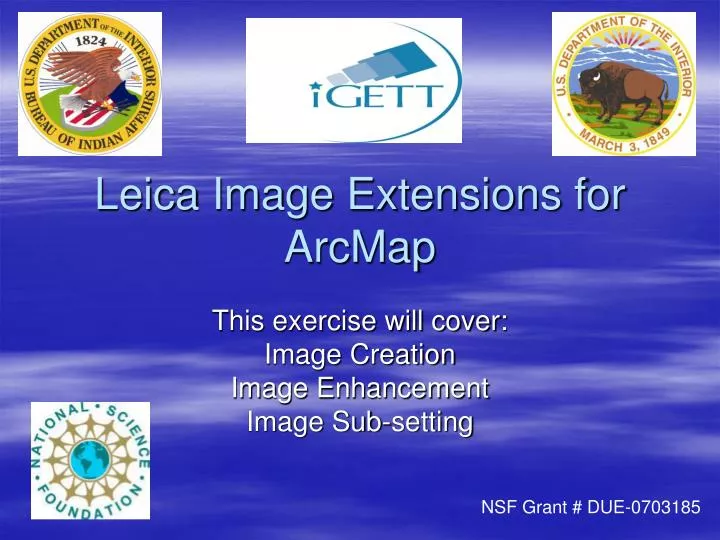
Leica Image Extensions for ArcMap . This exercise will cover: Image Creation Image Enhancement Image Sub-setting. NSF Grant # DUE-0703185. Here We Go. Our first step will be to open ArcMap Second we will locate our Image Analysis extension Locate the Menominee L7 Folder. Open ArcMap.

nitesh
Télécharger la présentation

Leica Image Extensions for ArcMap

An Image/Link below is provided (as is) to download presentation Download Policy: Content on the Website is provided to you AS IS for your information and personal use and may not be sold / licensed / shared on other websites without getting consent from its author. Content is provided to you AS IS for your information and personal use only. Download presentation by click this link. While downloading, if for some reason you are not able to download a presentation, the publisher may have deleted the file from their server. During download, if you can't get a presentation, the file might be deleted by the publisher.

E N D

Presentation Transcript


  1. Leica Image Extensions for ArcMap This exercise will cover: Image Creation Image Enhancement Image Sub-setting NSF Grant # DUE-0703185

  2. Here We Go • Our first step will be to open ArcMap • Second we will locate our Image Analysis extension • Locate the Menominee L7 Folder

  3. Open ArcMap

  4. We then navigate to Image Analysis

  5. Navigate to Utilities under Image Analysis and choose Layer Stack

  6. The box below will open

  7. We Open the Input Images Folder and Navigate to the Menominee Folder

  8. We will choose 40, 30 and 20 as our Selected Layers and choose OK

  9. The chosen bands will be added as input images and click OK:

  10. The following Widget will Open:

  11. After the Widget Finishes the following Image will appear:

  12. Image Pan-merging • In this exercise we will pan-sharpen the image • This means to merge the 15 meter panchromatic band with the existing 30 meter false color image • Pan-merging will provide us with an image resolution of 15 meters

  13. Navigate to Image Analysis and the Spatial Enhancement

  14. Choose Resolution Merge

  15. A new target will open

  16. Choose Band 80 as the high resolution Image

  17. Choose the previously added image as the multi-spectral image

  18. Once again the following widget will open

  19. The Finished Product

  20. Add the Boundary Shape File

  21. Subset Image by navigating to Data Preparation and Subset Image

  22. Choose our last image, the boundary shape file as the Analysis Mask and click OK

  23. The process begins again with our Widget

  24. Our new Subset Image

More Related